Day 30: Grouse Mountain(그라우스 마운틴) 등산하기!
호스텔에서 기상하고 오늘은 뭐할까 고민하다가 그라우스 마운틴(Grouse Mountain)은 꼭 가봐야 한다고 해서 그냥 갔다. 이런 자연 관광지는 북 밴쿠버(North Vancouver)에 위치하고 있다. 밴쿠버 다운타운(Vancouver Downtown)에서 조금 멀지만 북 밴쿠버(North Vancouver)는 정말 추천이다. 하버 센터(Harbour Centre)보다 이곳에 오는 것을 추천한다. 가능하면 Victoria Island(빅토리아 아일랜드)랑 Whistler(휘슬러)도 가고 싶었지만 혼자 가기에는 애로사항이 많았다.
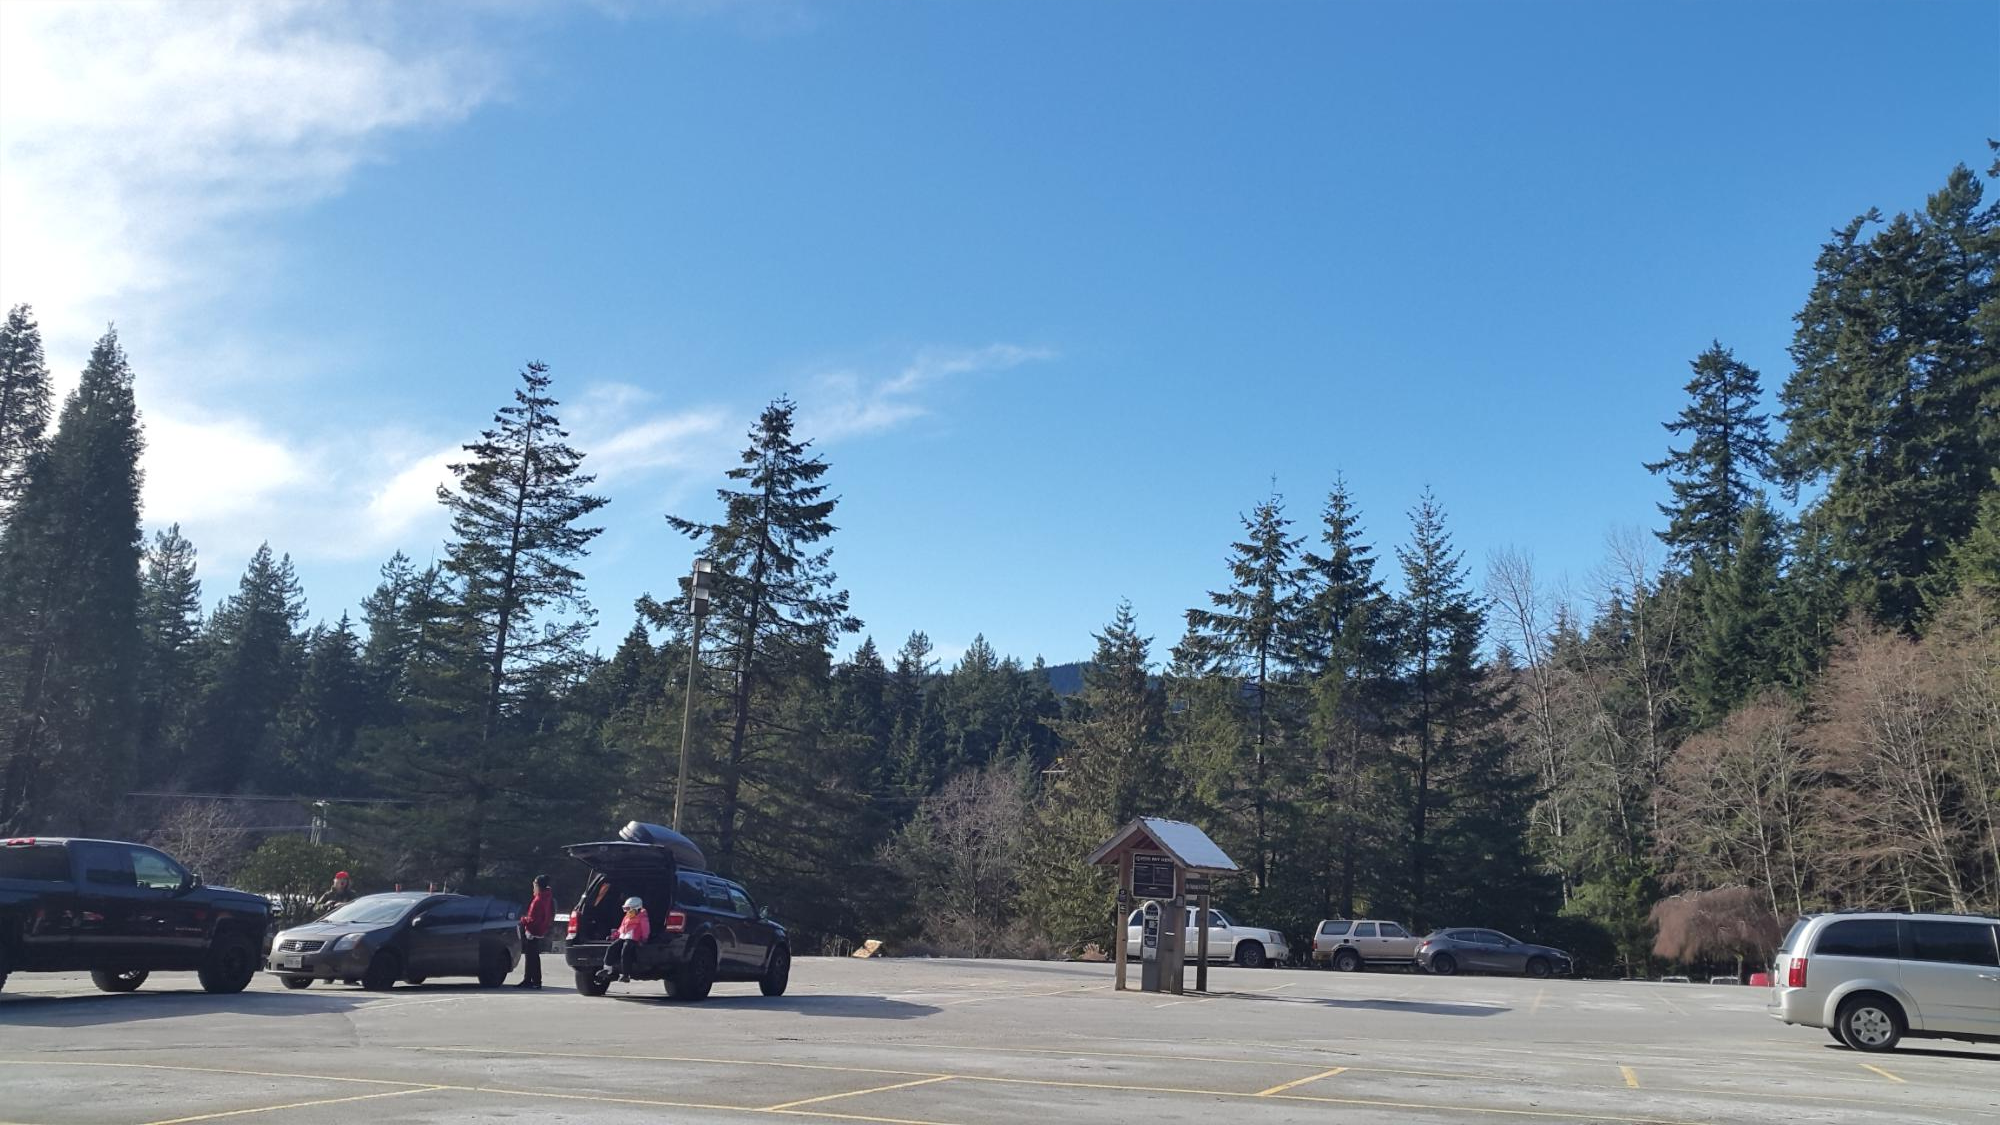
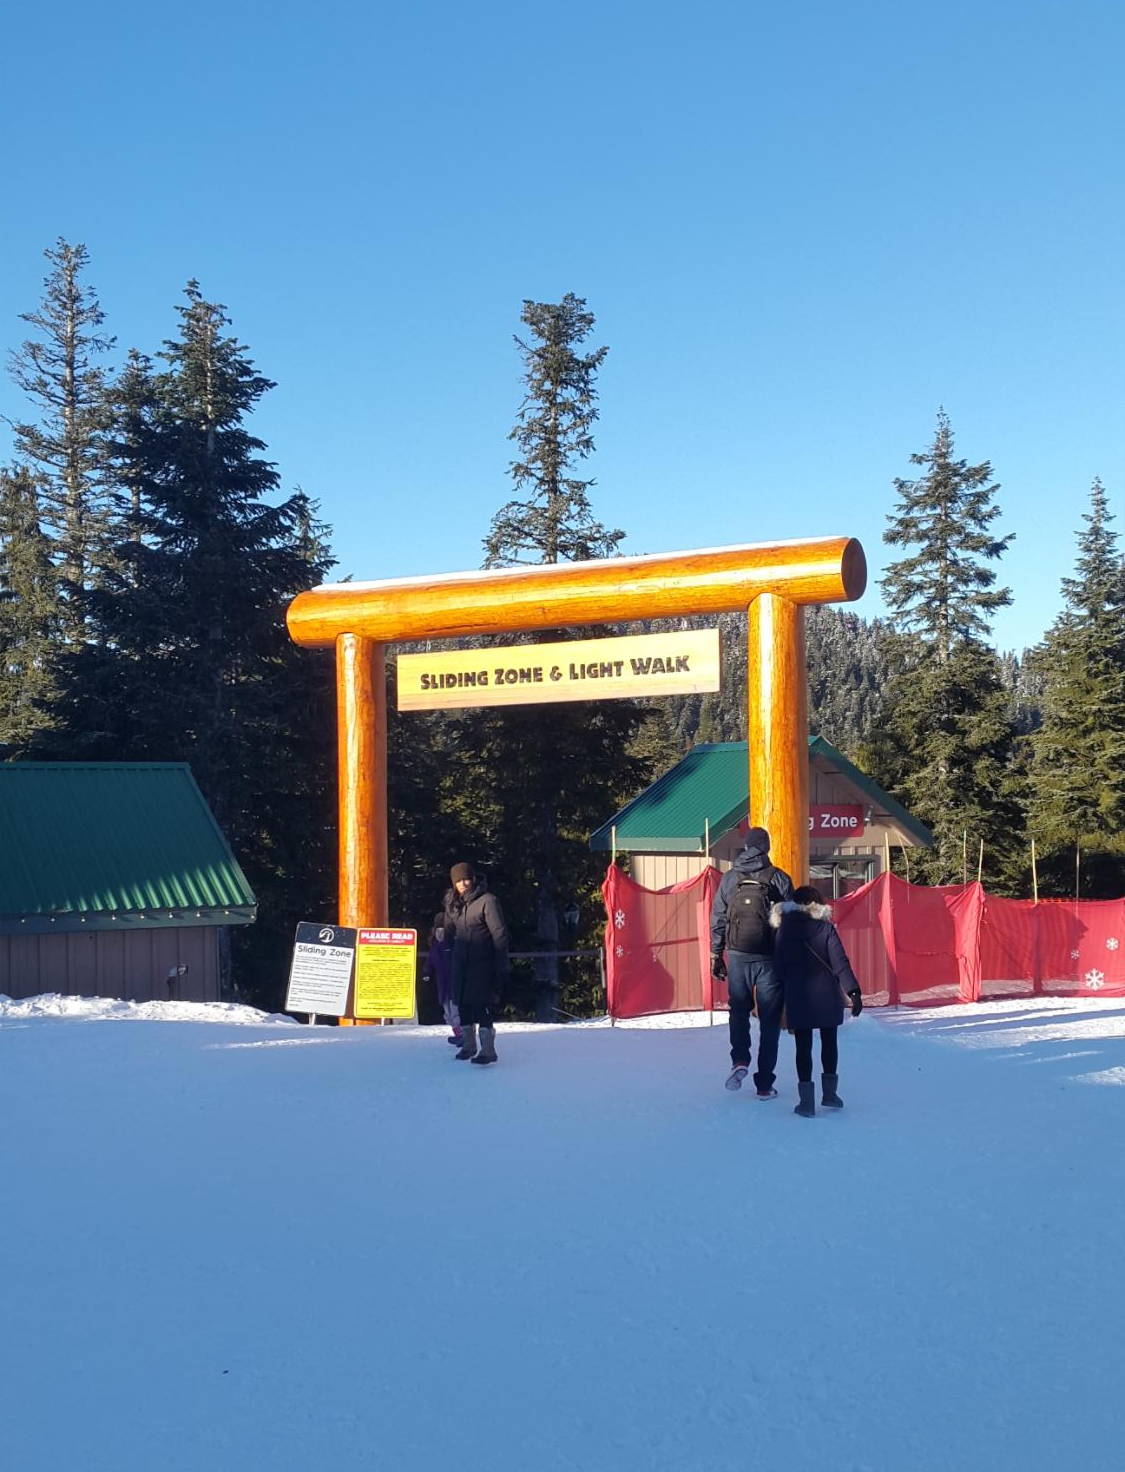
그라우스 산(Grouse Mountain)에 와서 조금 헤맸다. 어디가 입구이고 어떻게 올라가야 하는 것인지 몰랐다.
After arriving at Mount Grouse, I wandered a little.
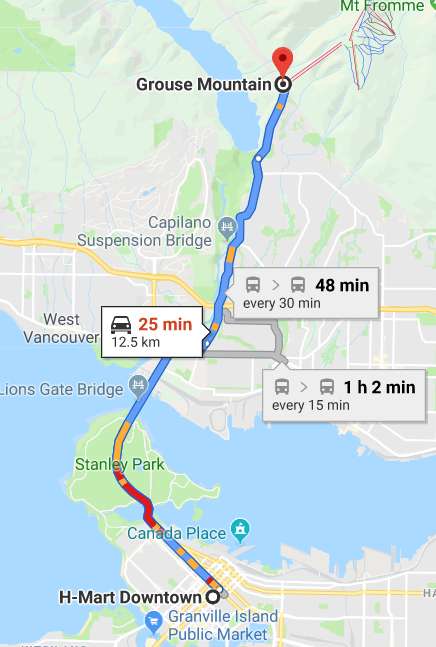
13km 밖에 안 떨어져 있지만 대중교통을 이용하면 꽤 오래 걸리는 긴 거리이다. 캐나다에는 Uber(우버)랑 Lyft(리프트)가 없기 때문에 대중교통을 이용했고 편도 버스 비용은 $2.5 이다. 한화로는 2,300원 정도. 한국 대주교통 요금의 두 배.
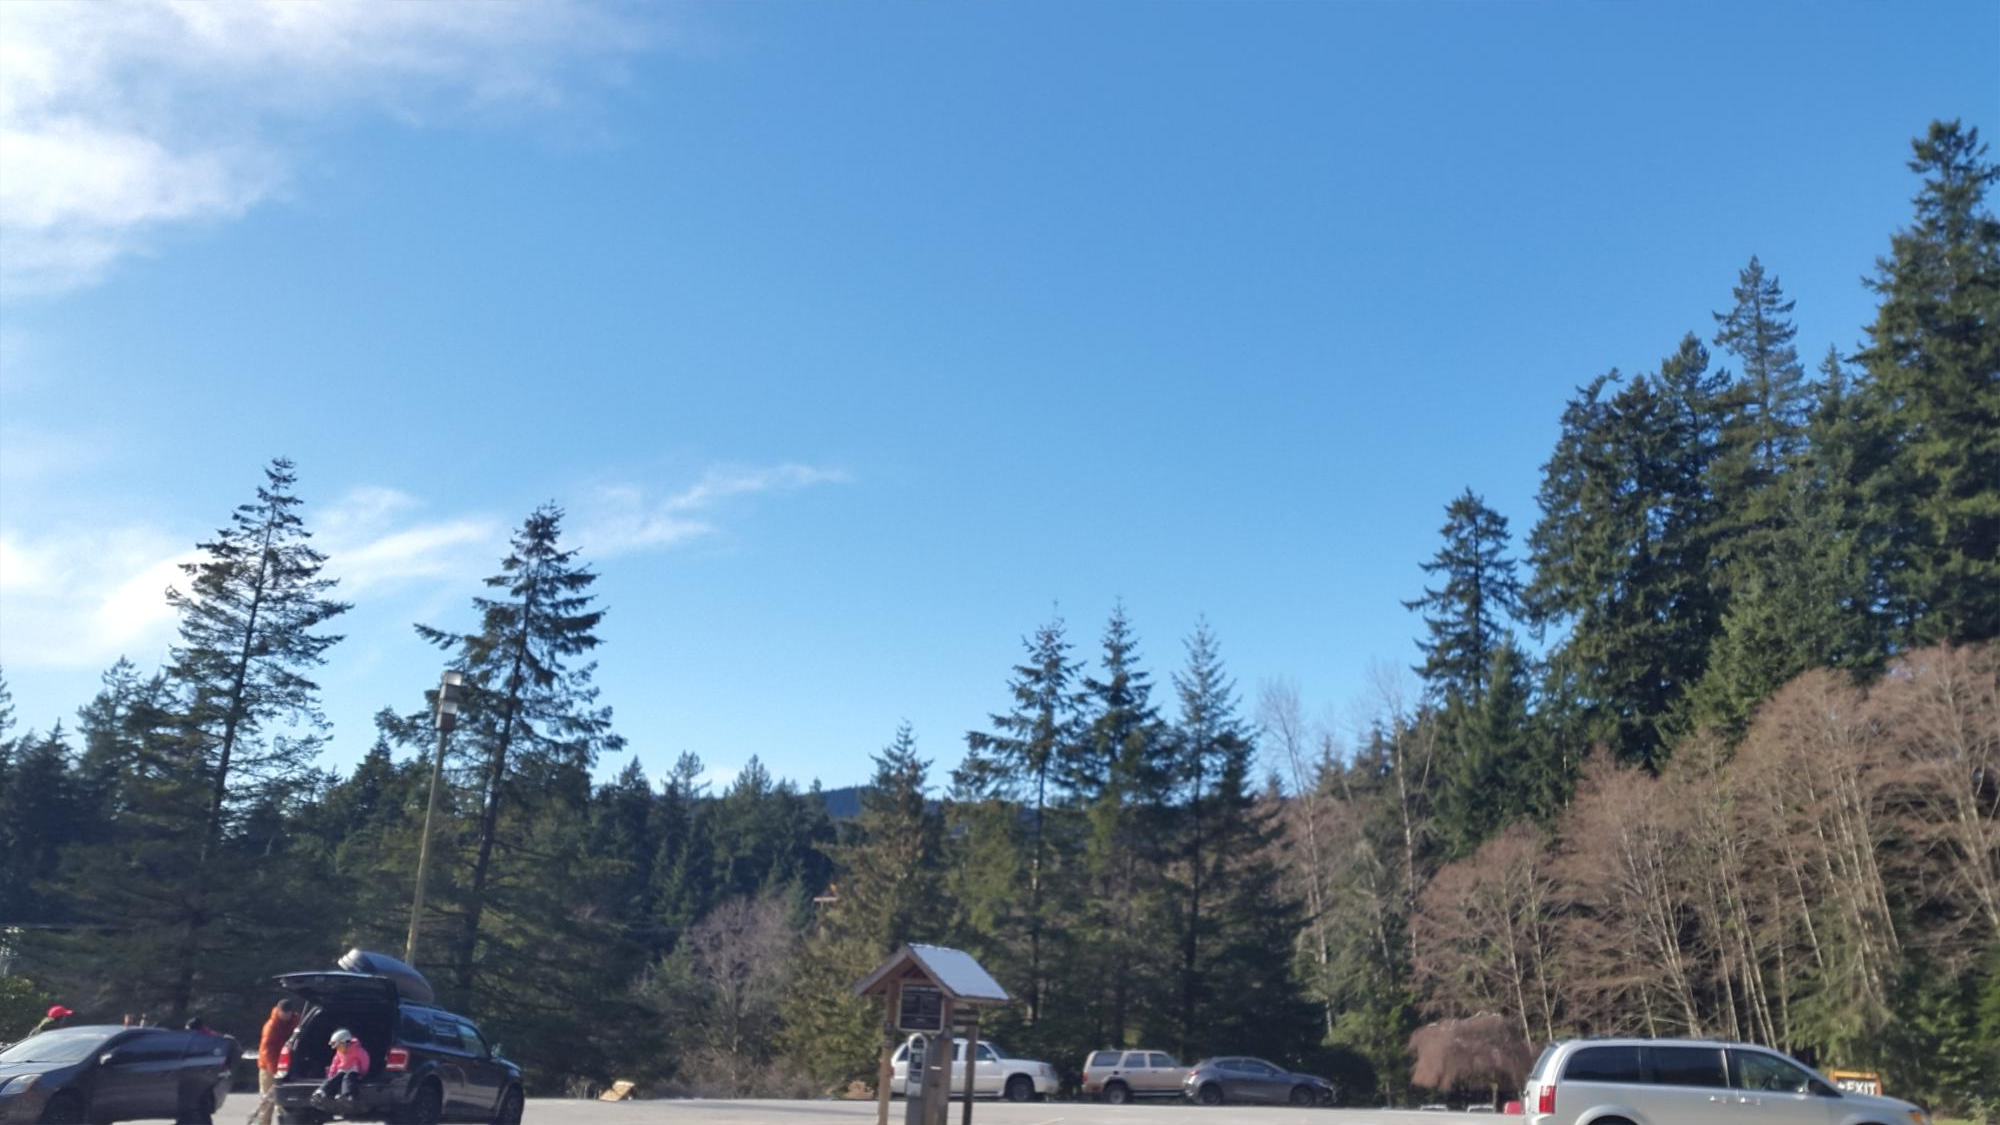
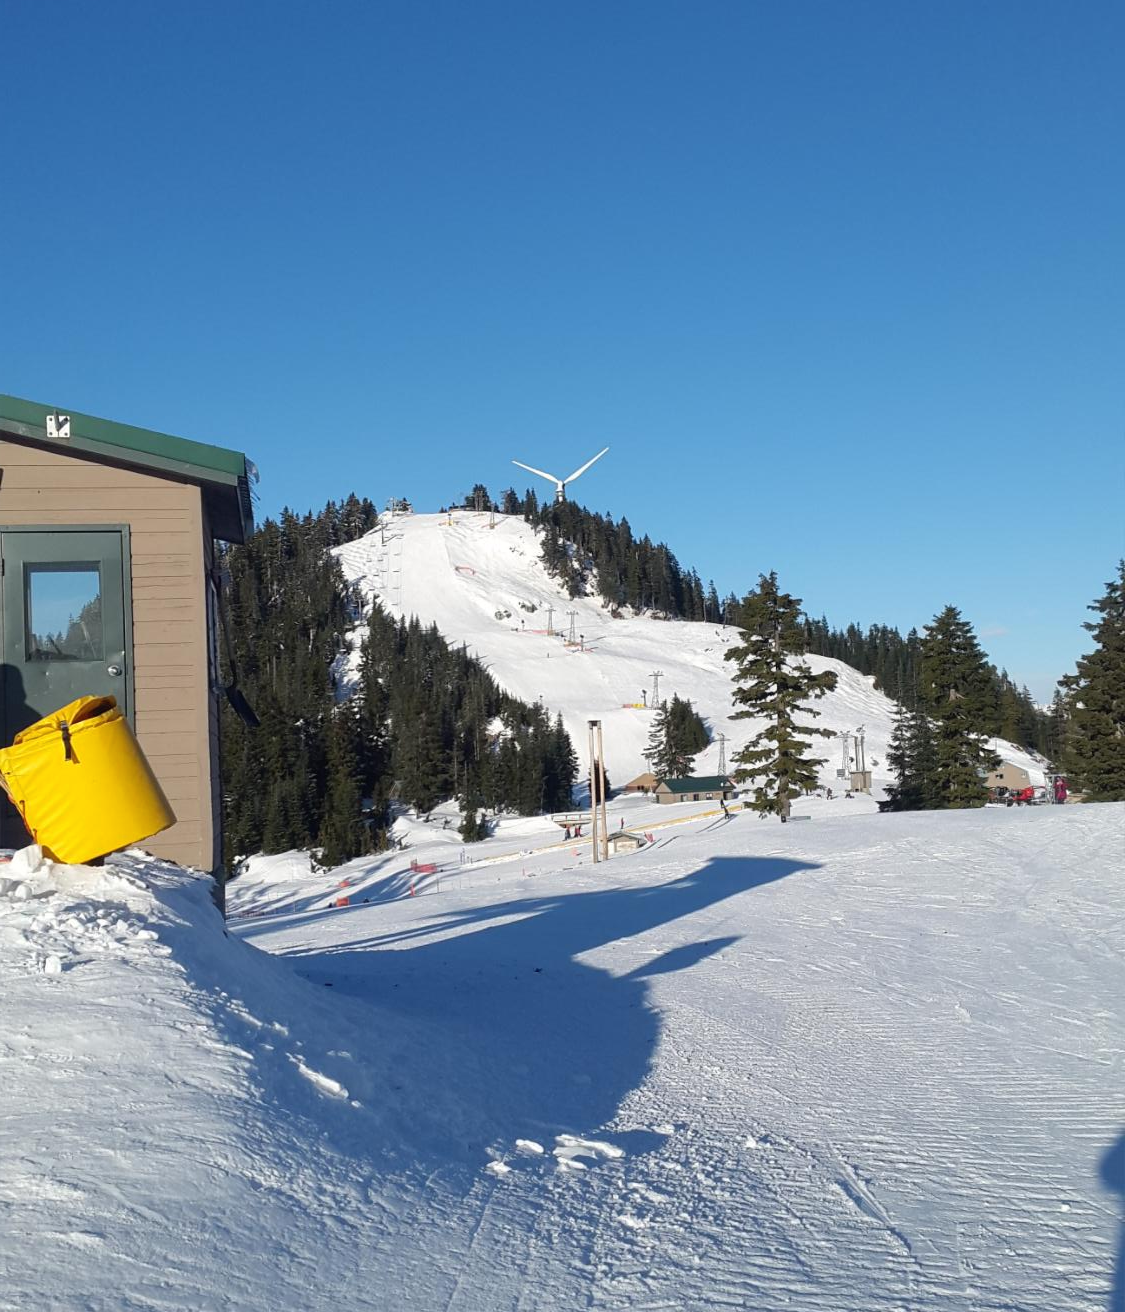
그라우스 산(Grouse Mountain)에 대해서 자세히 조사를 하고 간 것이 아니기 때문에 린 캐년 파크(Lynn Canyon Park) 정도 생각하고 갔는데 완전 다른 장소였다. 사람들이 주차장에서 스키 장비(Ski Gears, Equipment)를 꺼내길래 스키장이라는 것을 도착한 이후에 알았다.
I went to Lynn Canyon Park because I didn't go through the Growe Mountain in detail, but it was a completely different place. People took ski gear out of the parking lot and realised it after arriving.
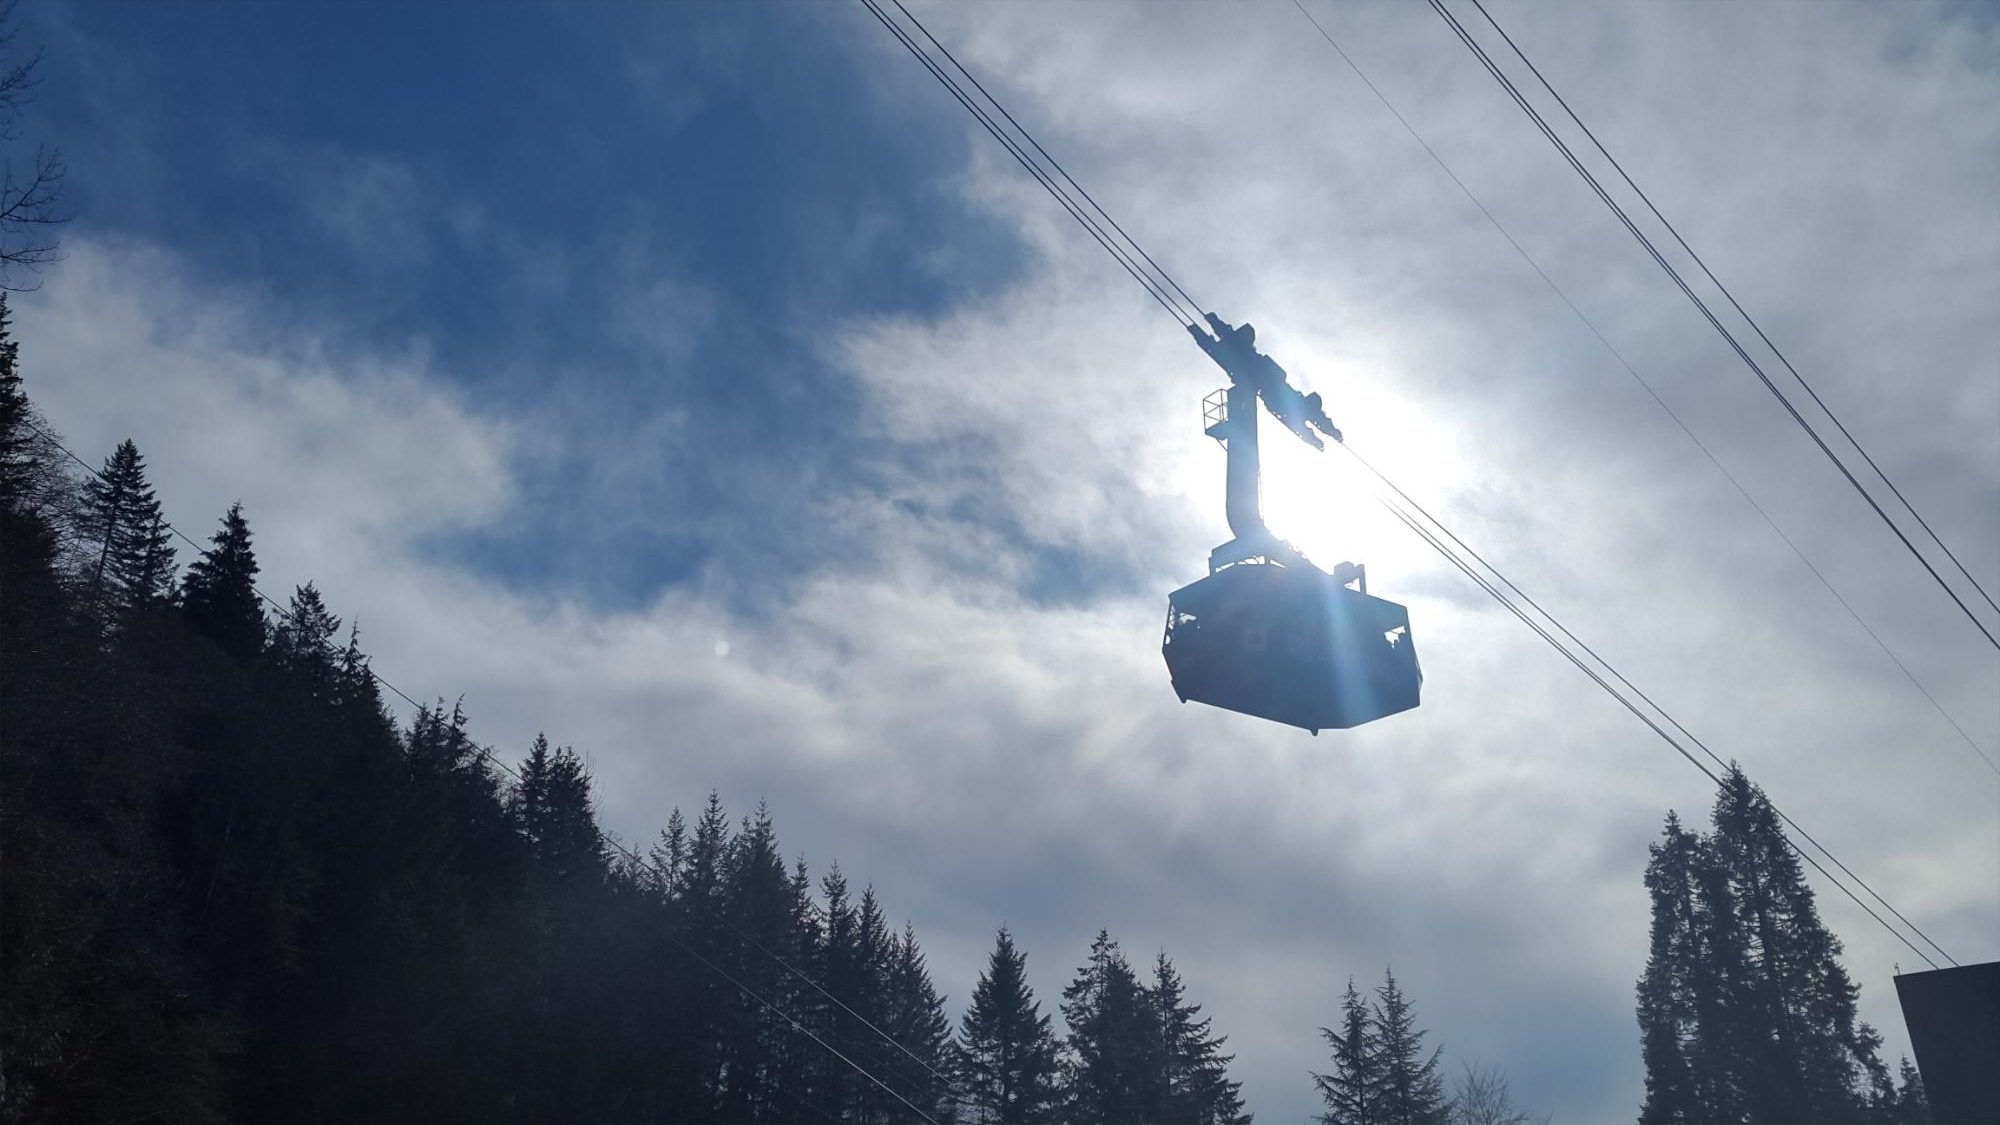
케이블 카(Cable Car)를 타고 바로 내려오기에는 시간이 많은 것 같아서 그냥 정상까지 등산하기로 결정했다.
I thought I had a lot of time to come straight down by cable car, so I just decided to climb to the top.
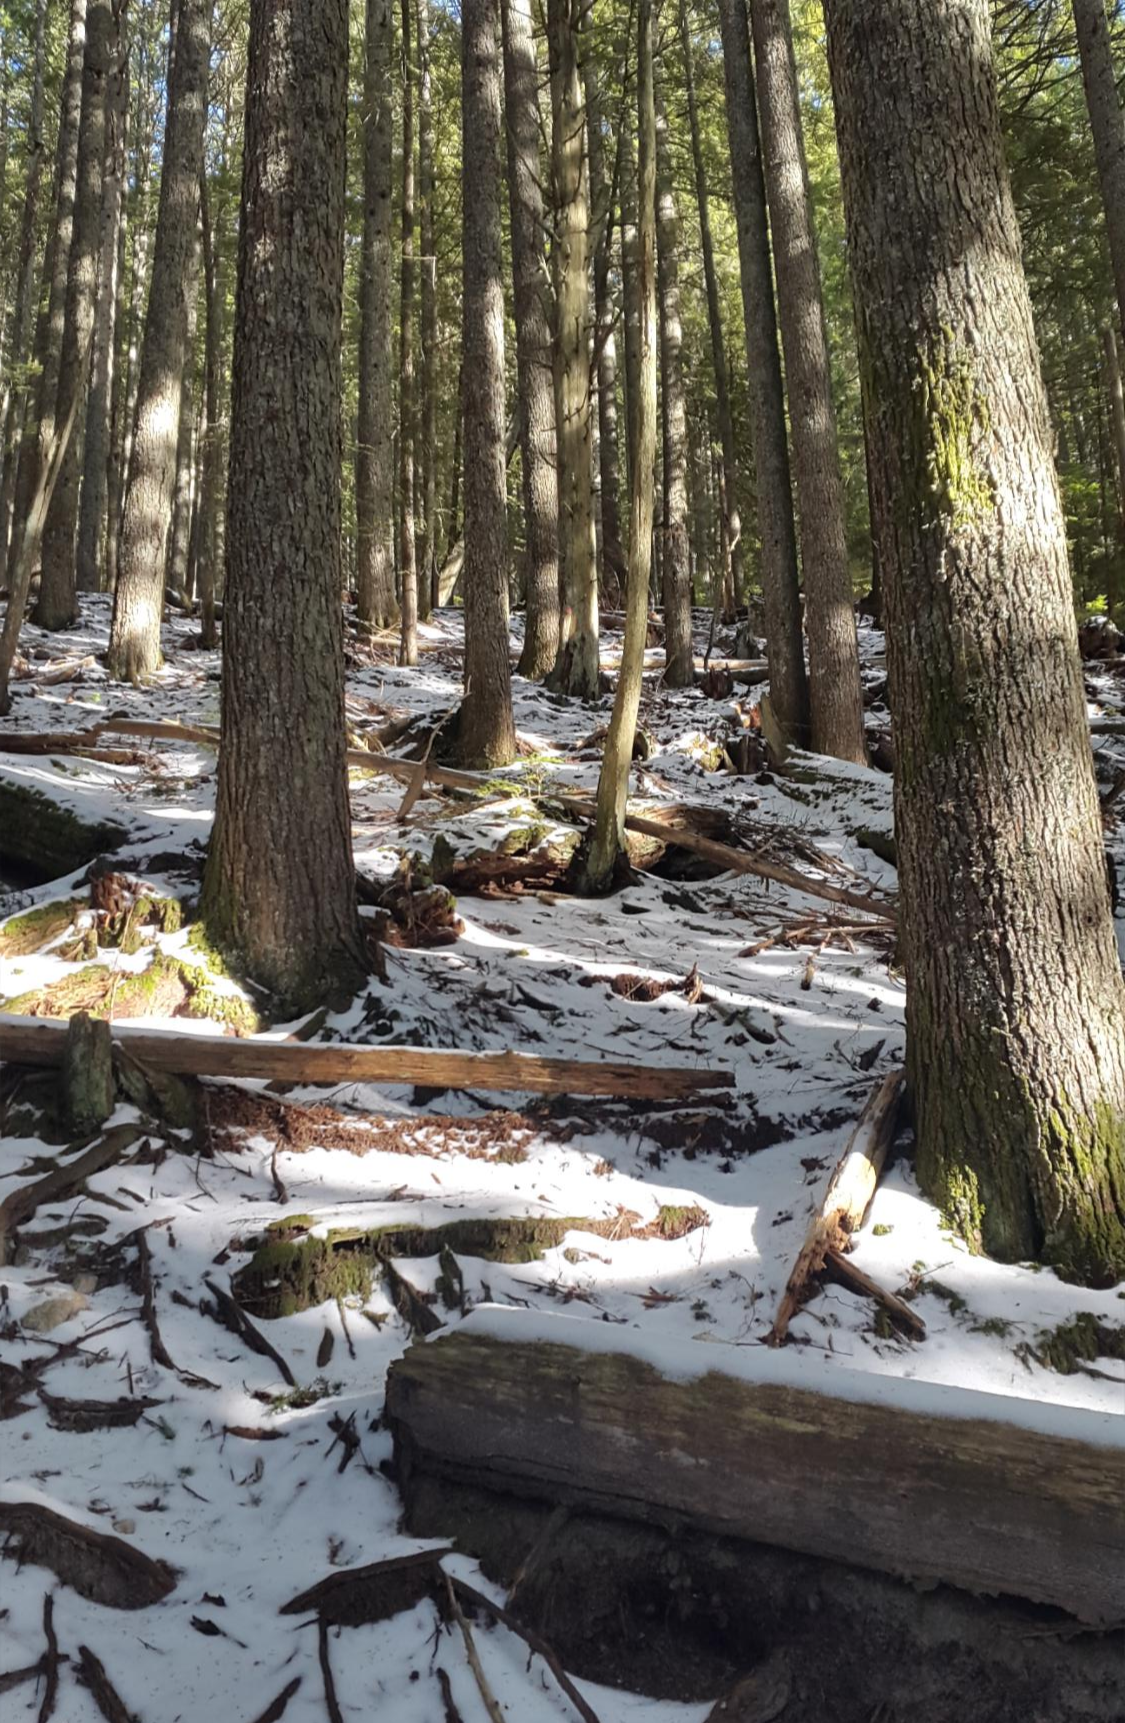
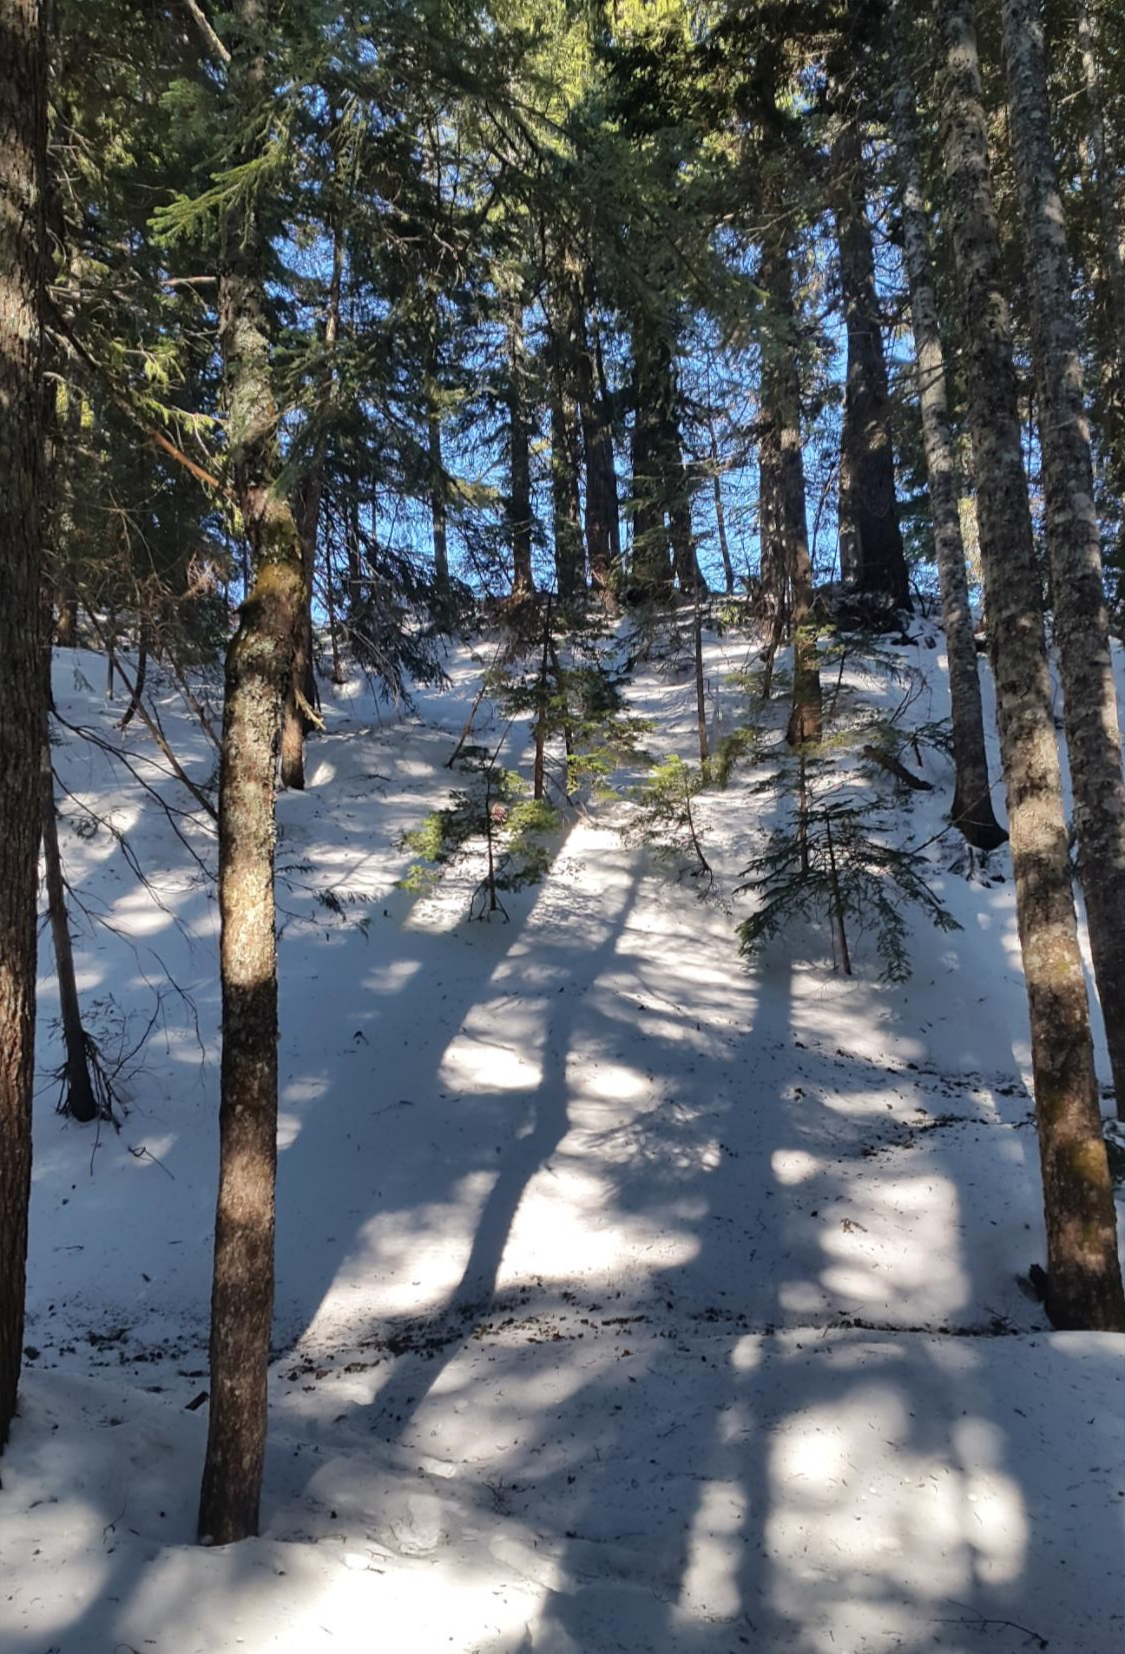
주의: 길이 엄청 위험하고 정상까지 3시간 정도 걸리니 등산 마니아가 아니라면 추천하지 않습니다. 올라가는 길에 포기하는 사람들도 많이 봤습니다. 내려오는 길이 더 어렵고 위험하기 때문에 건강에 문제가 있는 사람은 애초에 시도도 하지마세요.
CAUTION: Since the road is extremely dangerous and takes about three hours to the top, I don't recommend it unless you're a mountain climber. Don't even try in the first place if you have health problems because the way down is more difficult and dangerous.
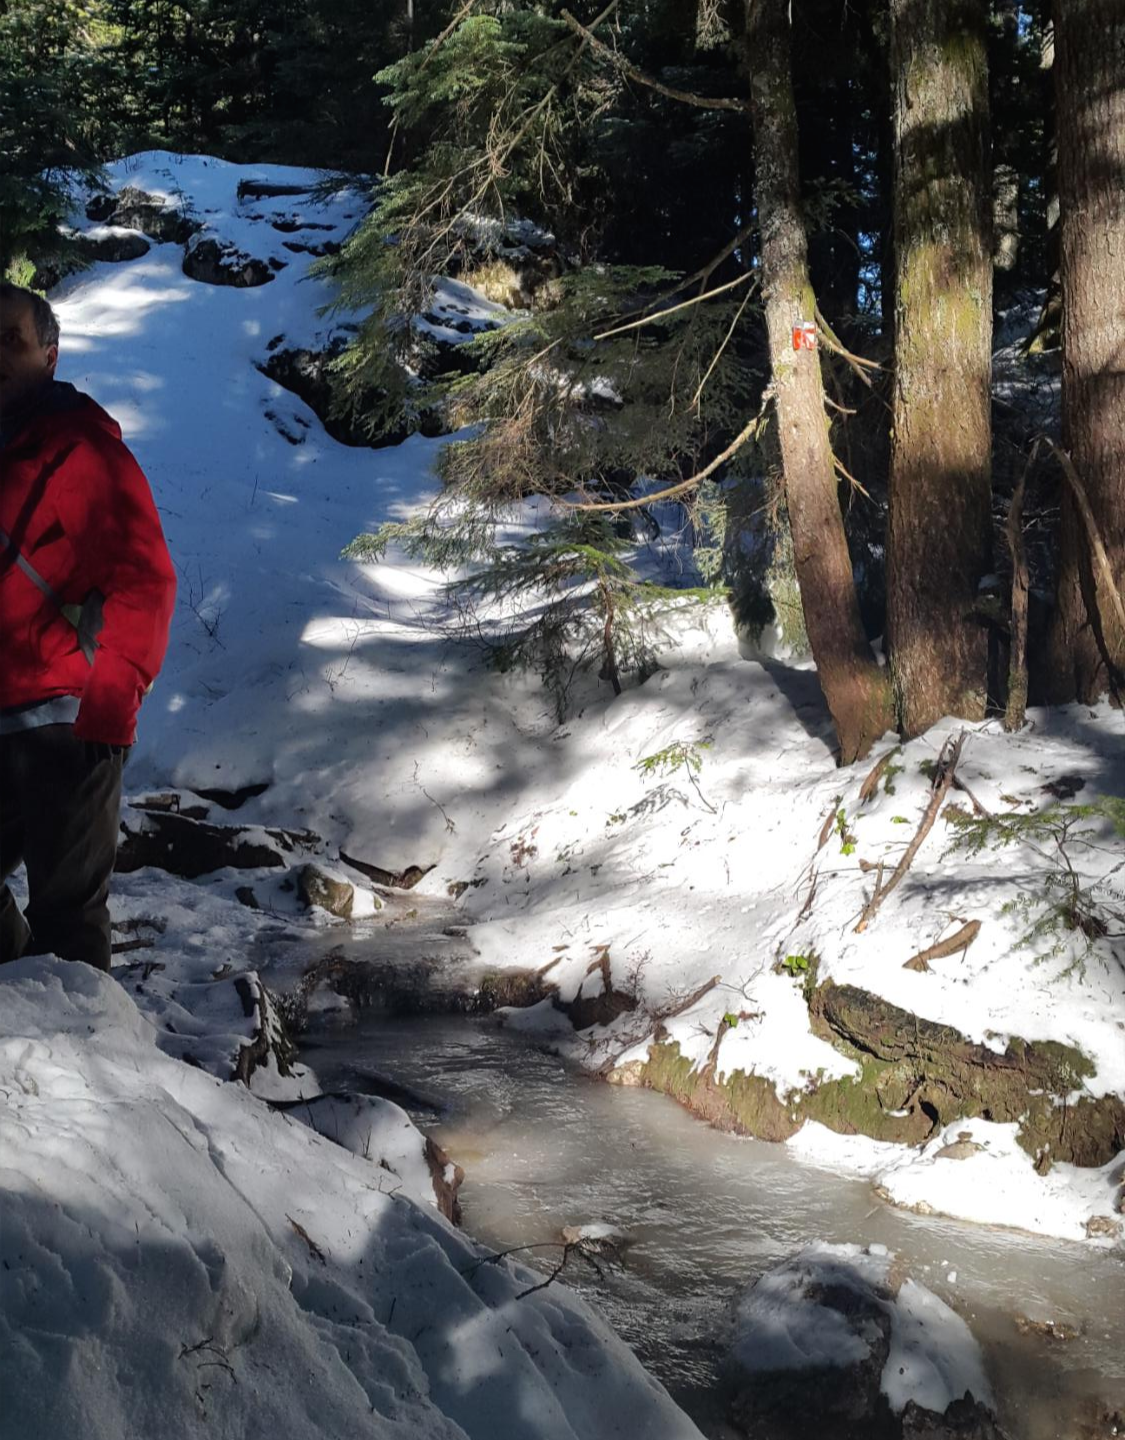
나는 1시간 정도 올라가고 너무 힘들었지만 가는 길에 말벗이 되는 사람을 만나서 정말 다행이었다. 저 빨간 옷을 입은 친구(Abi)가 자기만 잘 따라오라고 해서 걱정 없이 정상까지 잘 등산했다.
I went up about an hour and it was so hard, but I was really lucky to meet someone who was left speechless on the way. That red-clad friend (Abi) told me to keep up with him, so I climbed to the top without worrying.
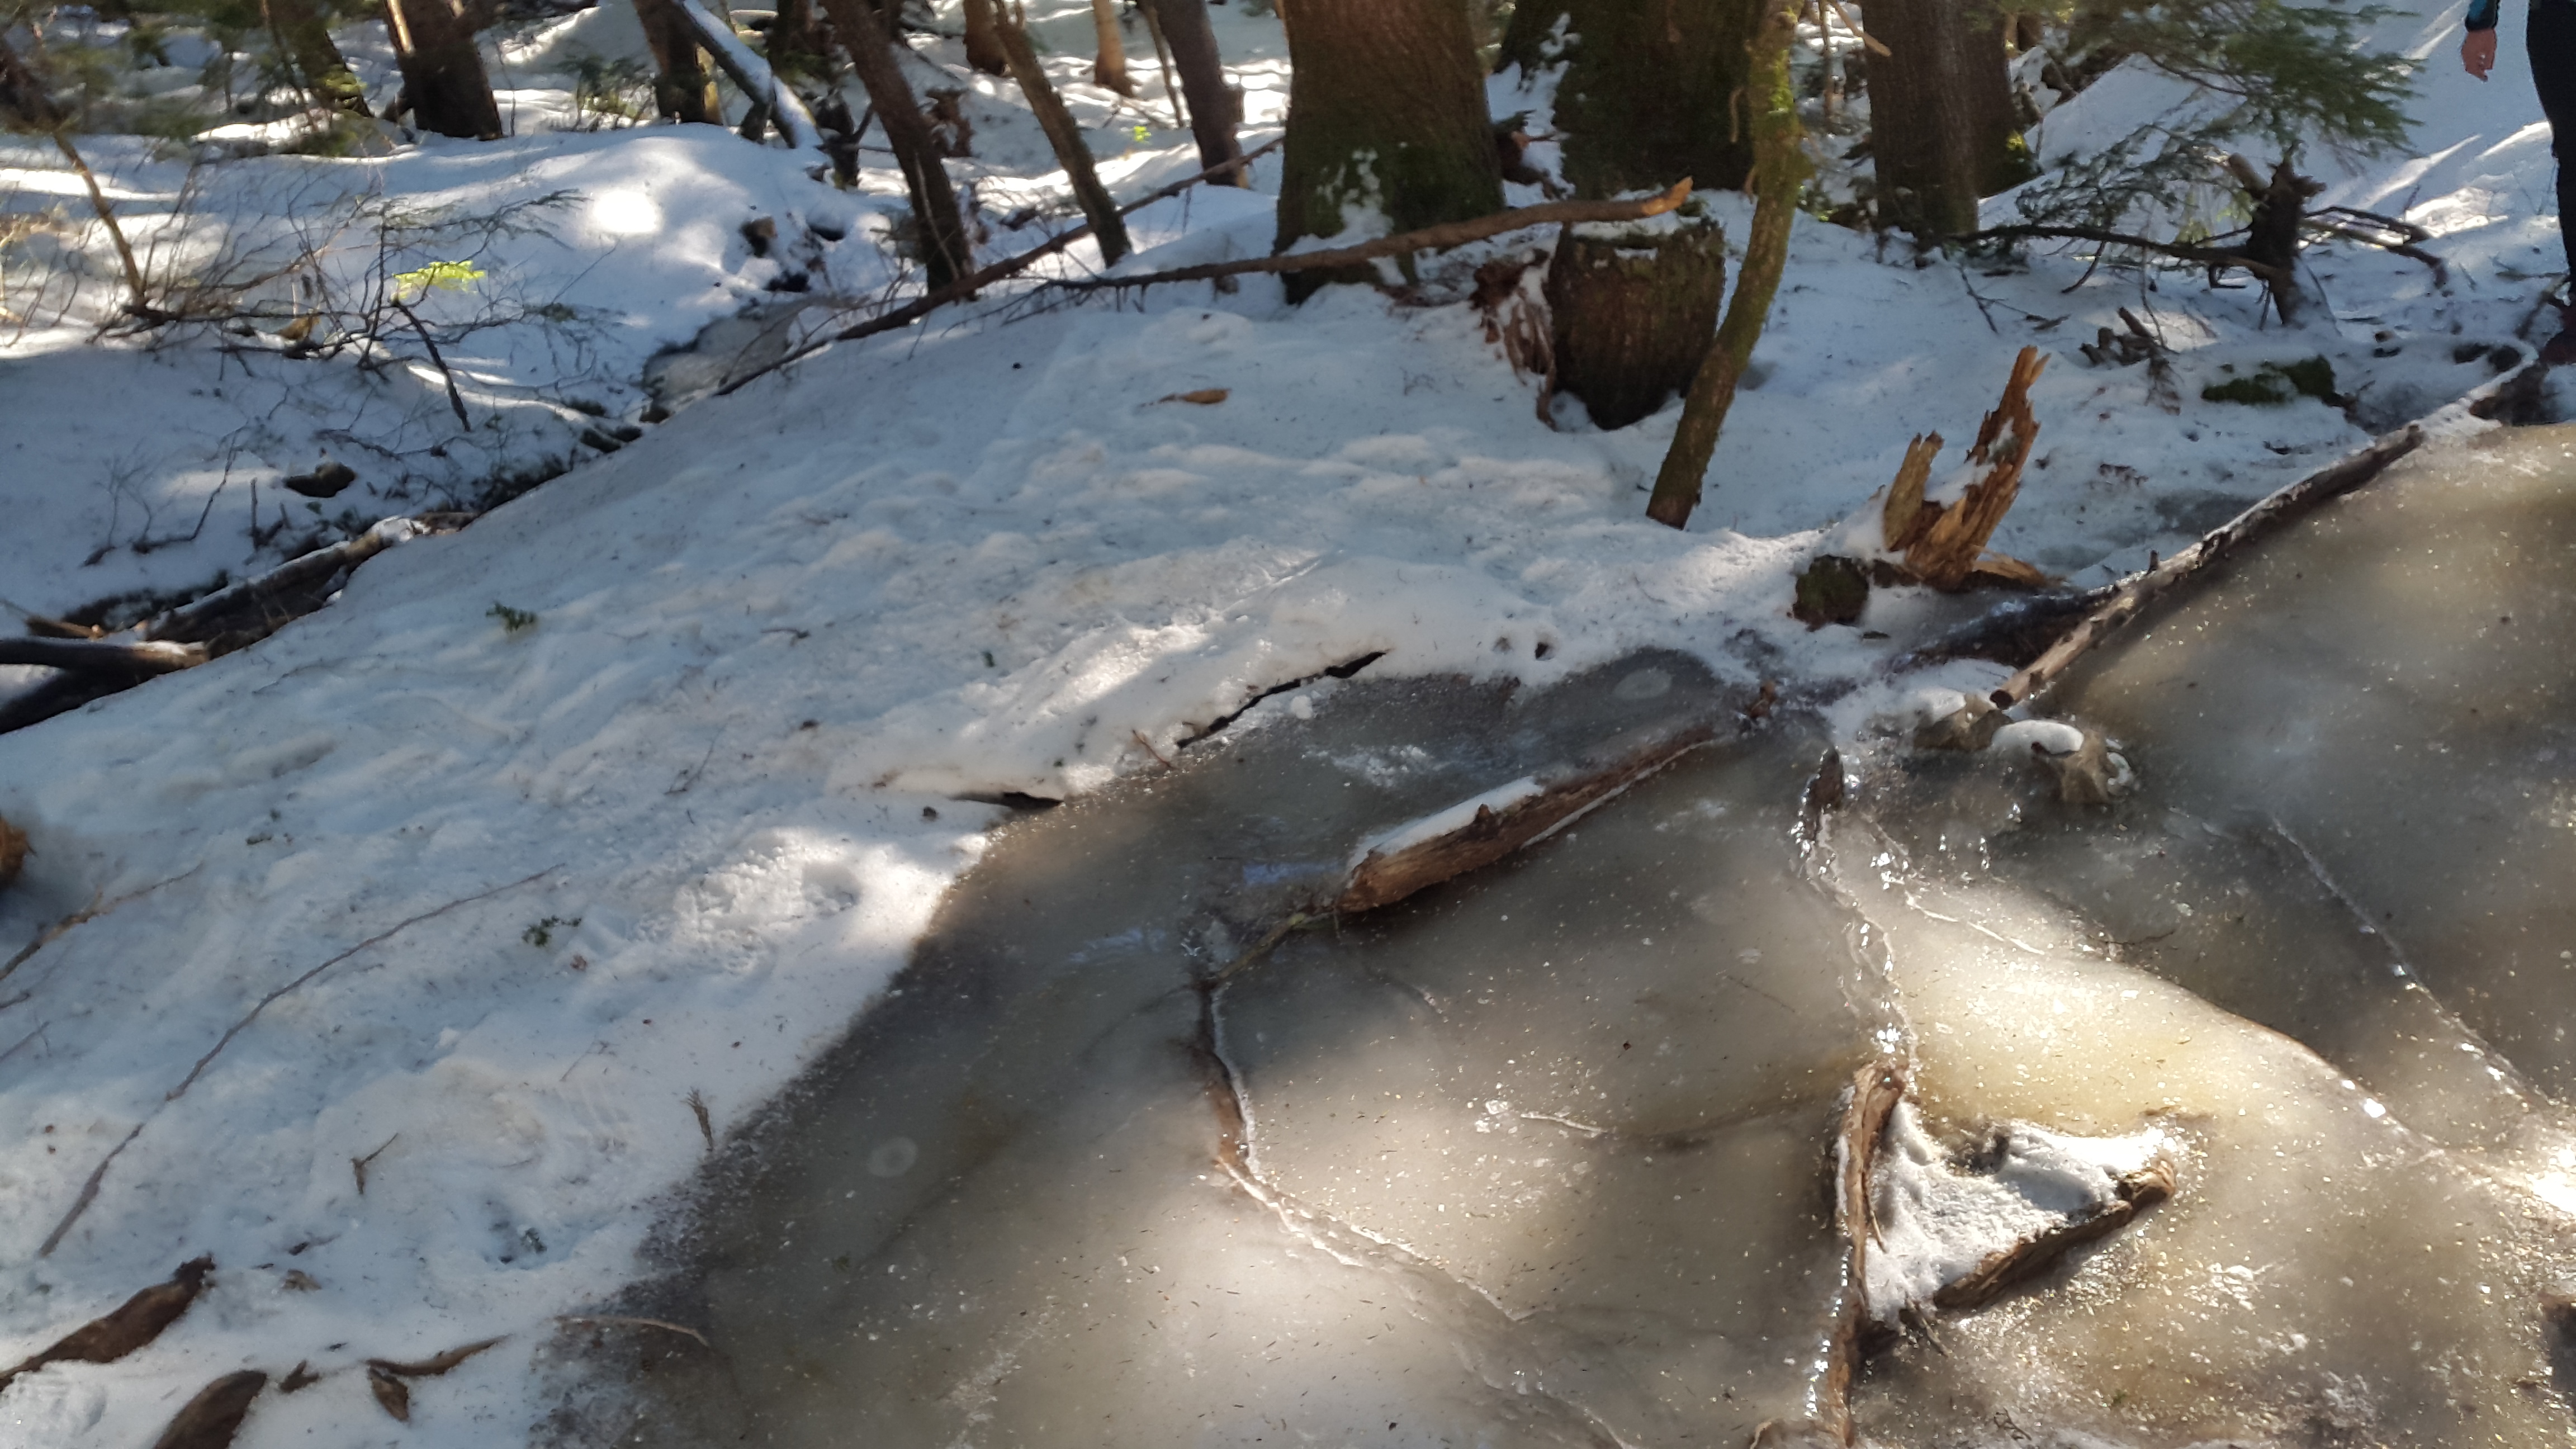
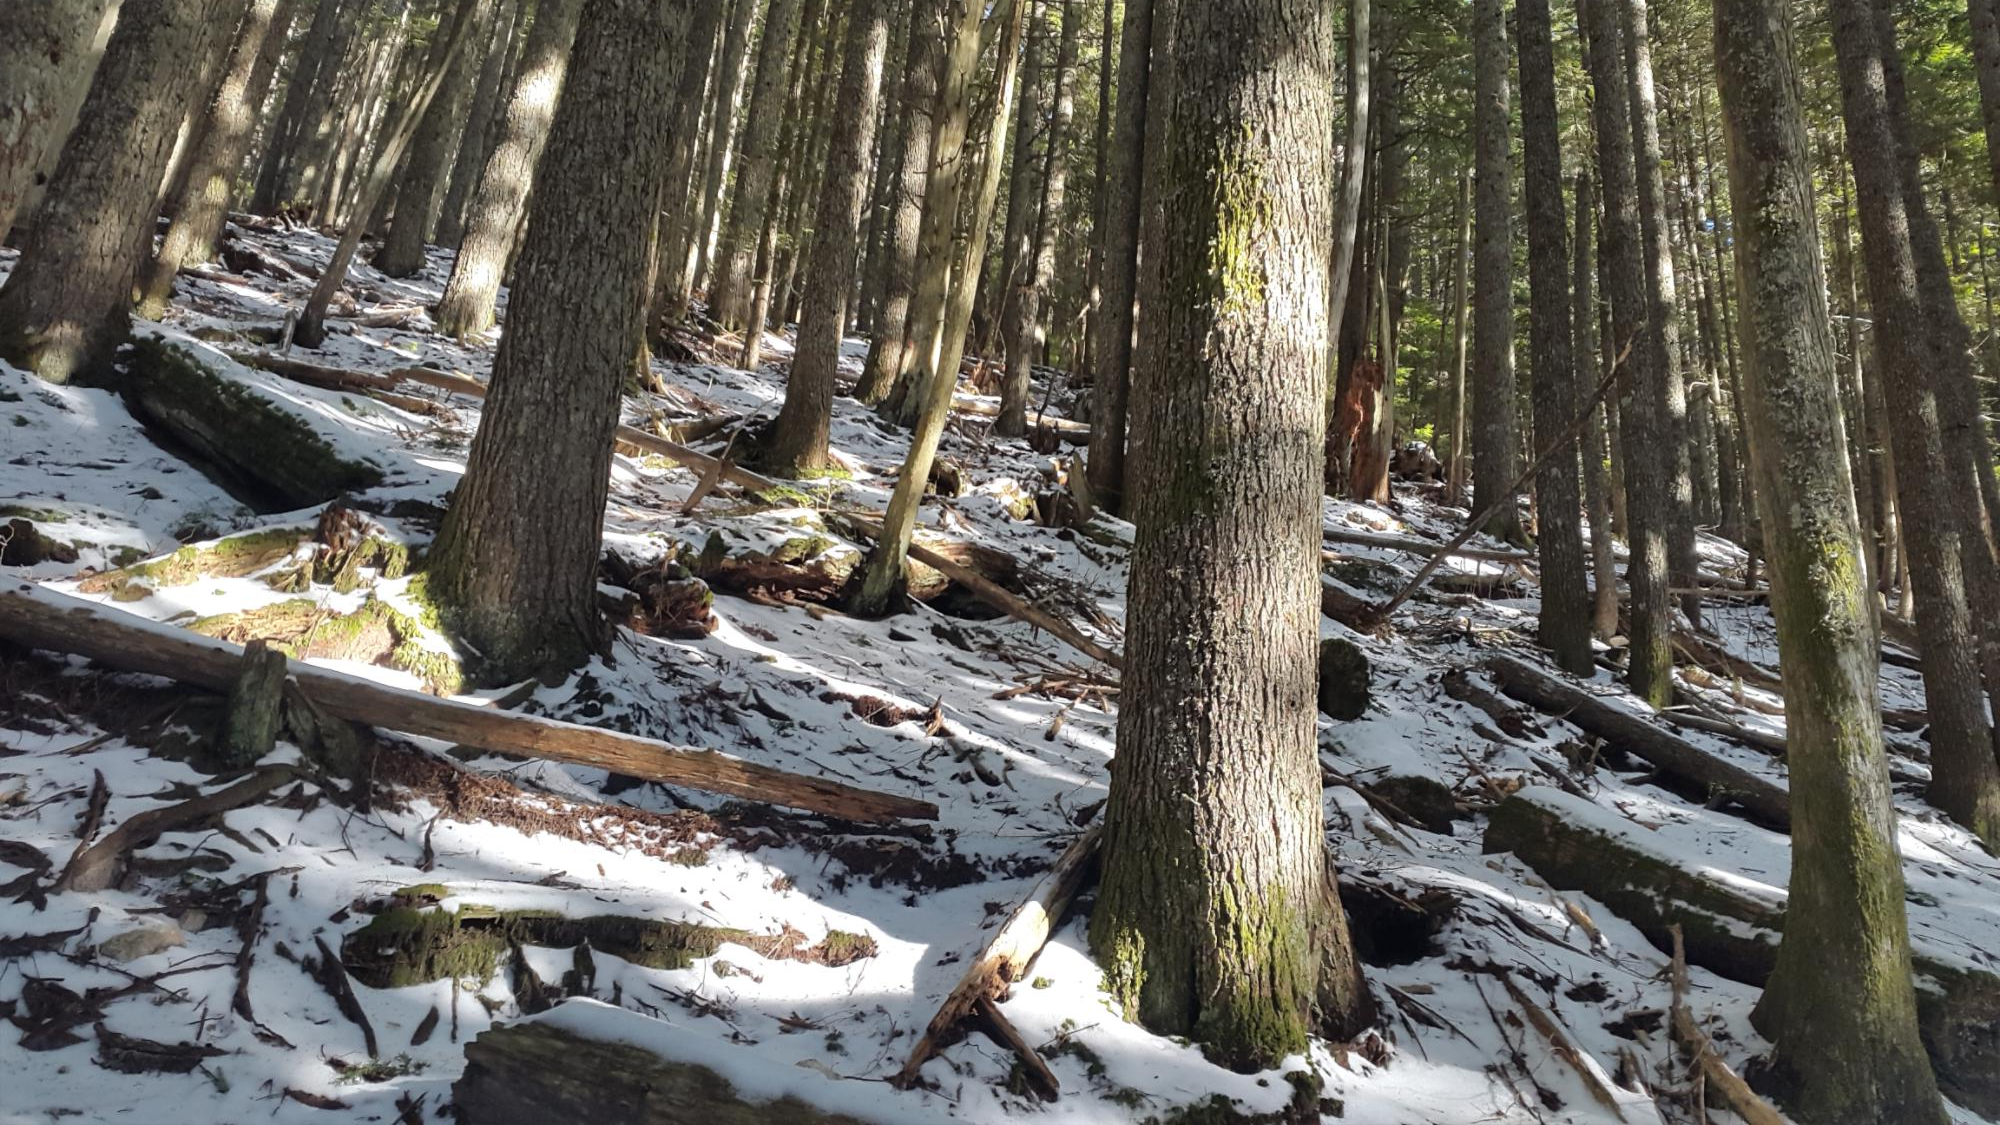
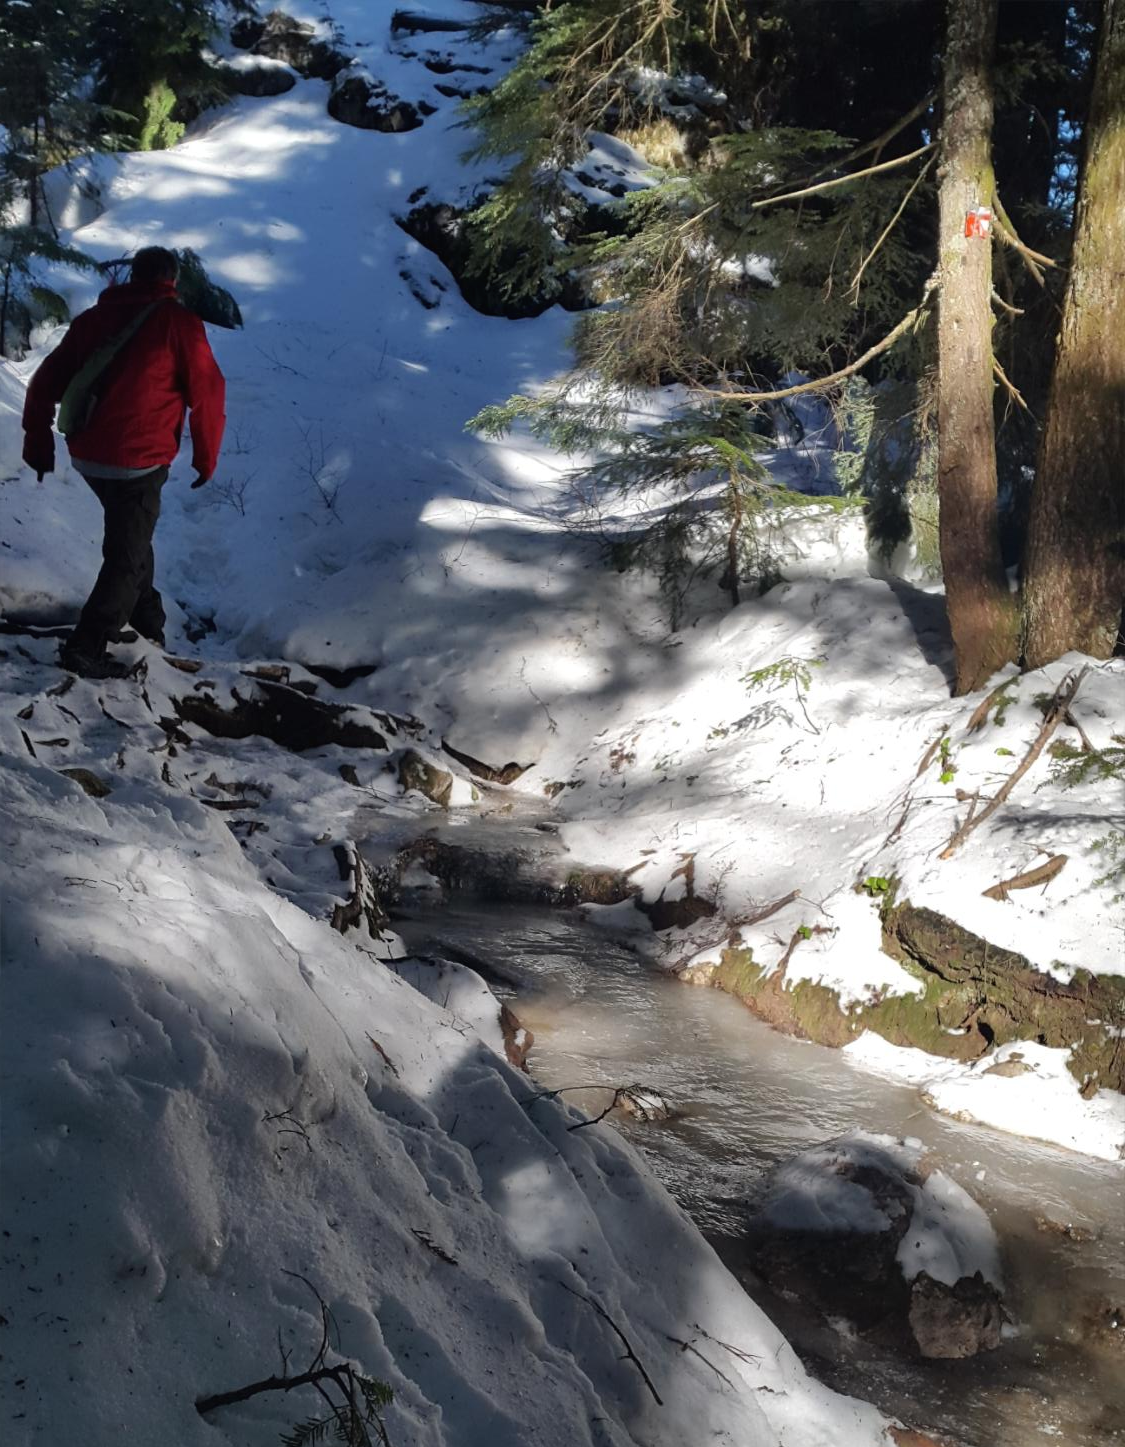
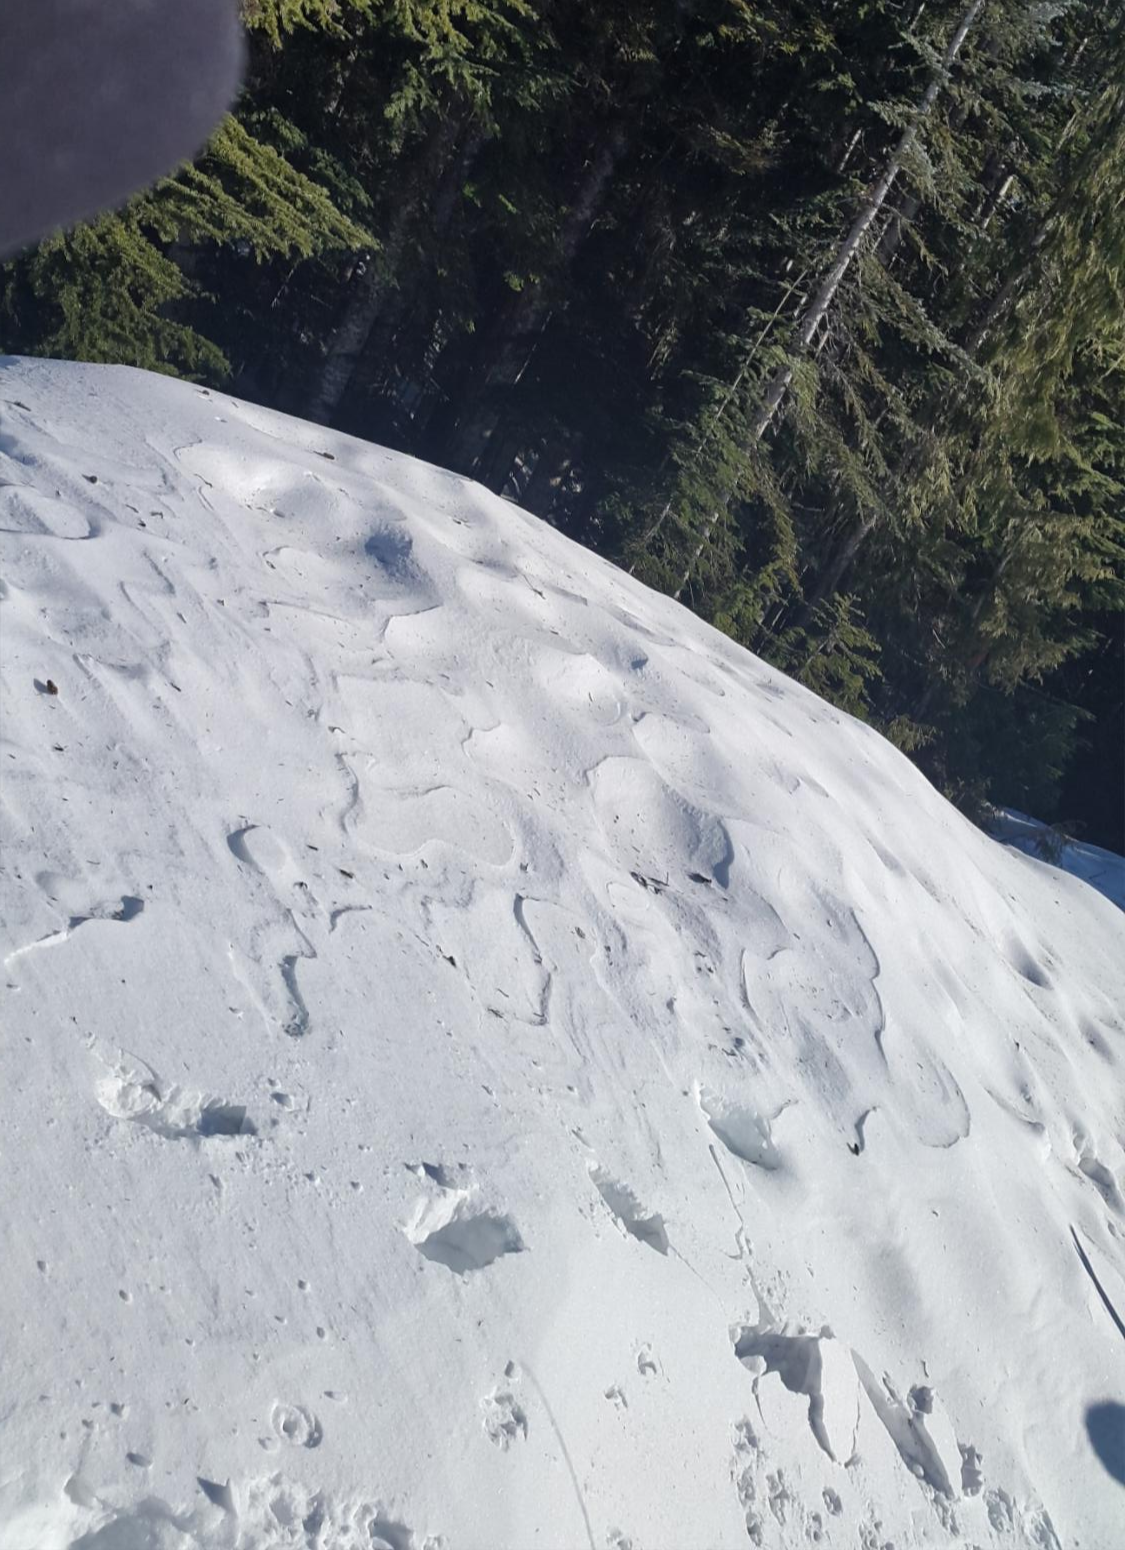
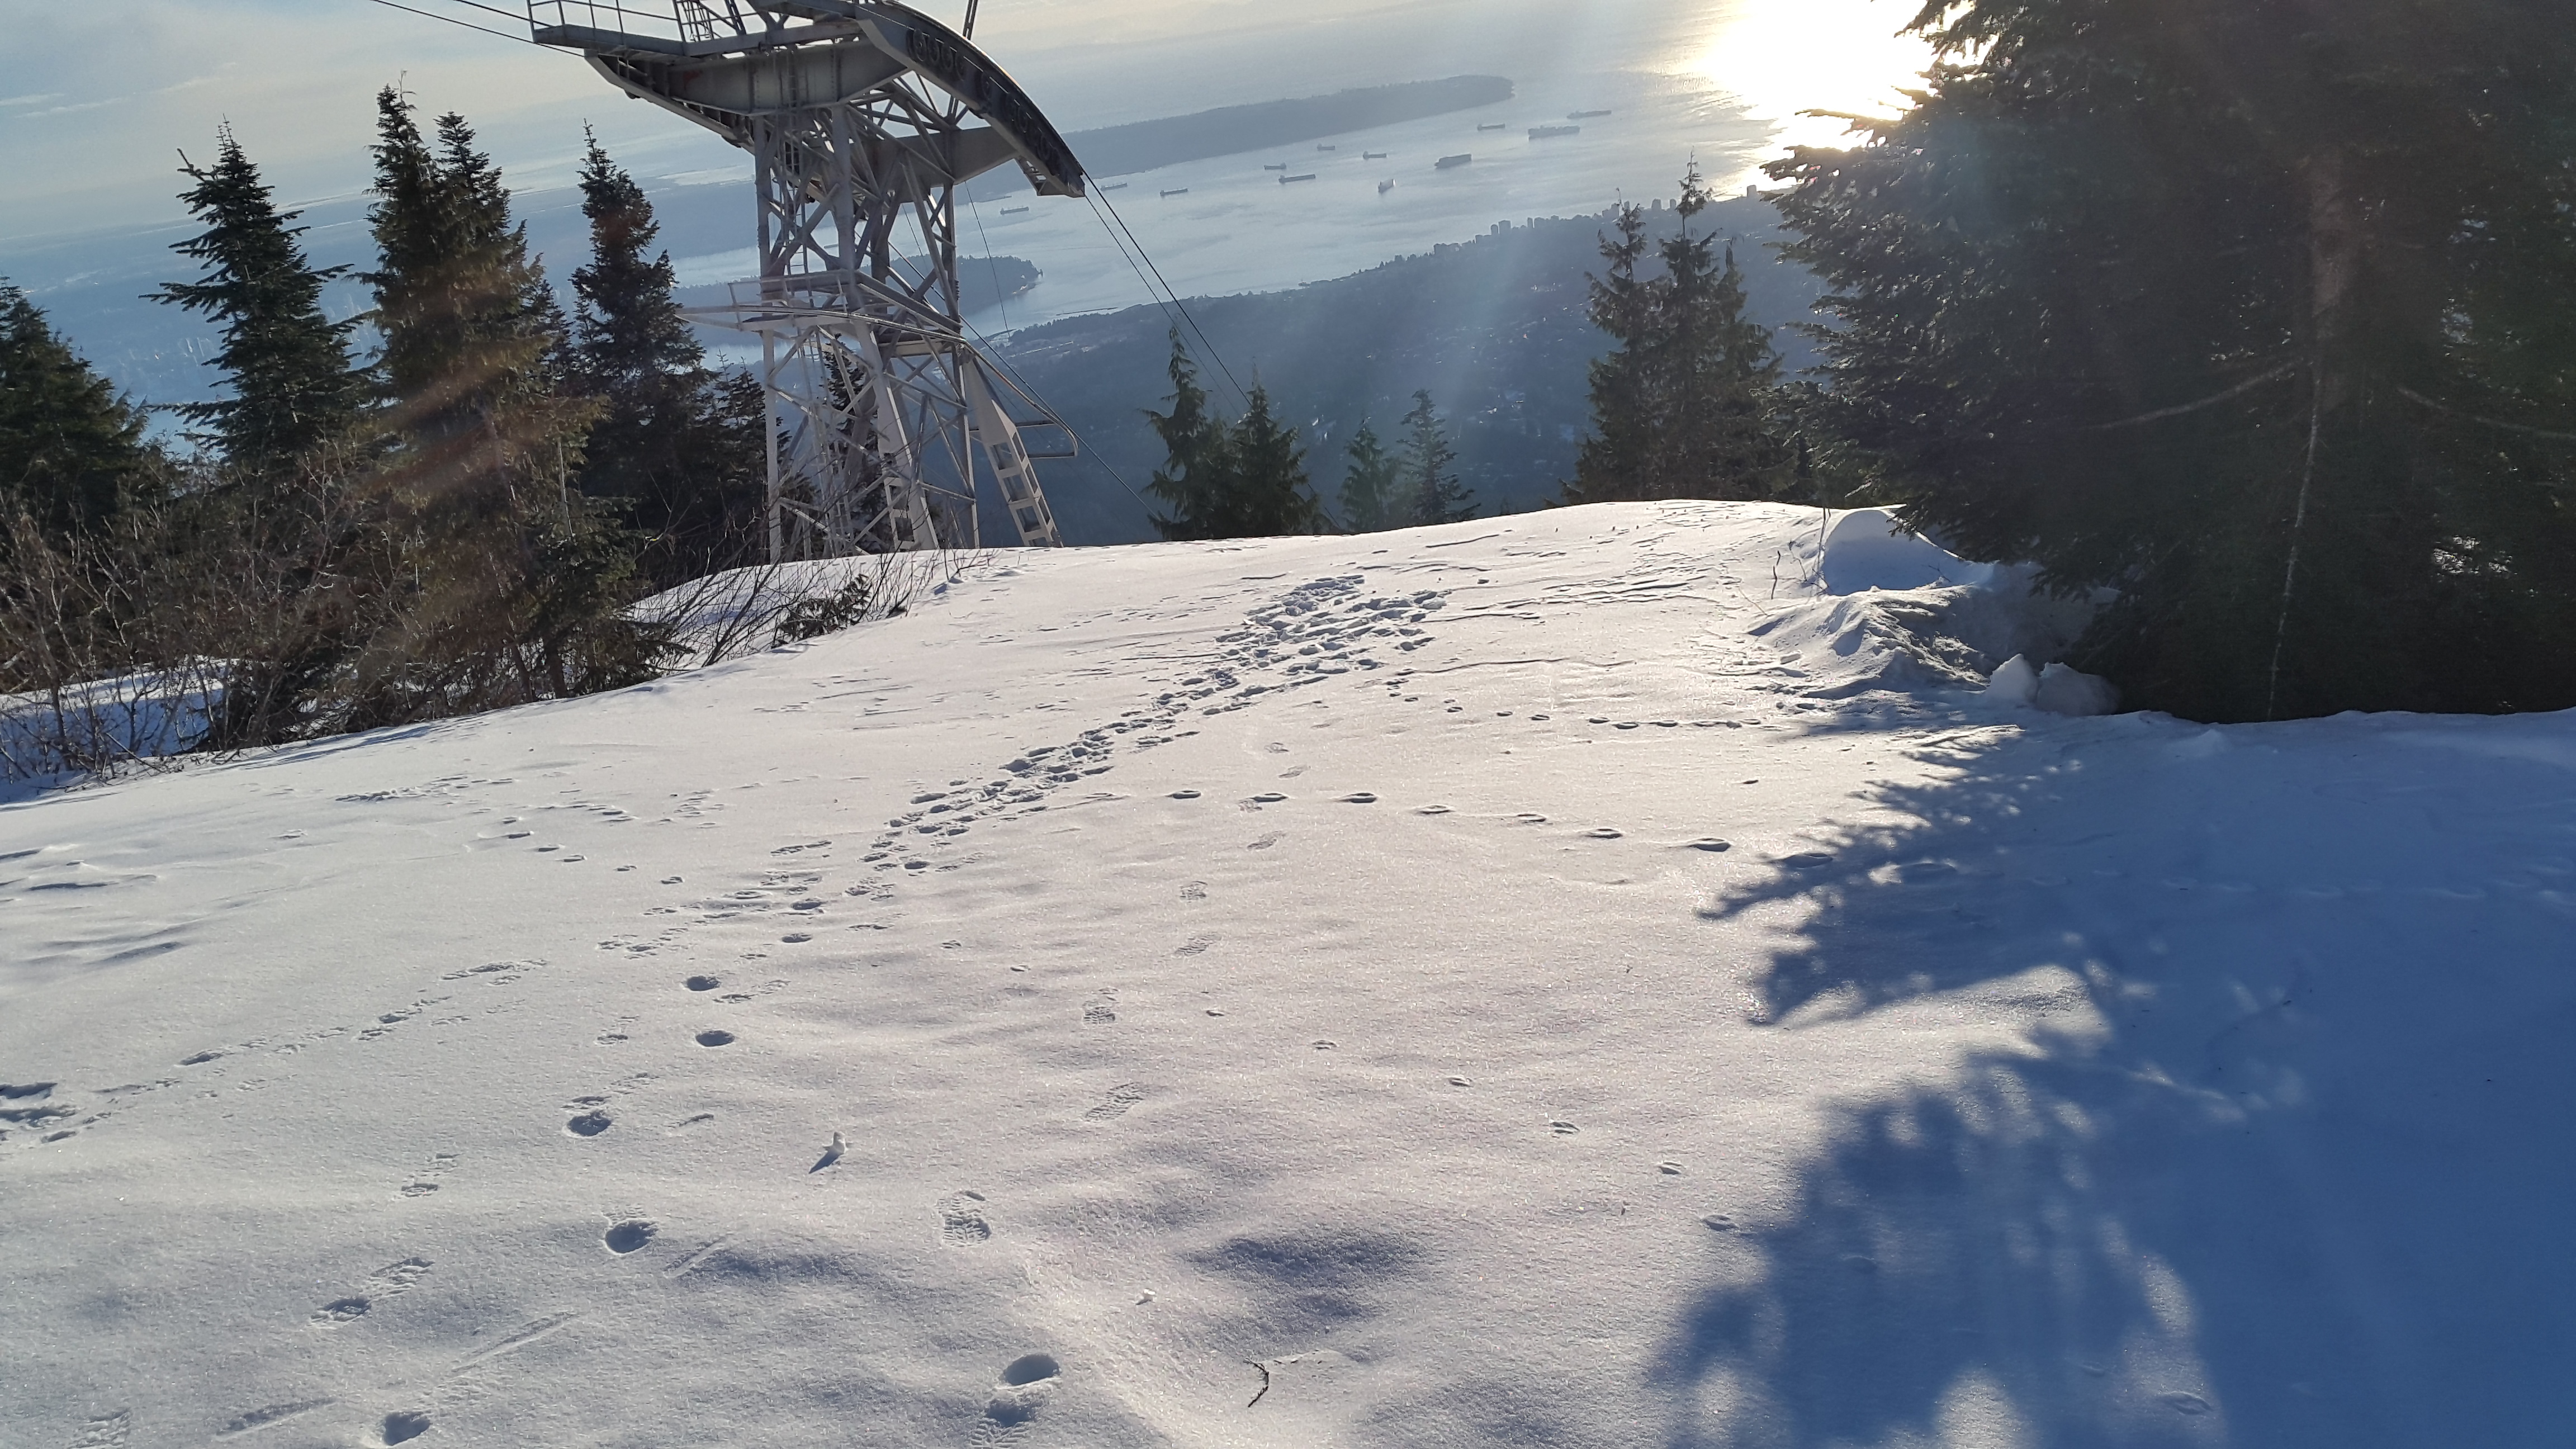
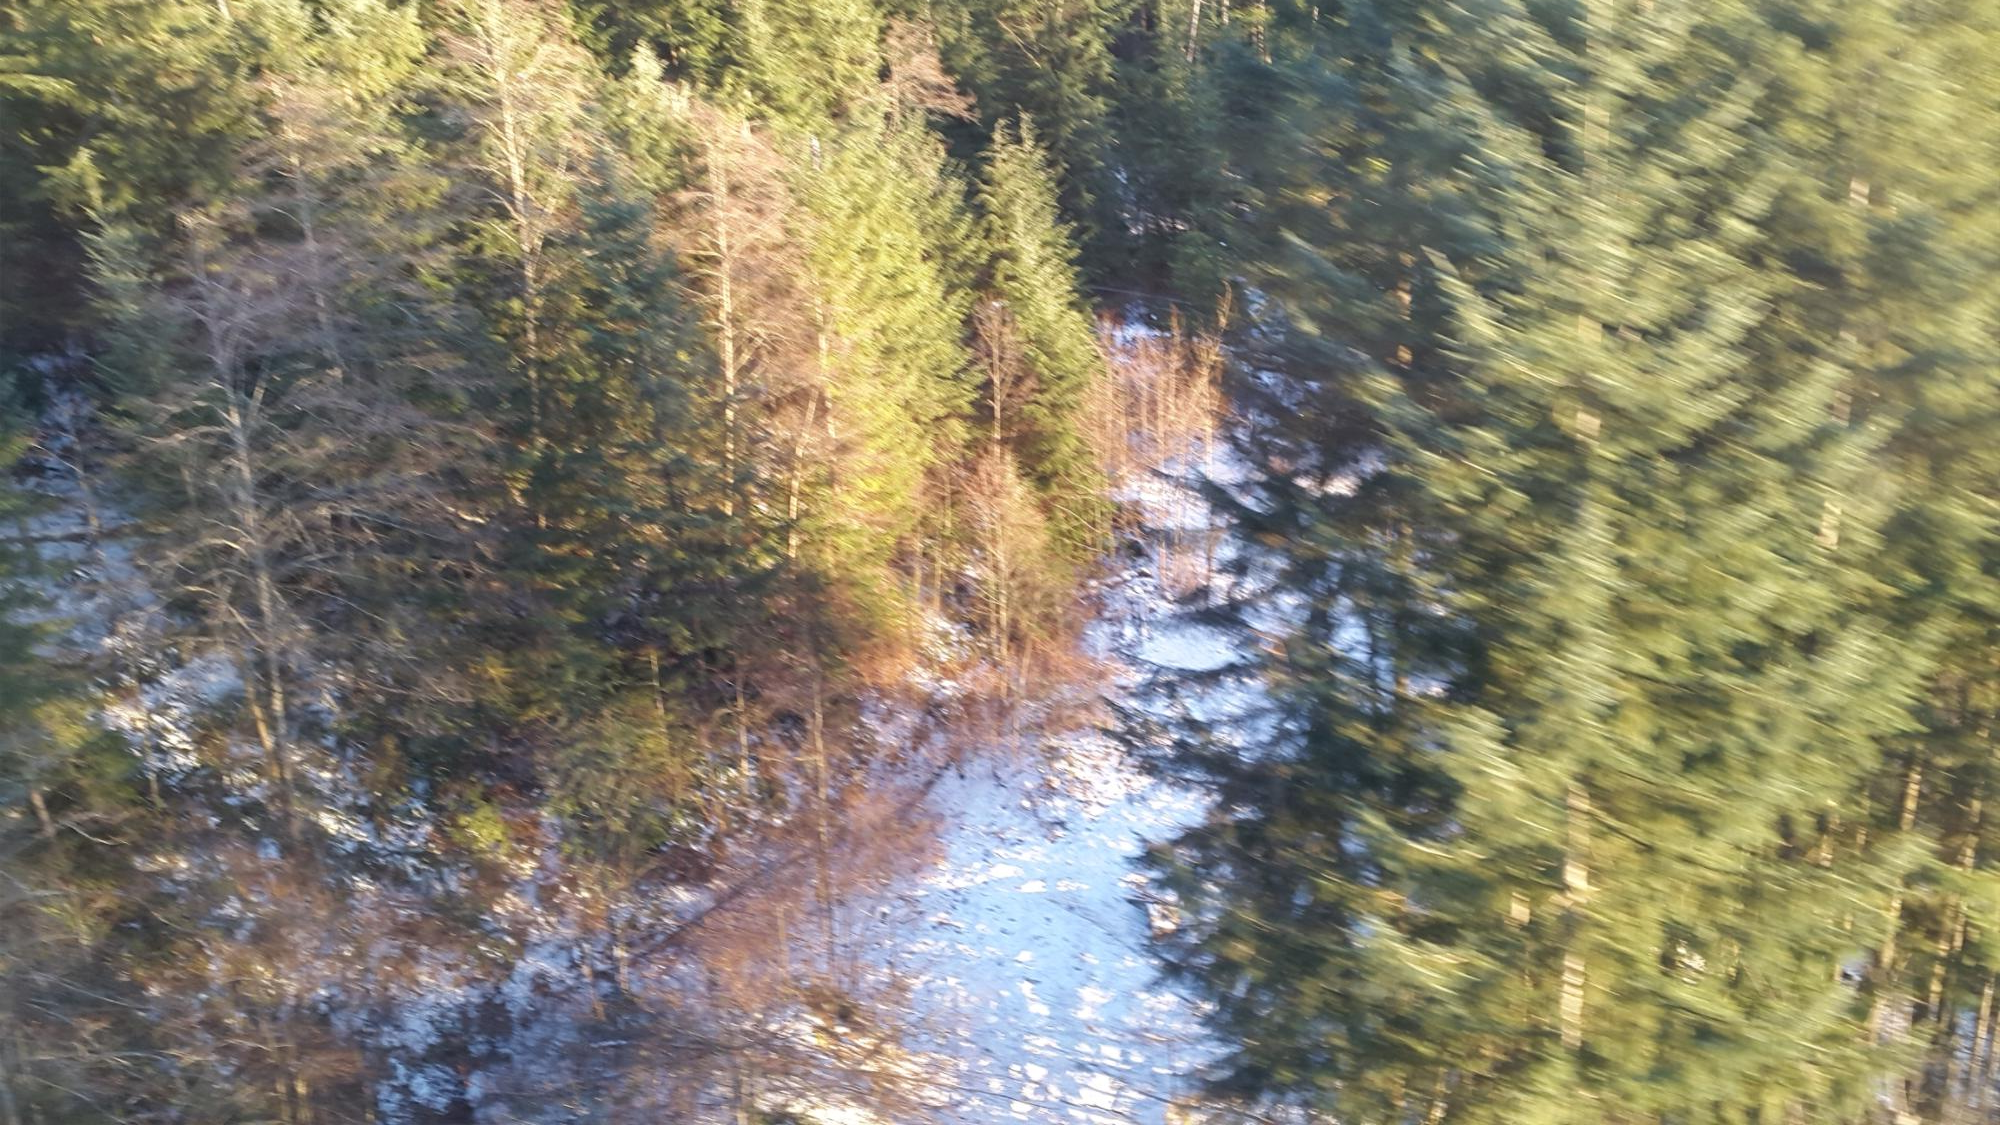
겨울에는 이렇게 바닥이 완전히 얼어있기 때문에 절대 절대 추천하지 않습니다. 정말로 죽을 수도 있습니다.
I never recommend it in winter because the floor is completely frozen like this. You could really die.
이 기회를 통해서 아비(Abi)에게 감사함을 전합니다. 저 친구 없었으면 등산 중에 미아가 되었을텐데.
I take this opportunity to thank Abi. Without him, I would have become a lost child while climbing.
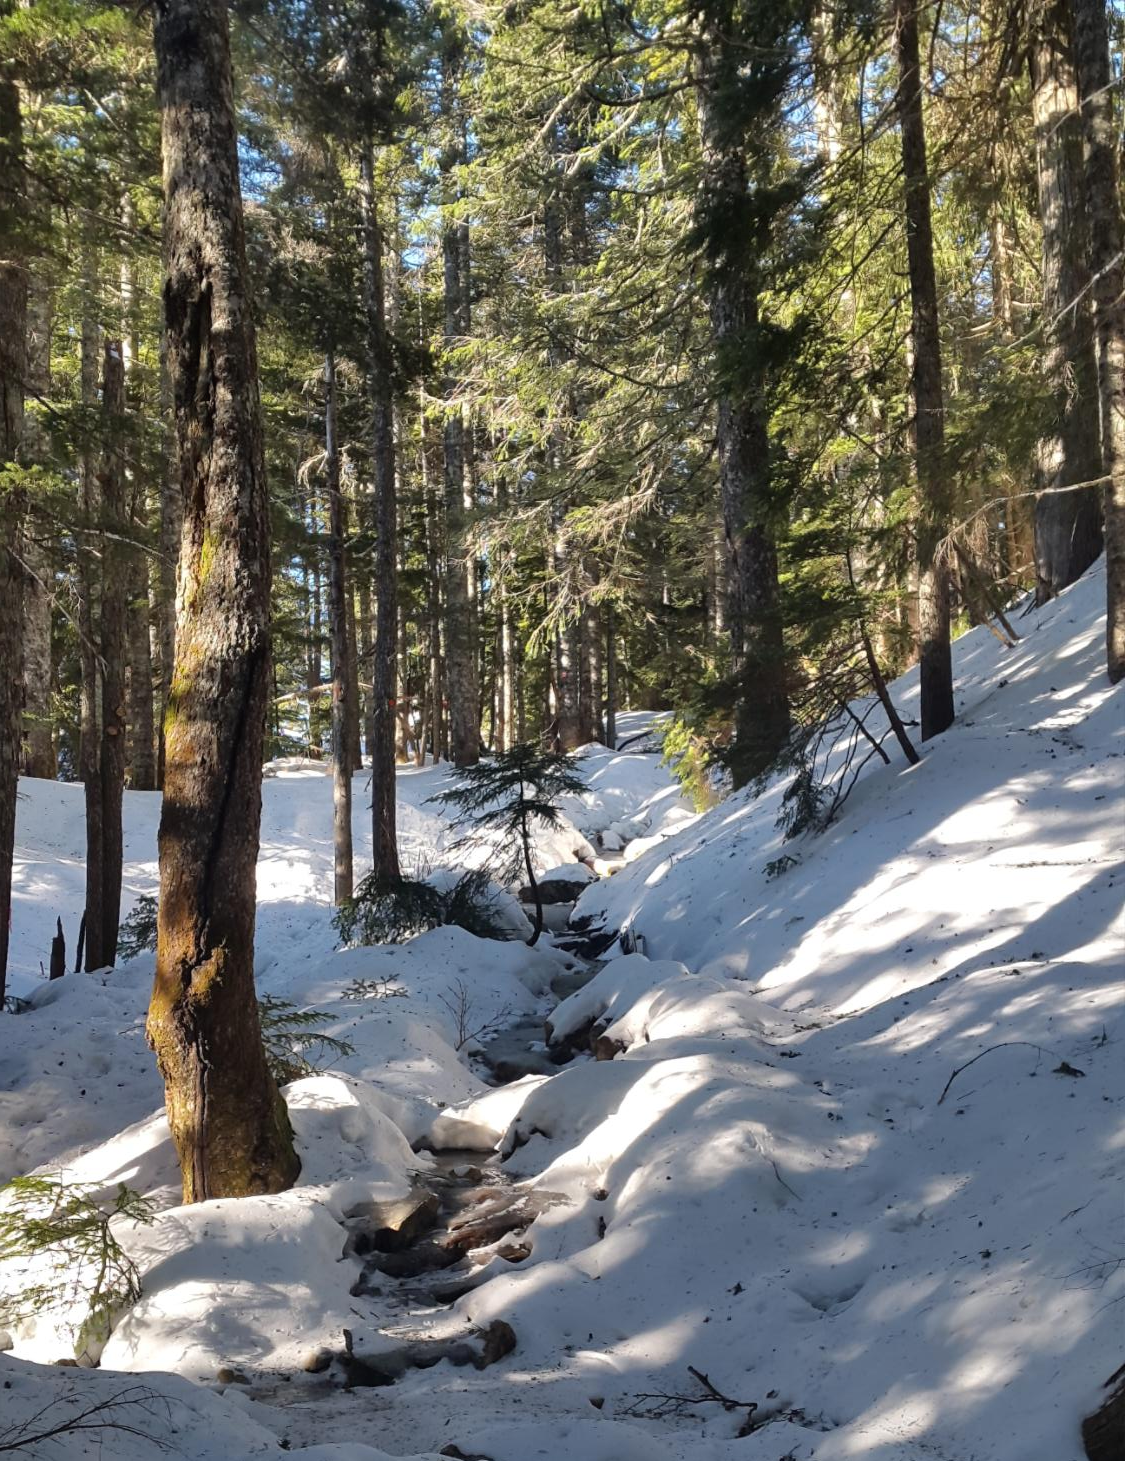
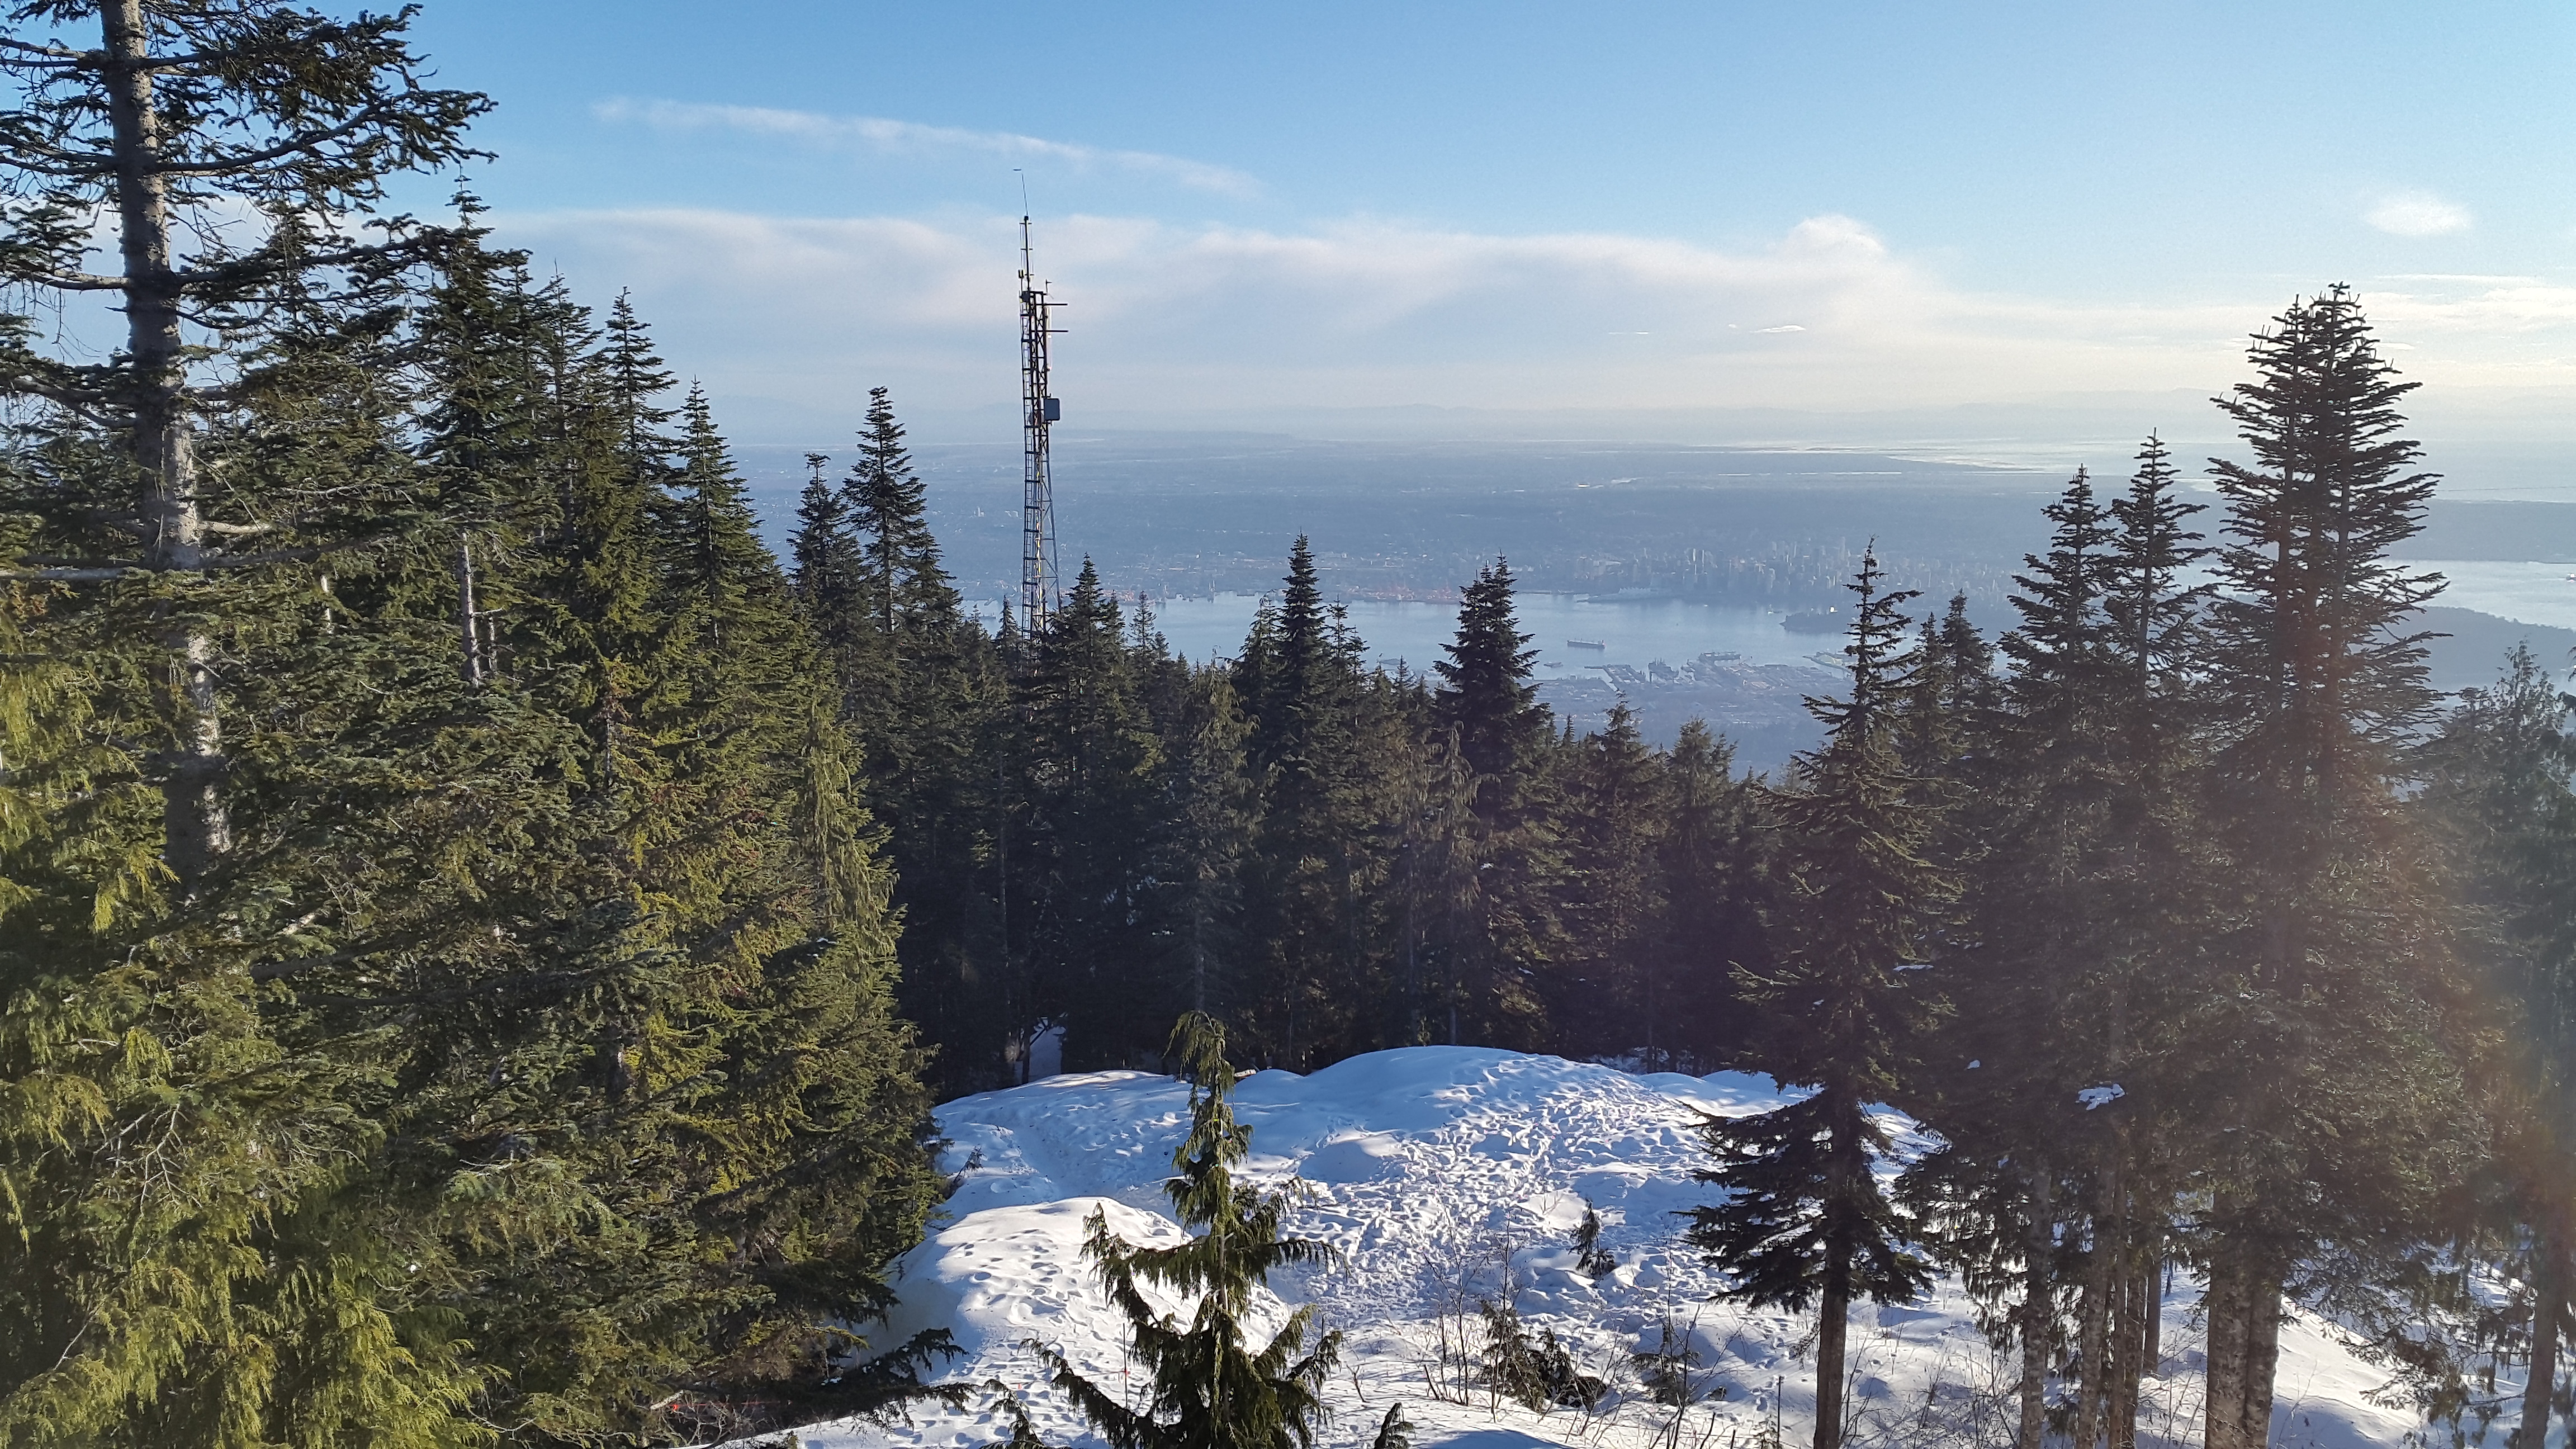
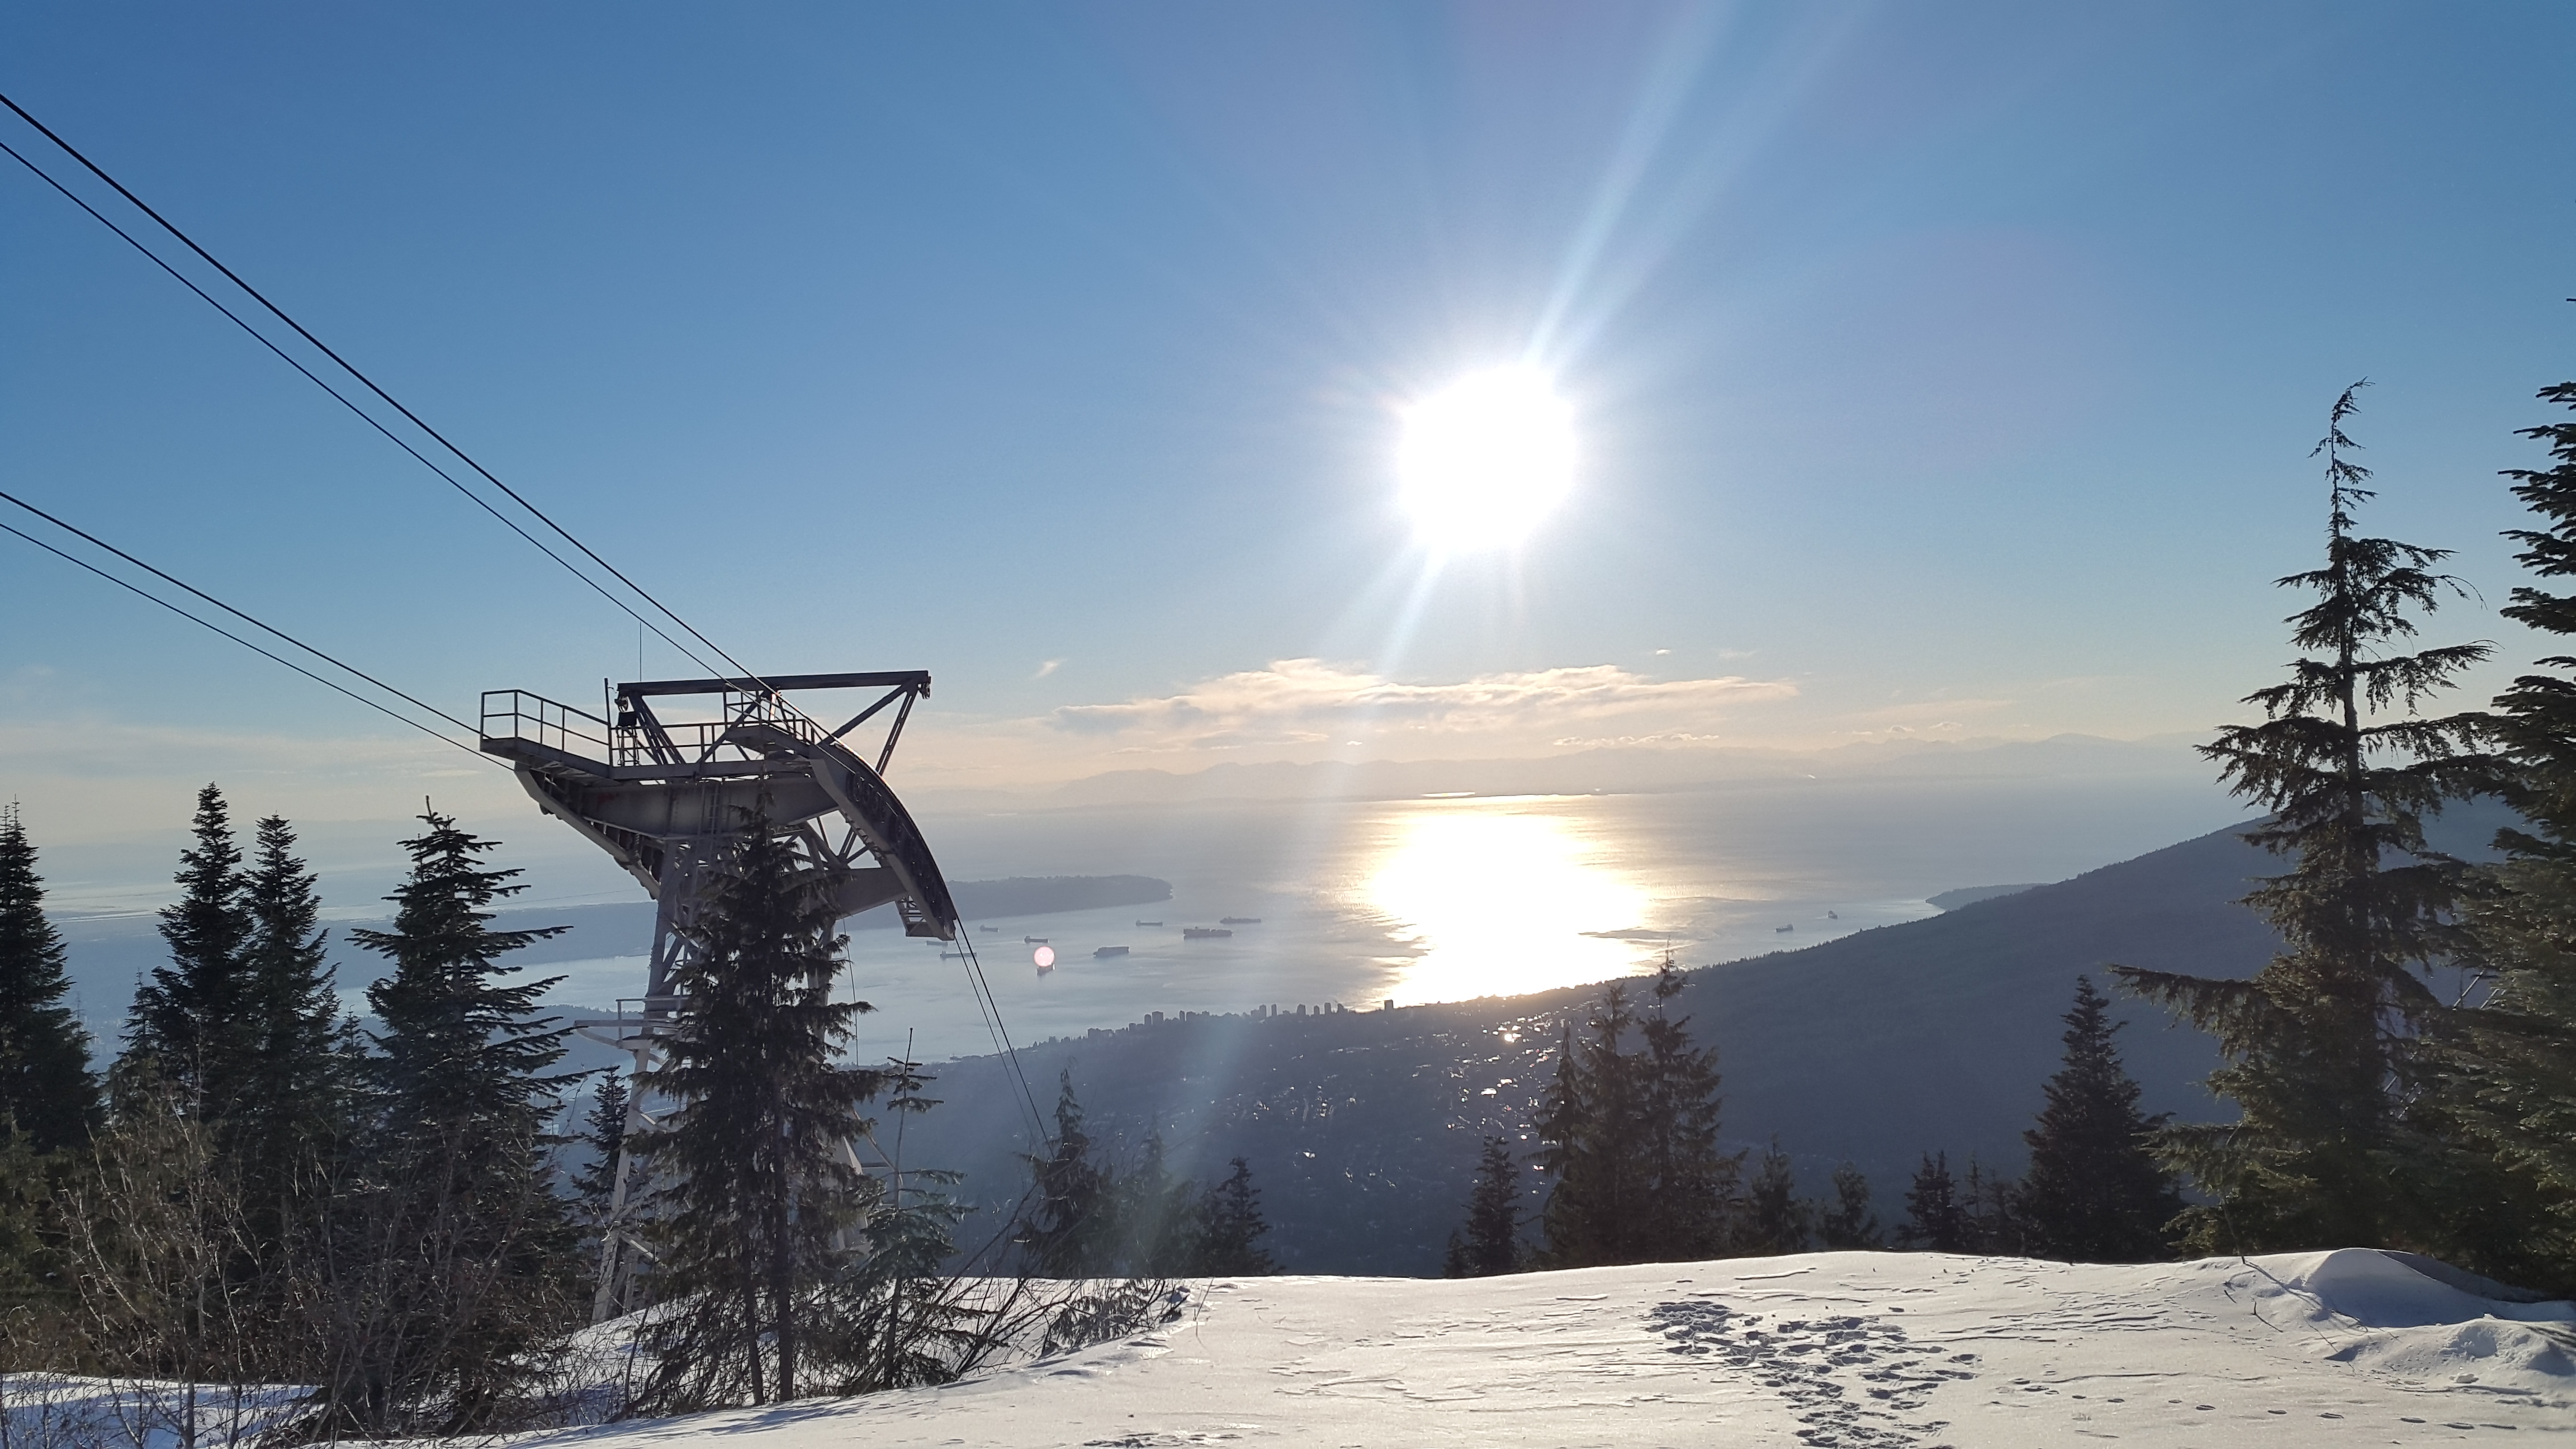
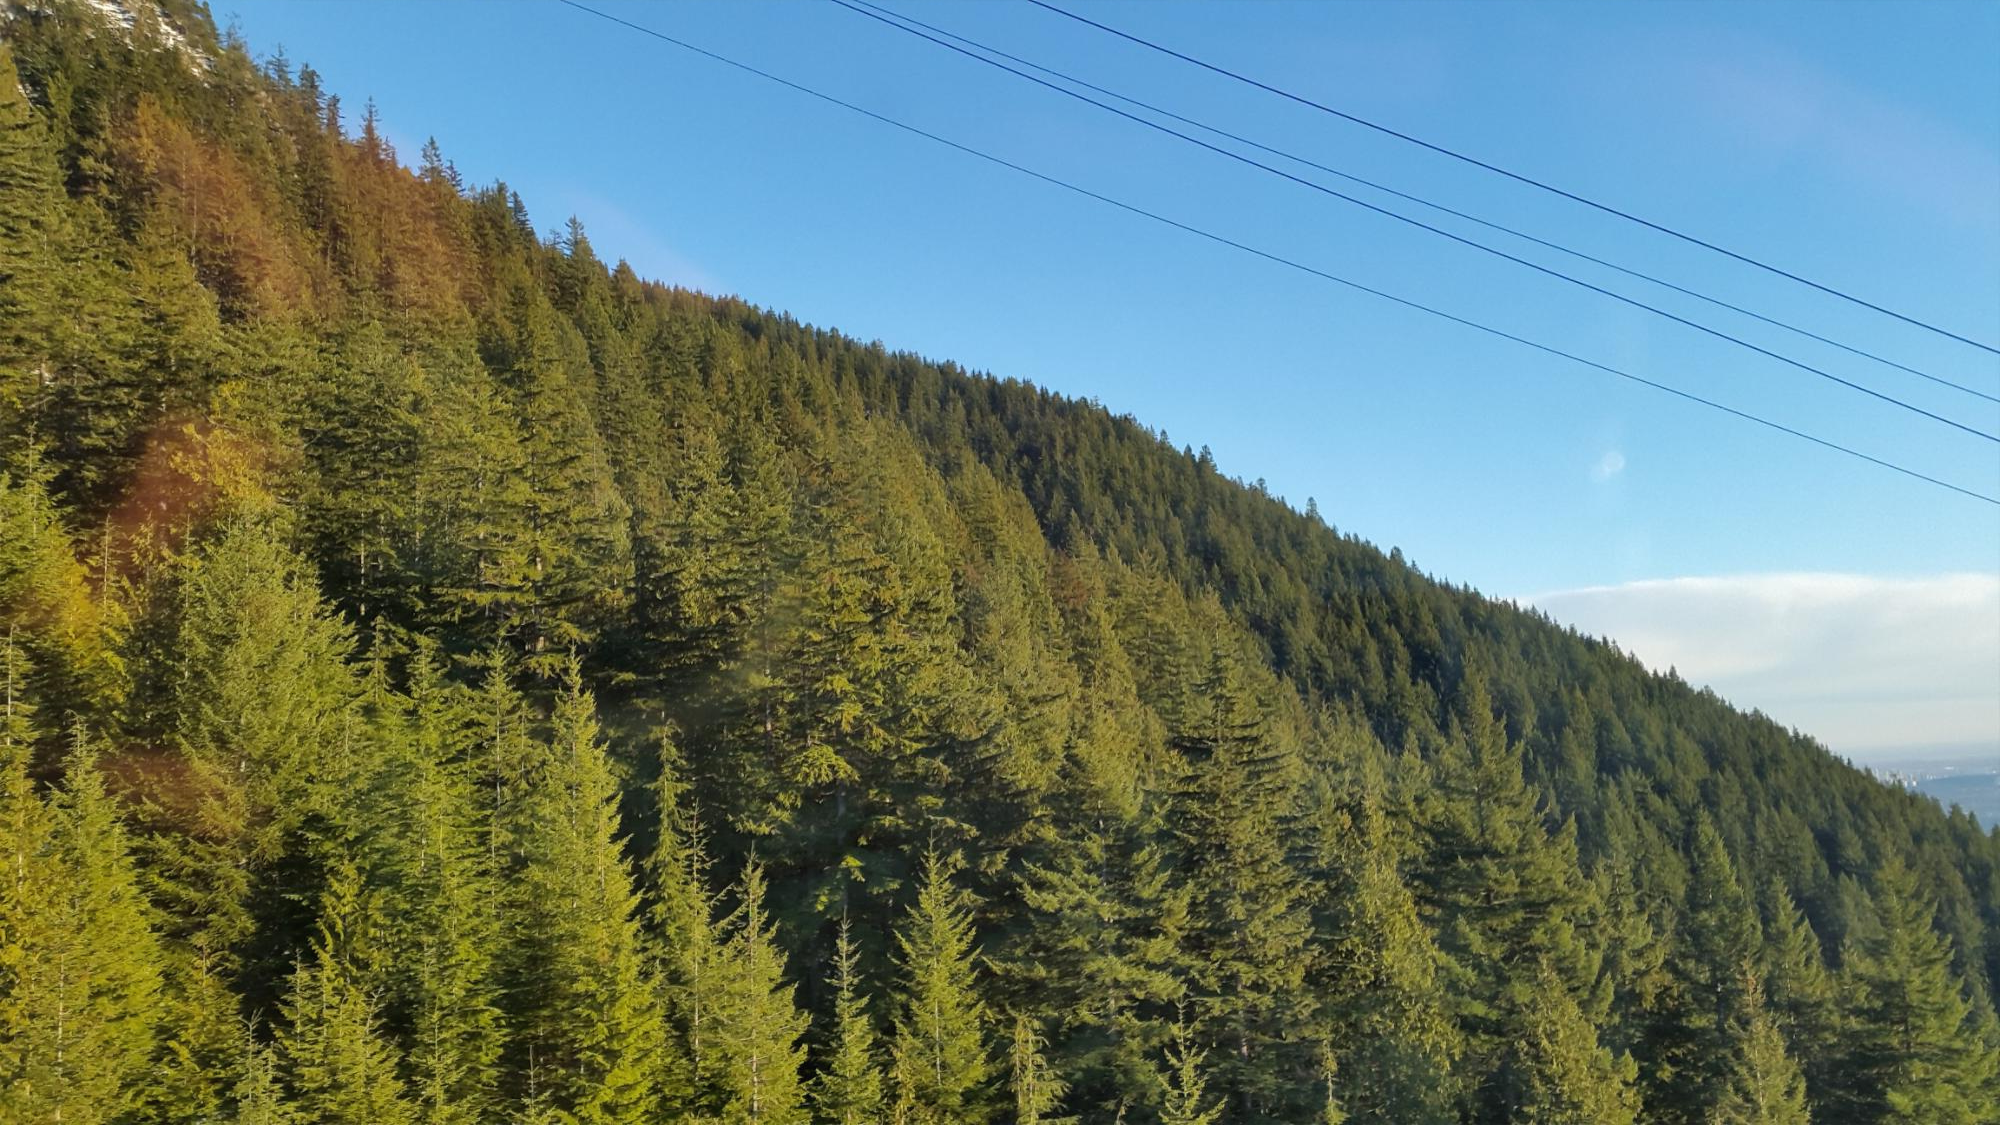
이 사진은 거의 다 올라왔을 때 기뻐서 사진을 찍었습니다. 자연이 너무 아름다운 것 같아요.
This picture was taken with joy when it was almost done. I think nature is so beautiful.
3시간 동안 한 번도 안 쉬고 이렇게 등산을 할 수 있다는 사실에 나 스스로에게 놀랐습니다.
I was surprised to realize that I could climb this mountain without taking a break.
정상에 도착하면 식당도 있고 휴식을 취할 수 있는 휴게소 같은 곳이 있습니다.
When you get to the top, there are restaurants and rest areas where you can relax.
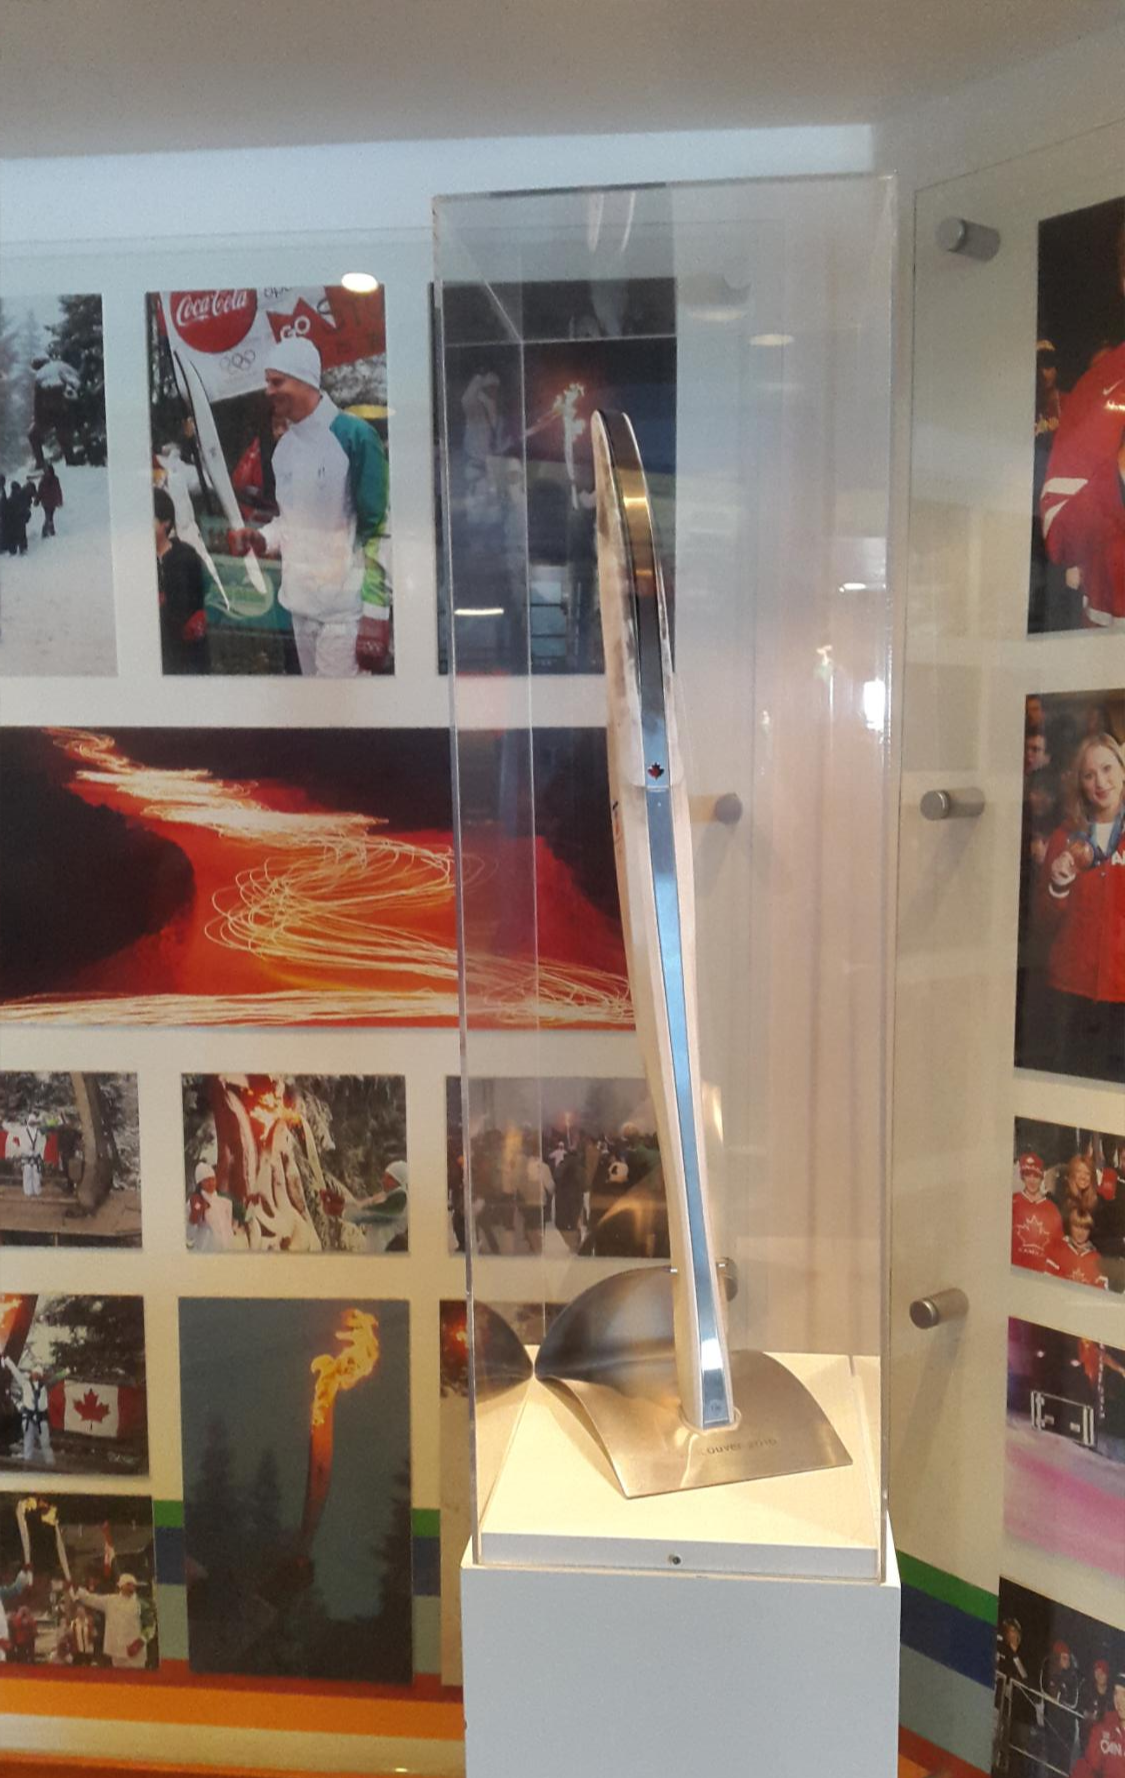
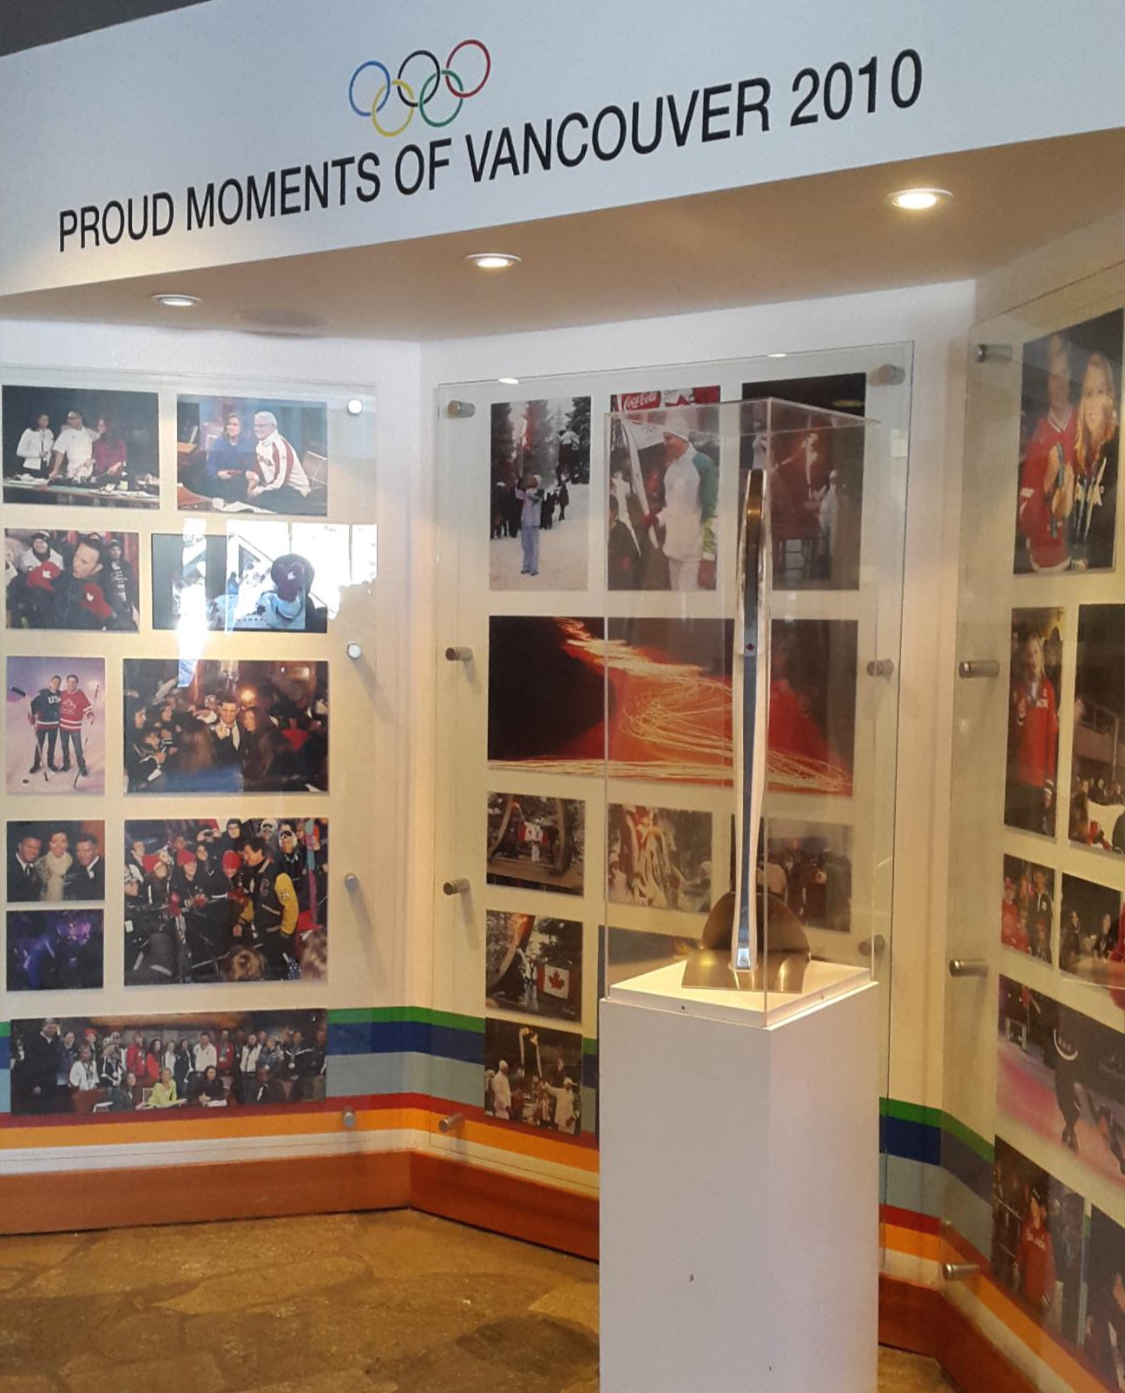
이 밴쿠버 동계올림픽 성화를 보니까 바로 김연아 선수가 떠올랐습니다. 캐나다 홈 게임이니까 캐나다가 물론 압도적으로 잘 하기도 했지만 김연아 선수를 떠올리지 않을 수 없었습니다.
When I saw the torch at the Vancouver Winter Olympics, I immediately remembered Kim Yuna. Since it's a home game in Canada, Canada did overwhelmingly well, but I couldn't help but think of Kim Yu-na.
어린이들이 썰매타는 공간입니다. 눈은 자연설이 아니고 인공설이었습니다. It's a place where children ride sleds. Snow was not a natural snow, it was an artificial snow.
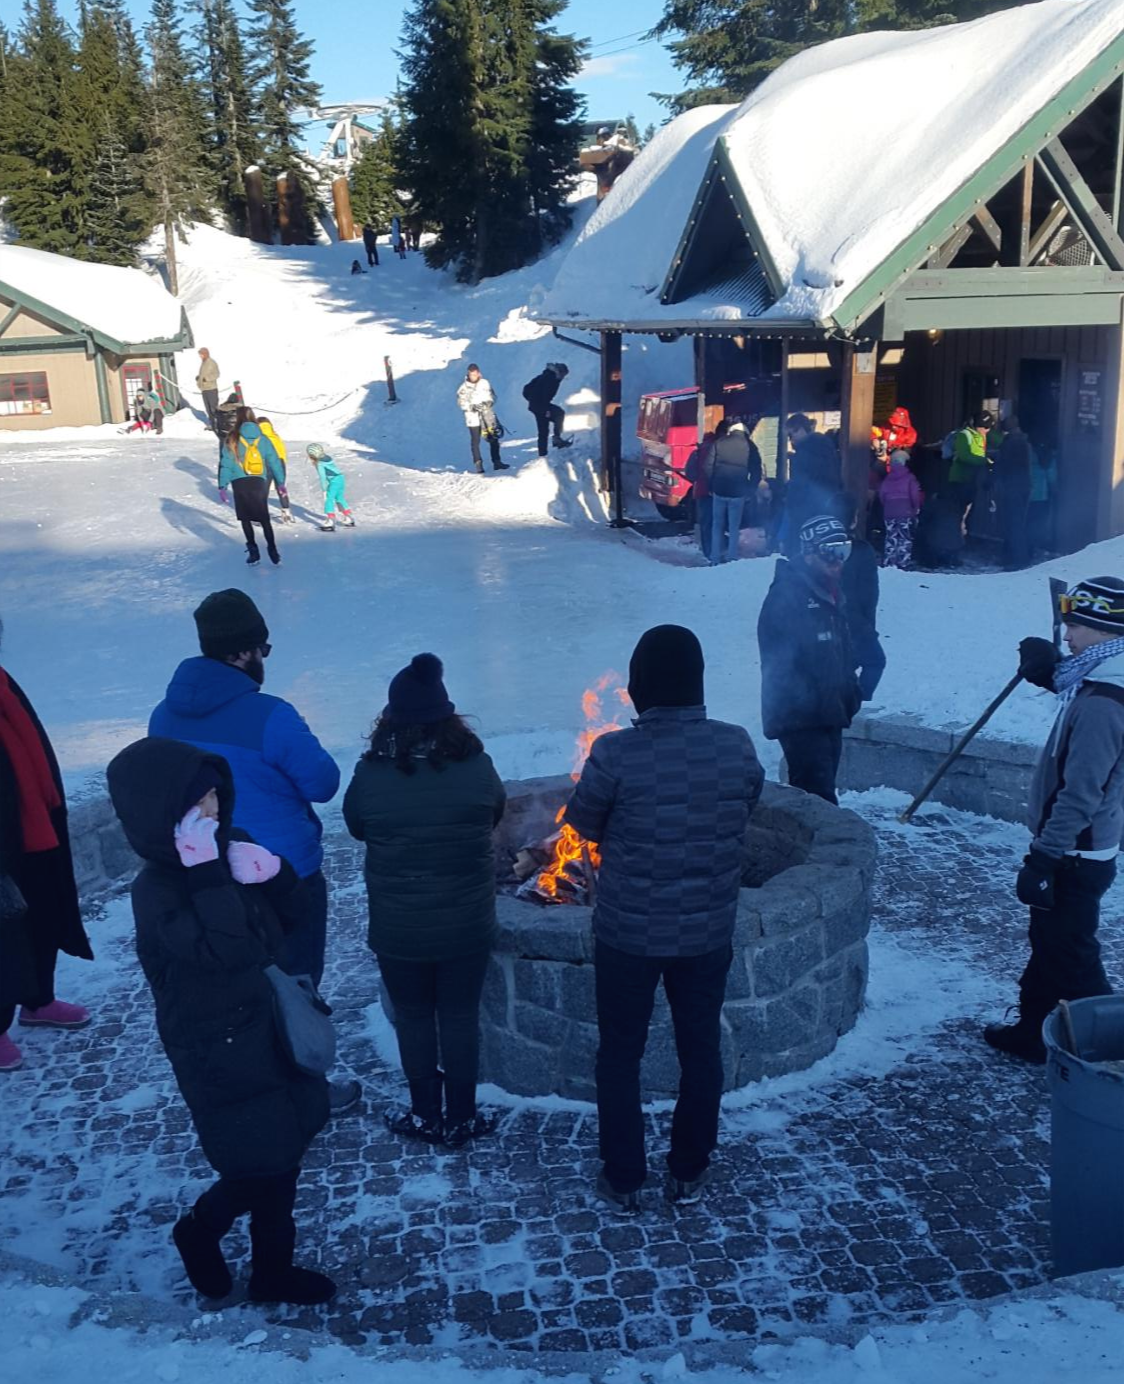
몸을 녹일 수 있는 불도 있습니다. 확실히 어린 학생들이 많이 보이네요. 스키를 타고 싶었지만 렌탈비가 너무 비싸서 포기했습니다. 만약 한국에서 그라우스 산(Grouse Mountain)이랑 장비 대여를 신청하고 왔더라면 경제적으로 대여할 수 있었을텐데 아쉬웠습니다. 준비의 중요성을 다시 깨우쳤습니다.
There is also a fire that can melt your body. I'm sure you can see a lot of young students. I wanted to ski, but I gave up because the rental fee was too expensive. If I had applied for cable car ticket of Grow Mountain and ski equipment from Korea, I would have been able to rent it economically. I have re-learned the importance of preparation.
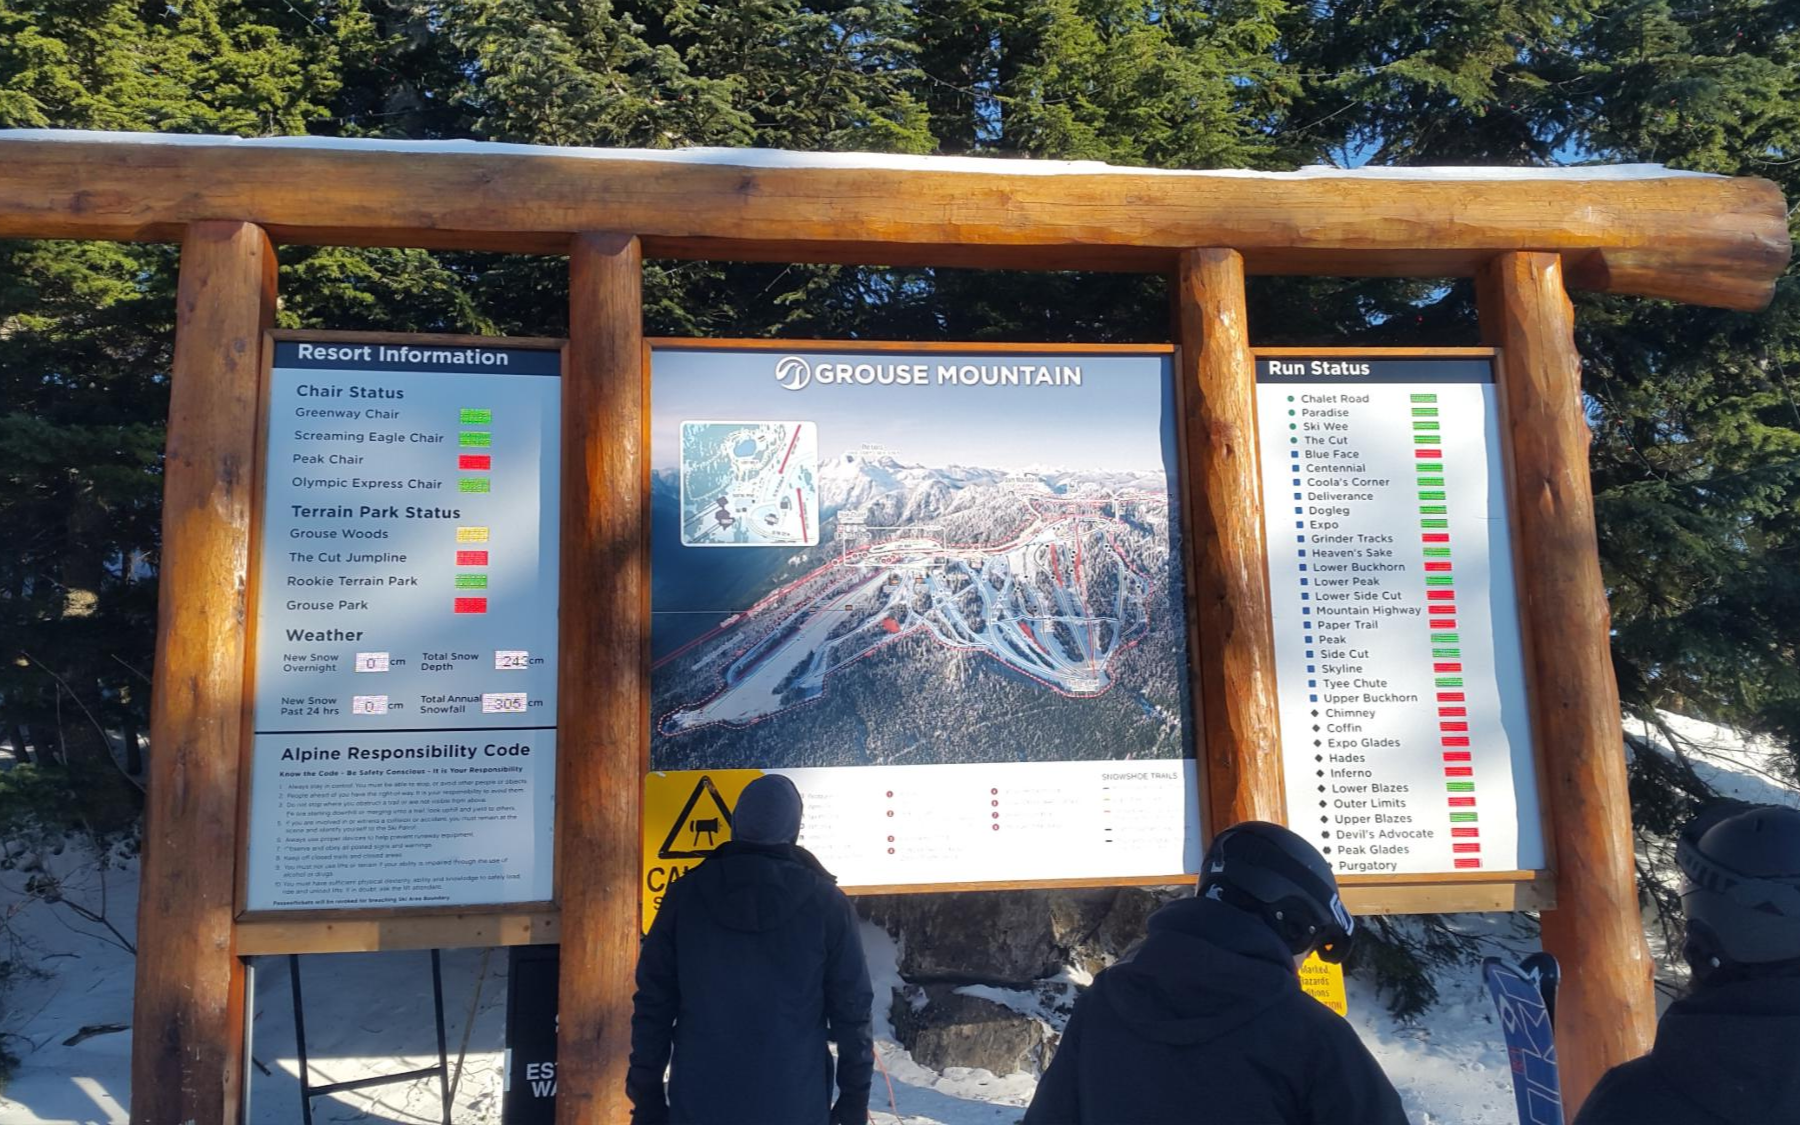
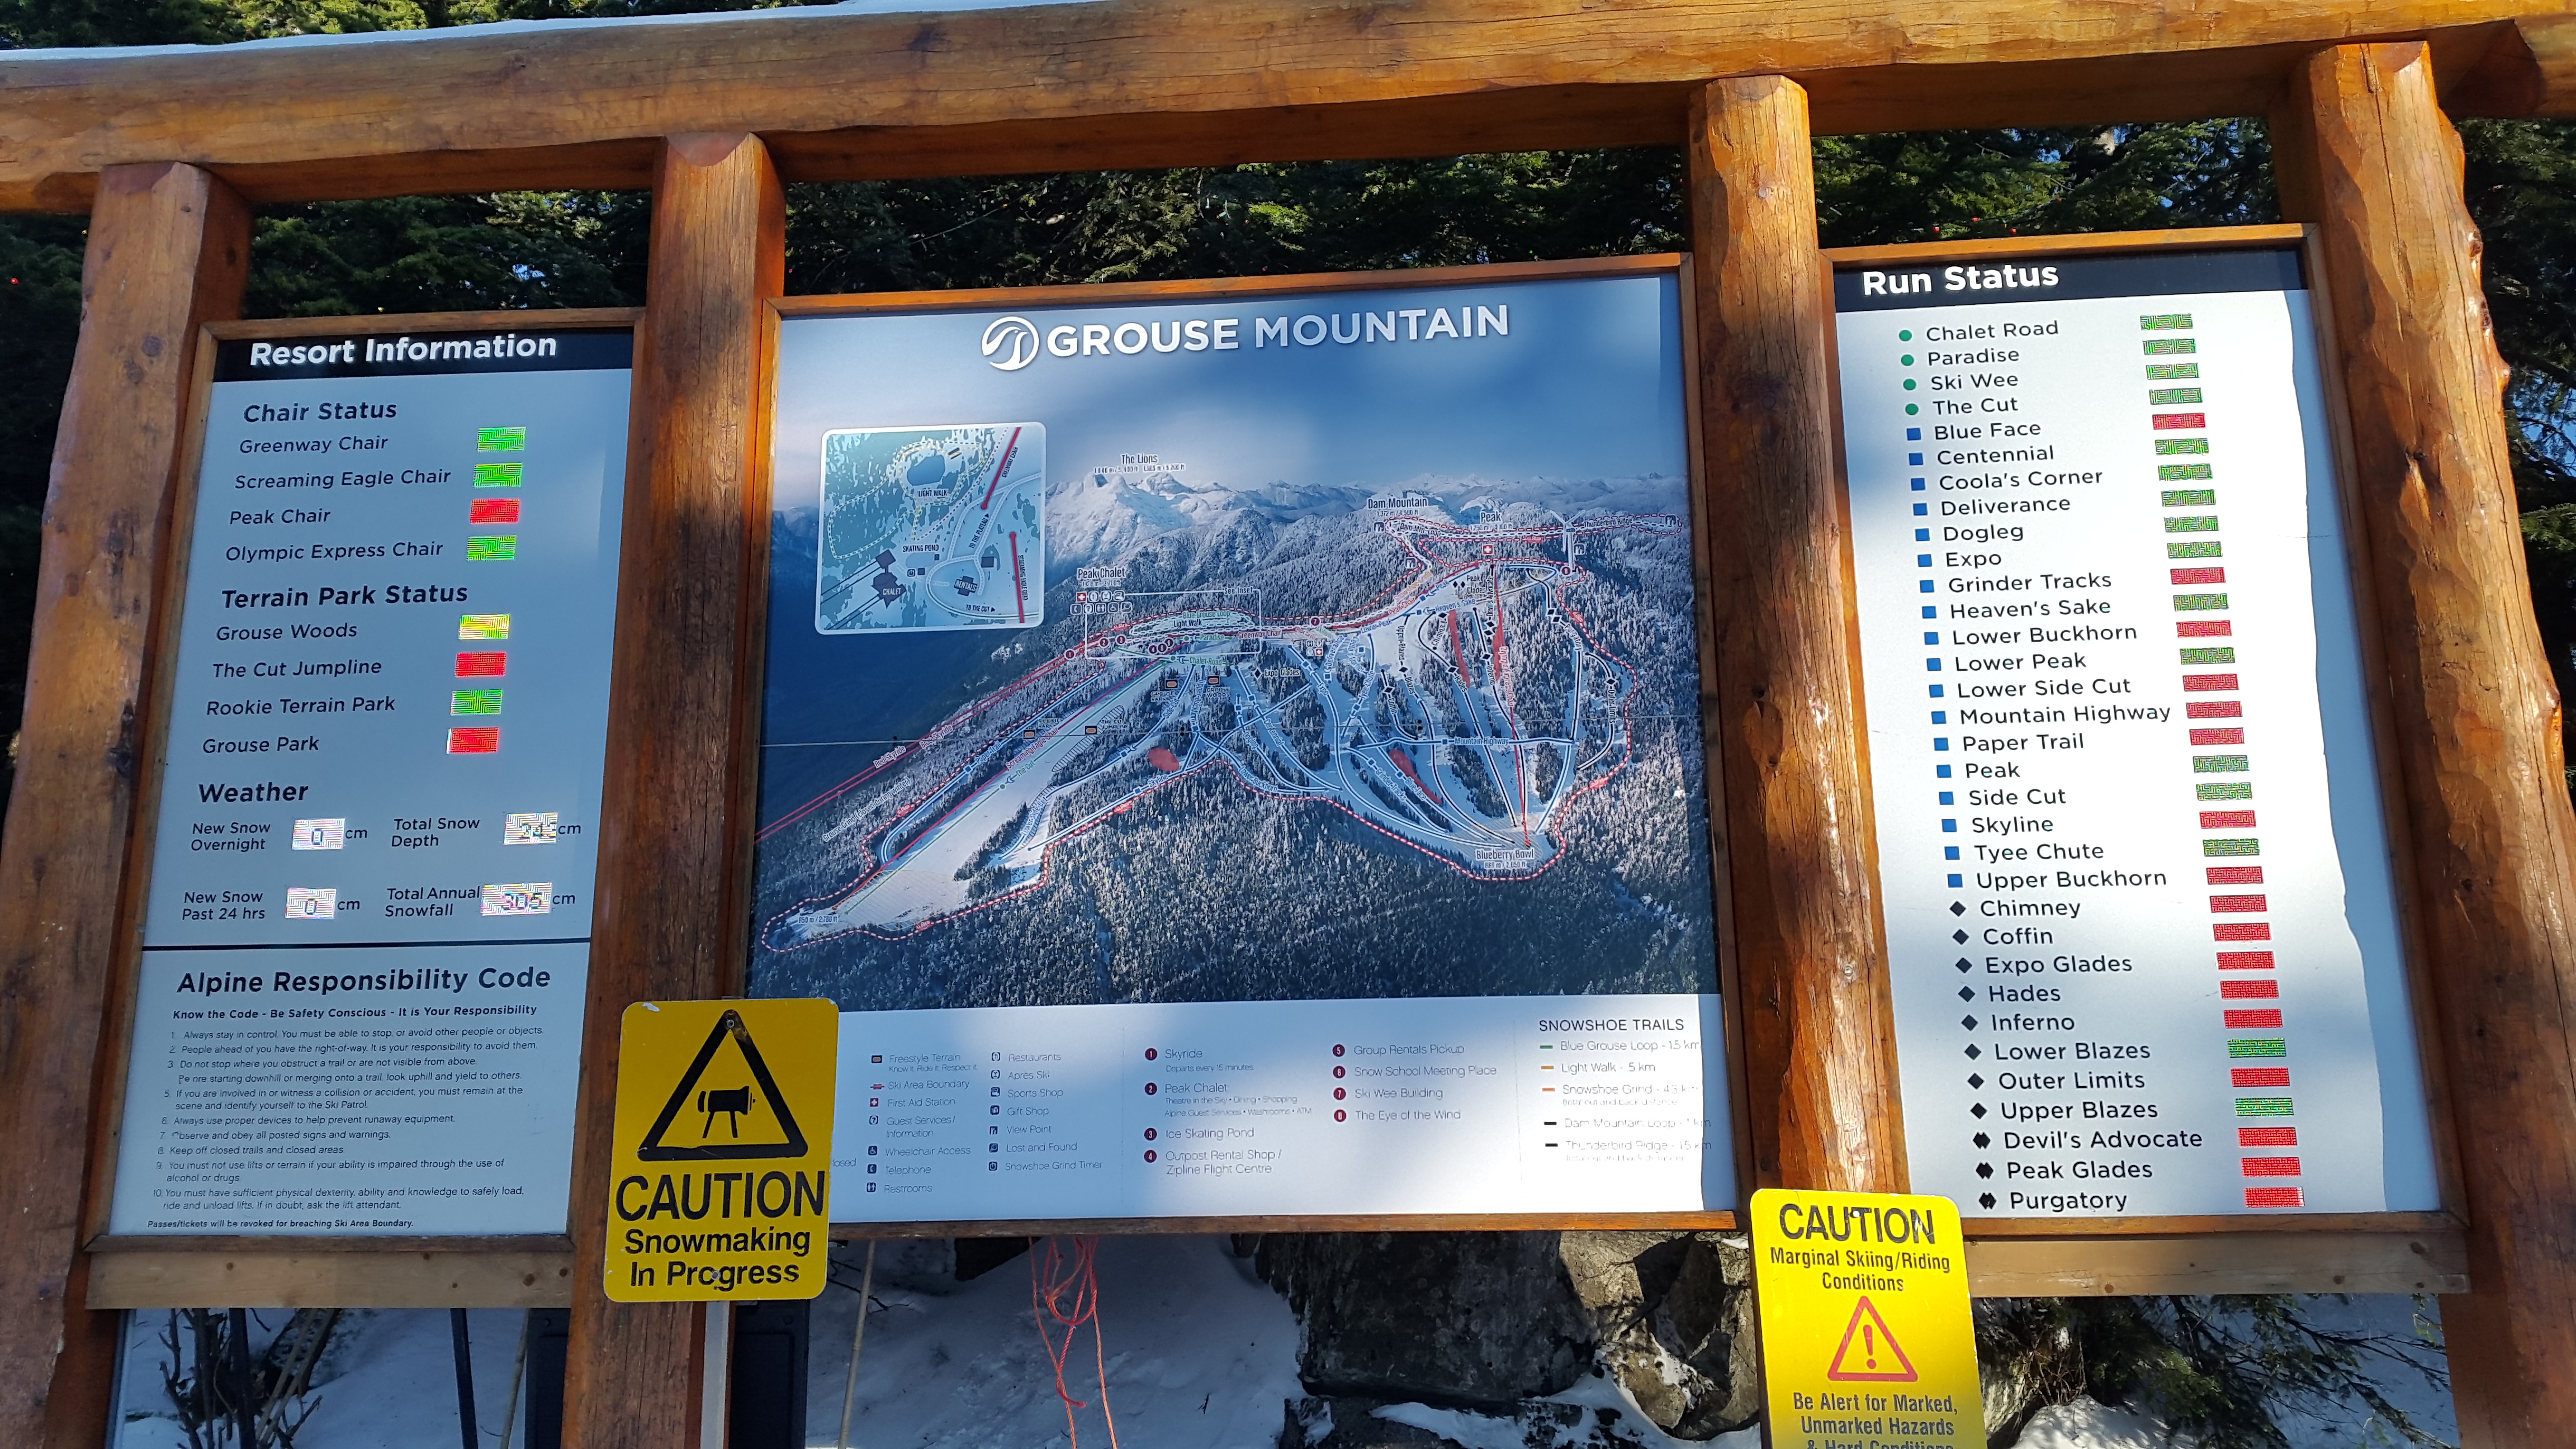
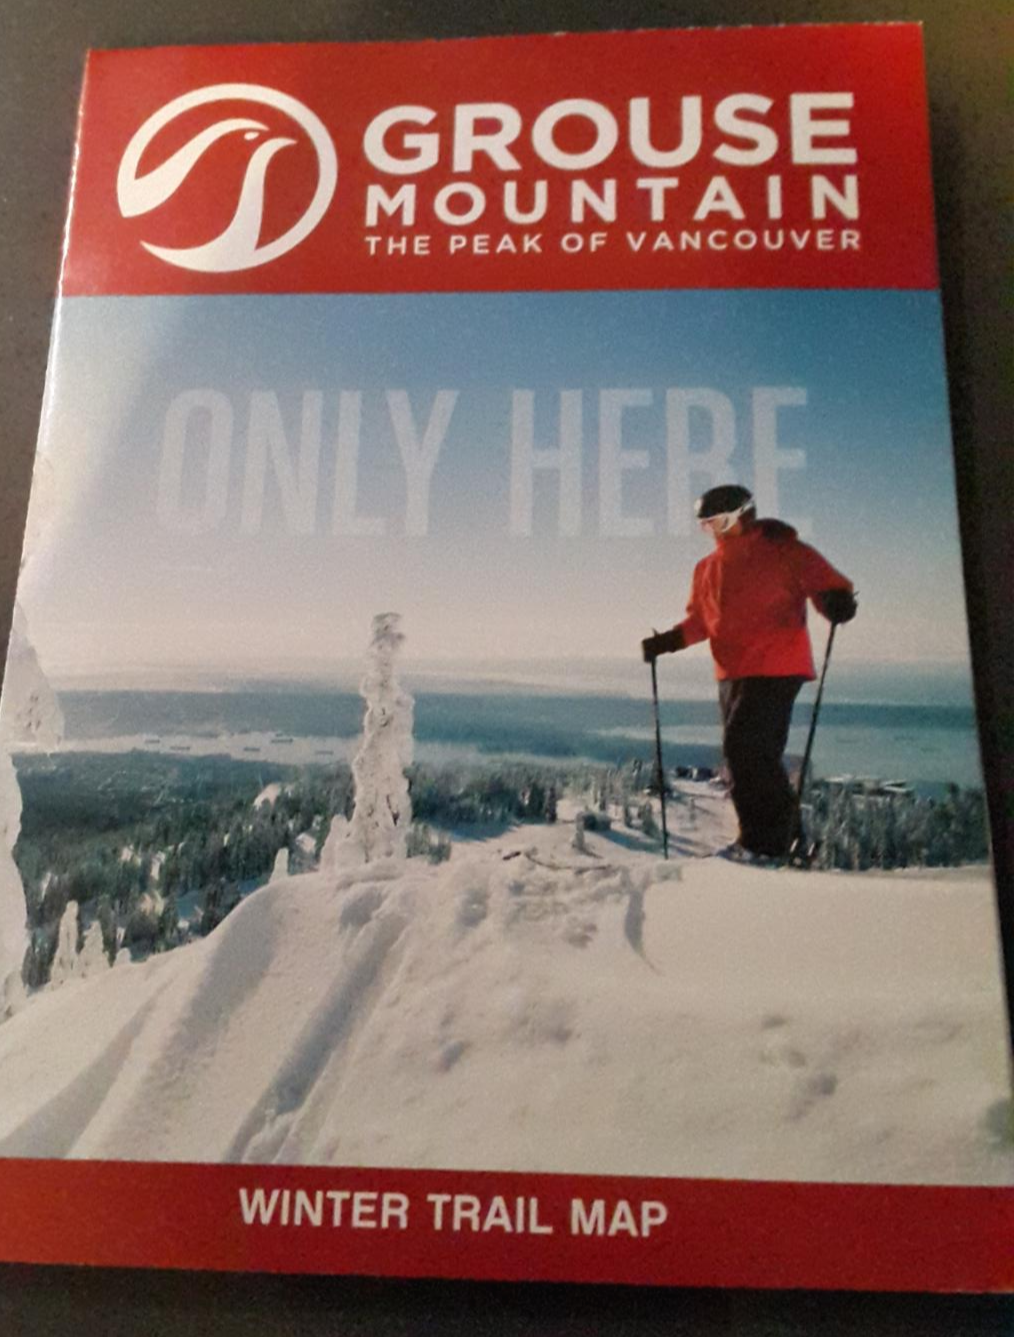
지도가 있지만 스키가 없어서 딱히 의미가 없었습니다.
I had a map, but I didn't have any skiing equipment, so it didn't mean much.
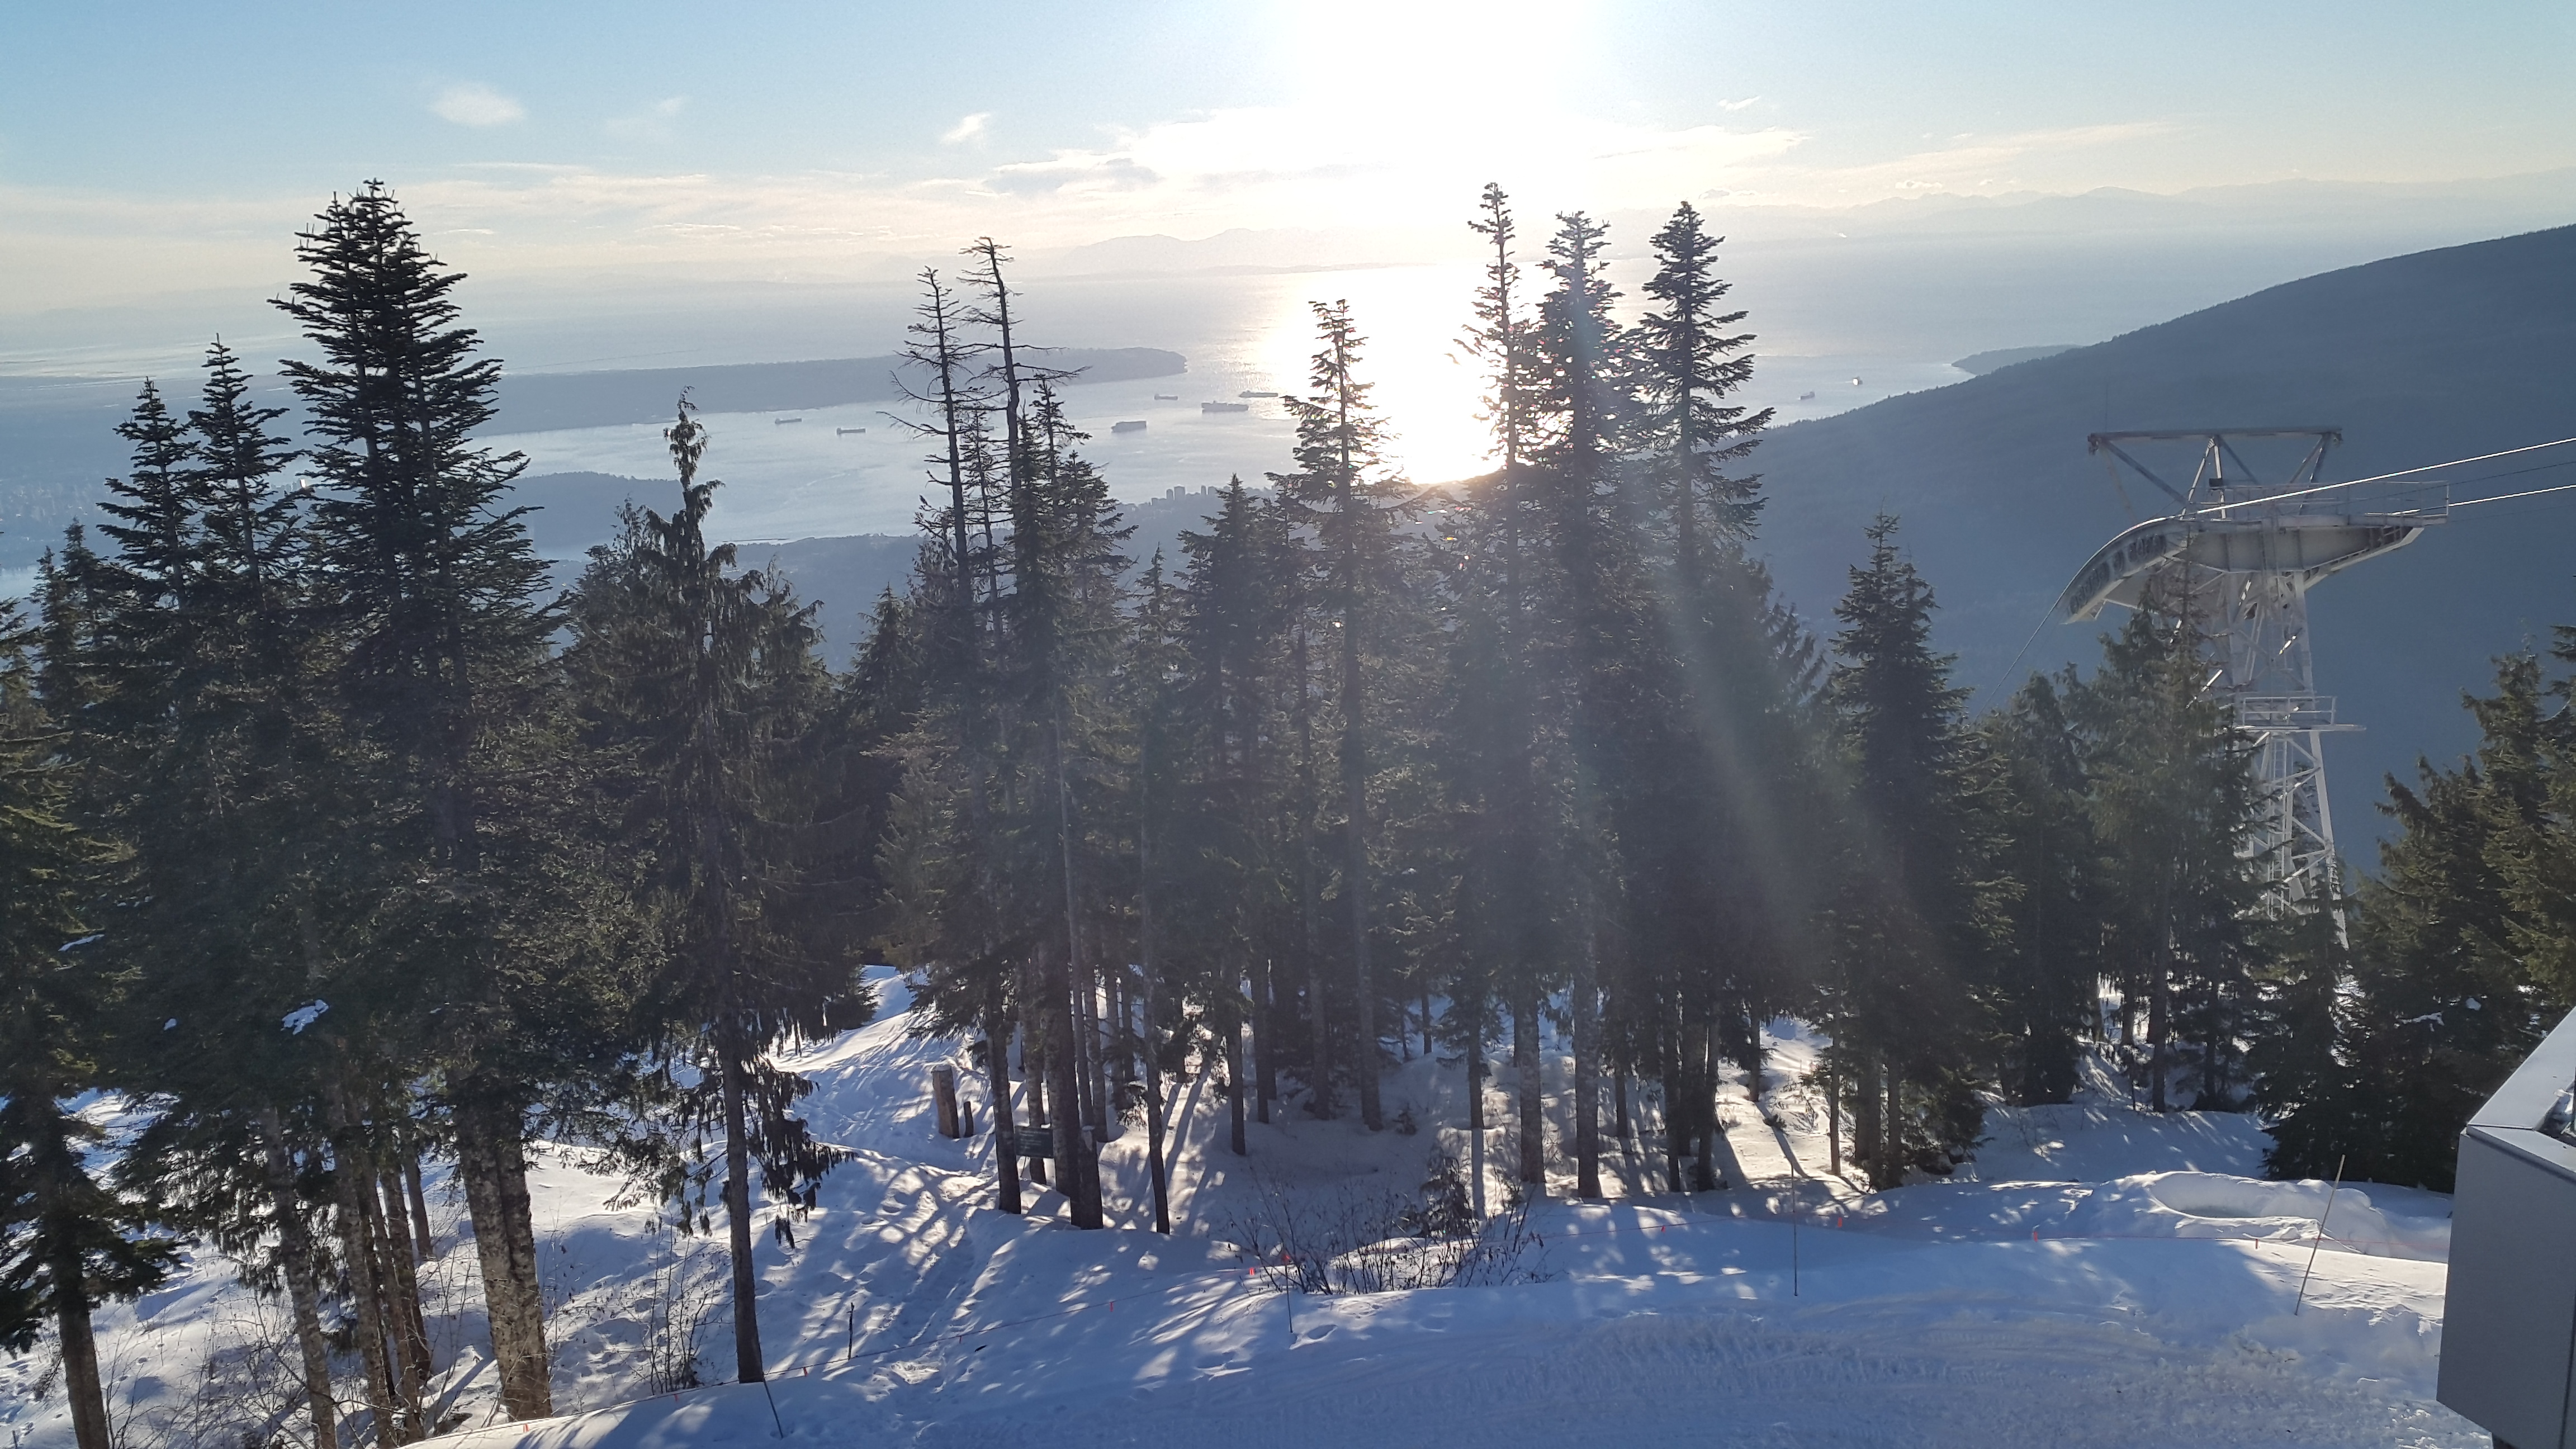
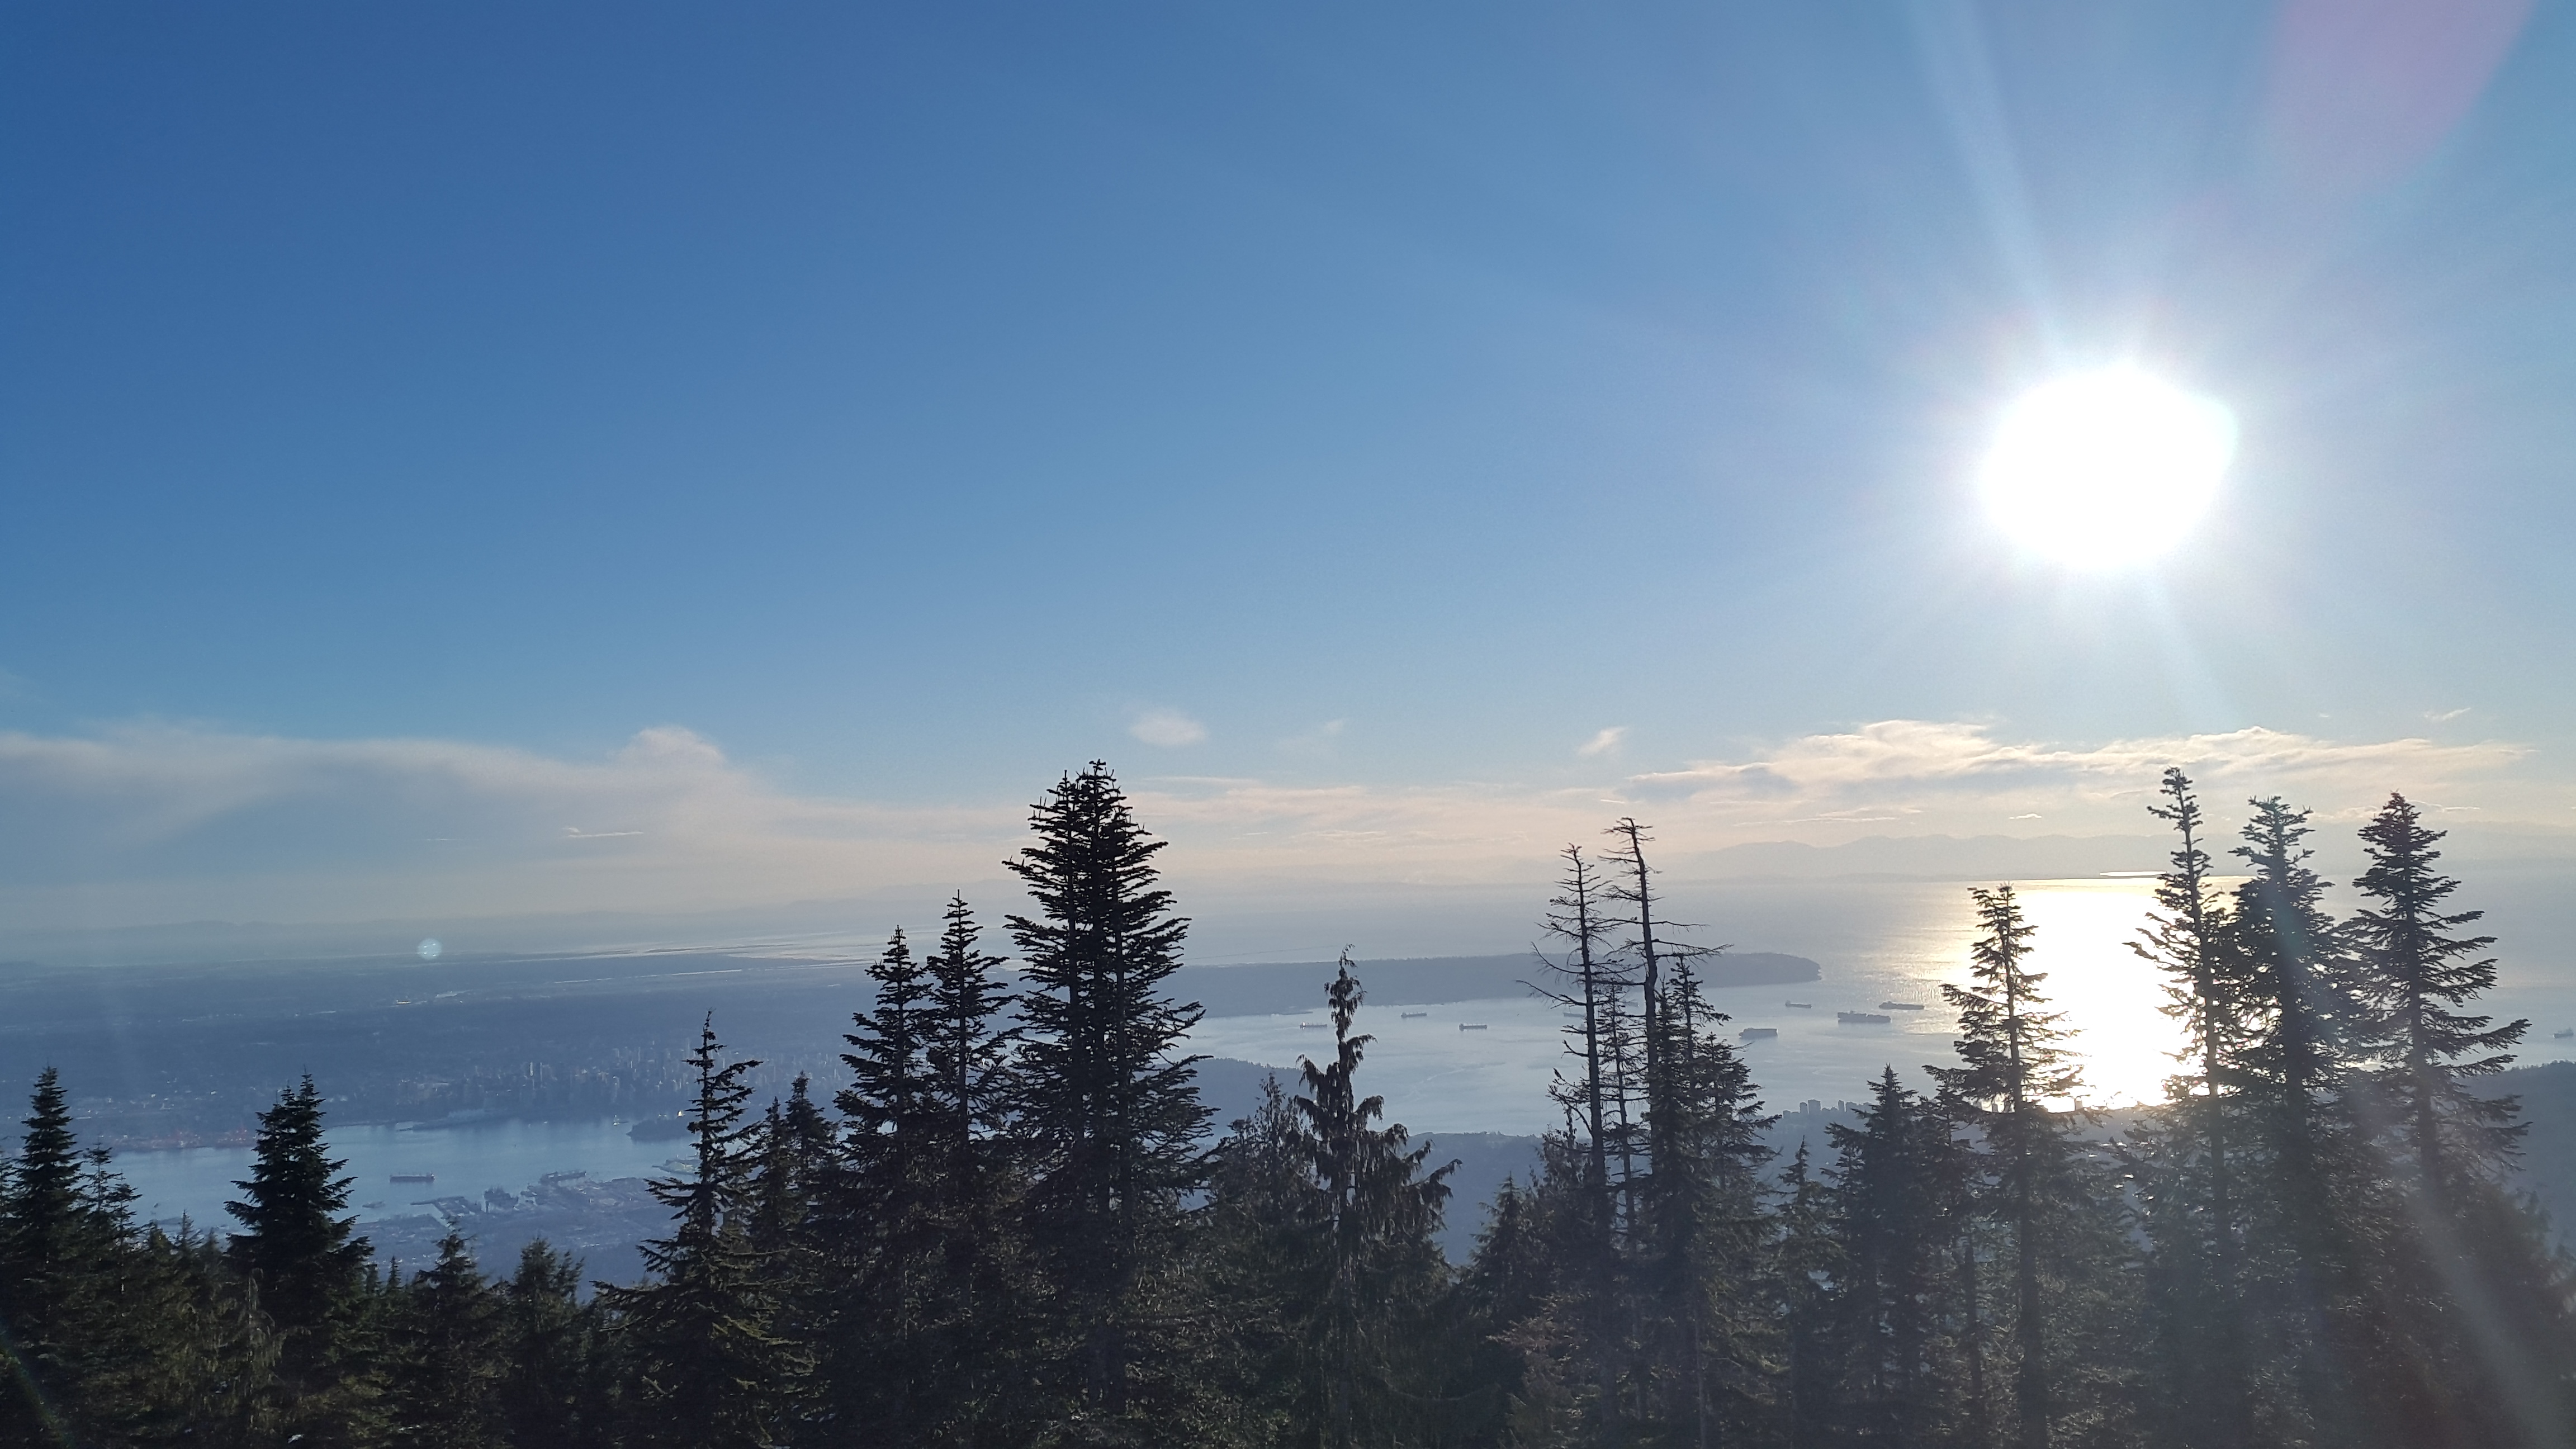
아름답다. It's beautiful.
제가 밴쿠버 올림픽 스타 플레이어들이 경기를 했던 곳에 왔다는 사실만으로 너무 기뻤습니다.
I was so happy just because I came to the place where the Vancouver Olympic star players played.
식당에서 무엇을 먹으려고 했지만 정말 말도 안되게 비쌉니다. 간식 같은 것을 사가기를 추천합니다. 등산할 때는 몰랐는데 모든 사람들이 식당에 있었습니다.
I tried to eat something at a restaurant, but it's really expensive. I recommend you to bring snacks. I didn't know when I was climbing, but everyone was at the restaurant.
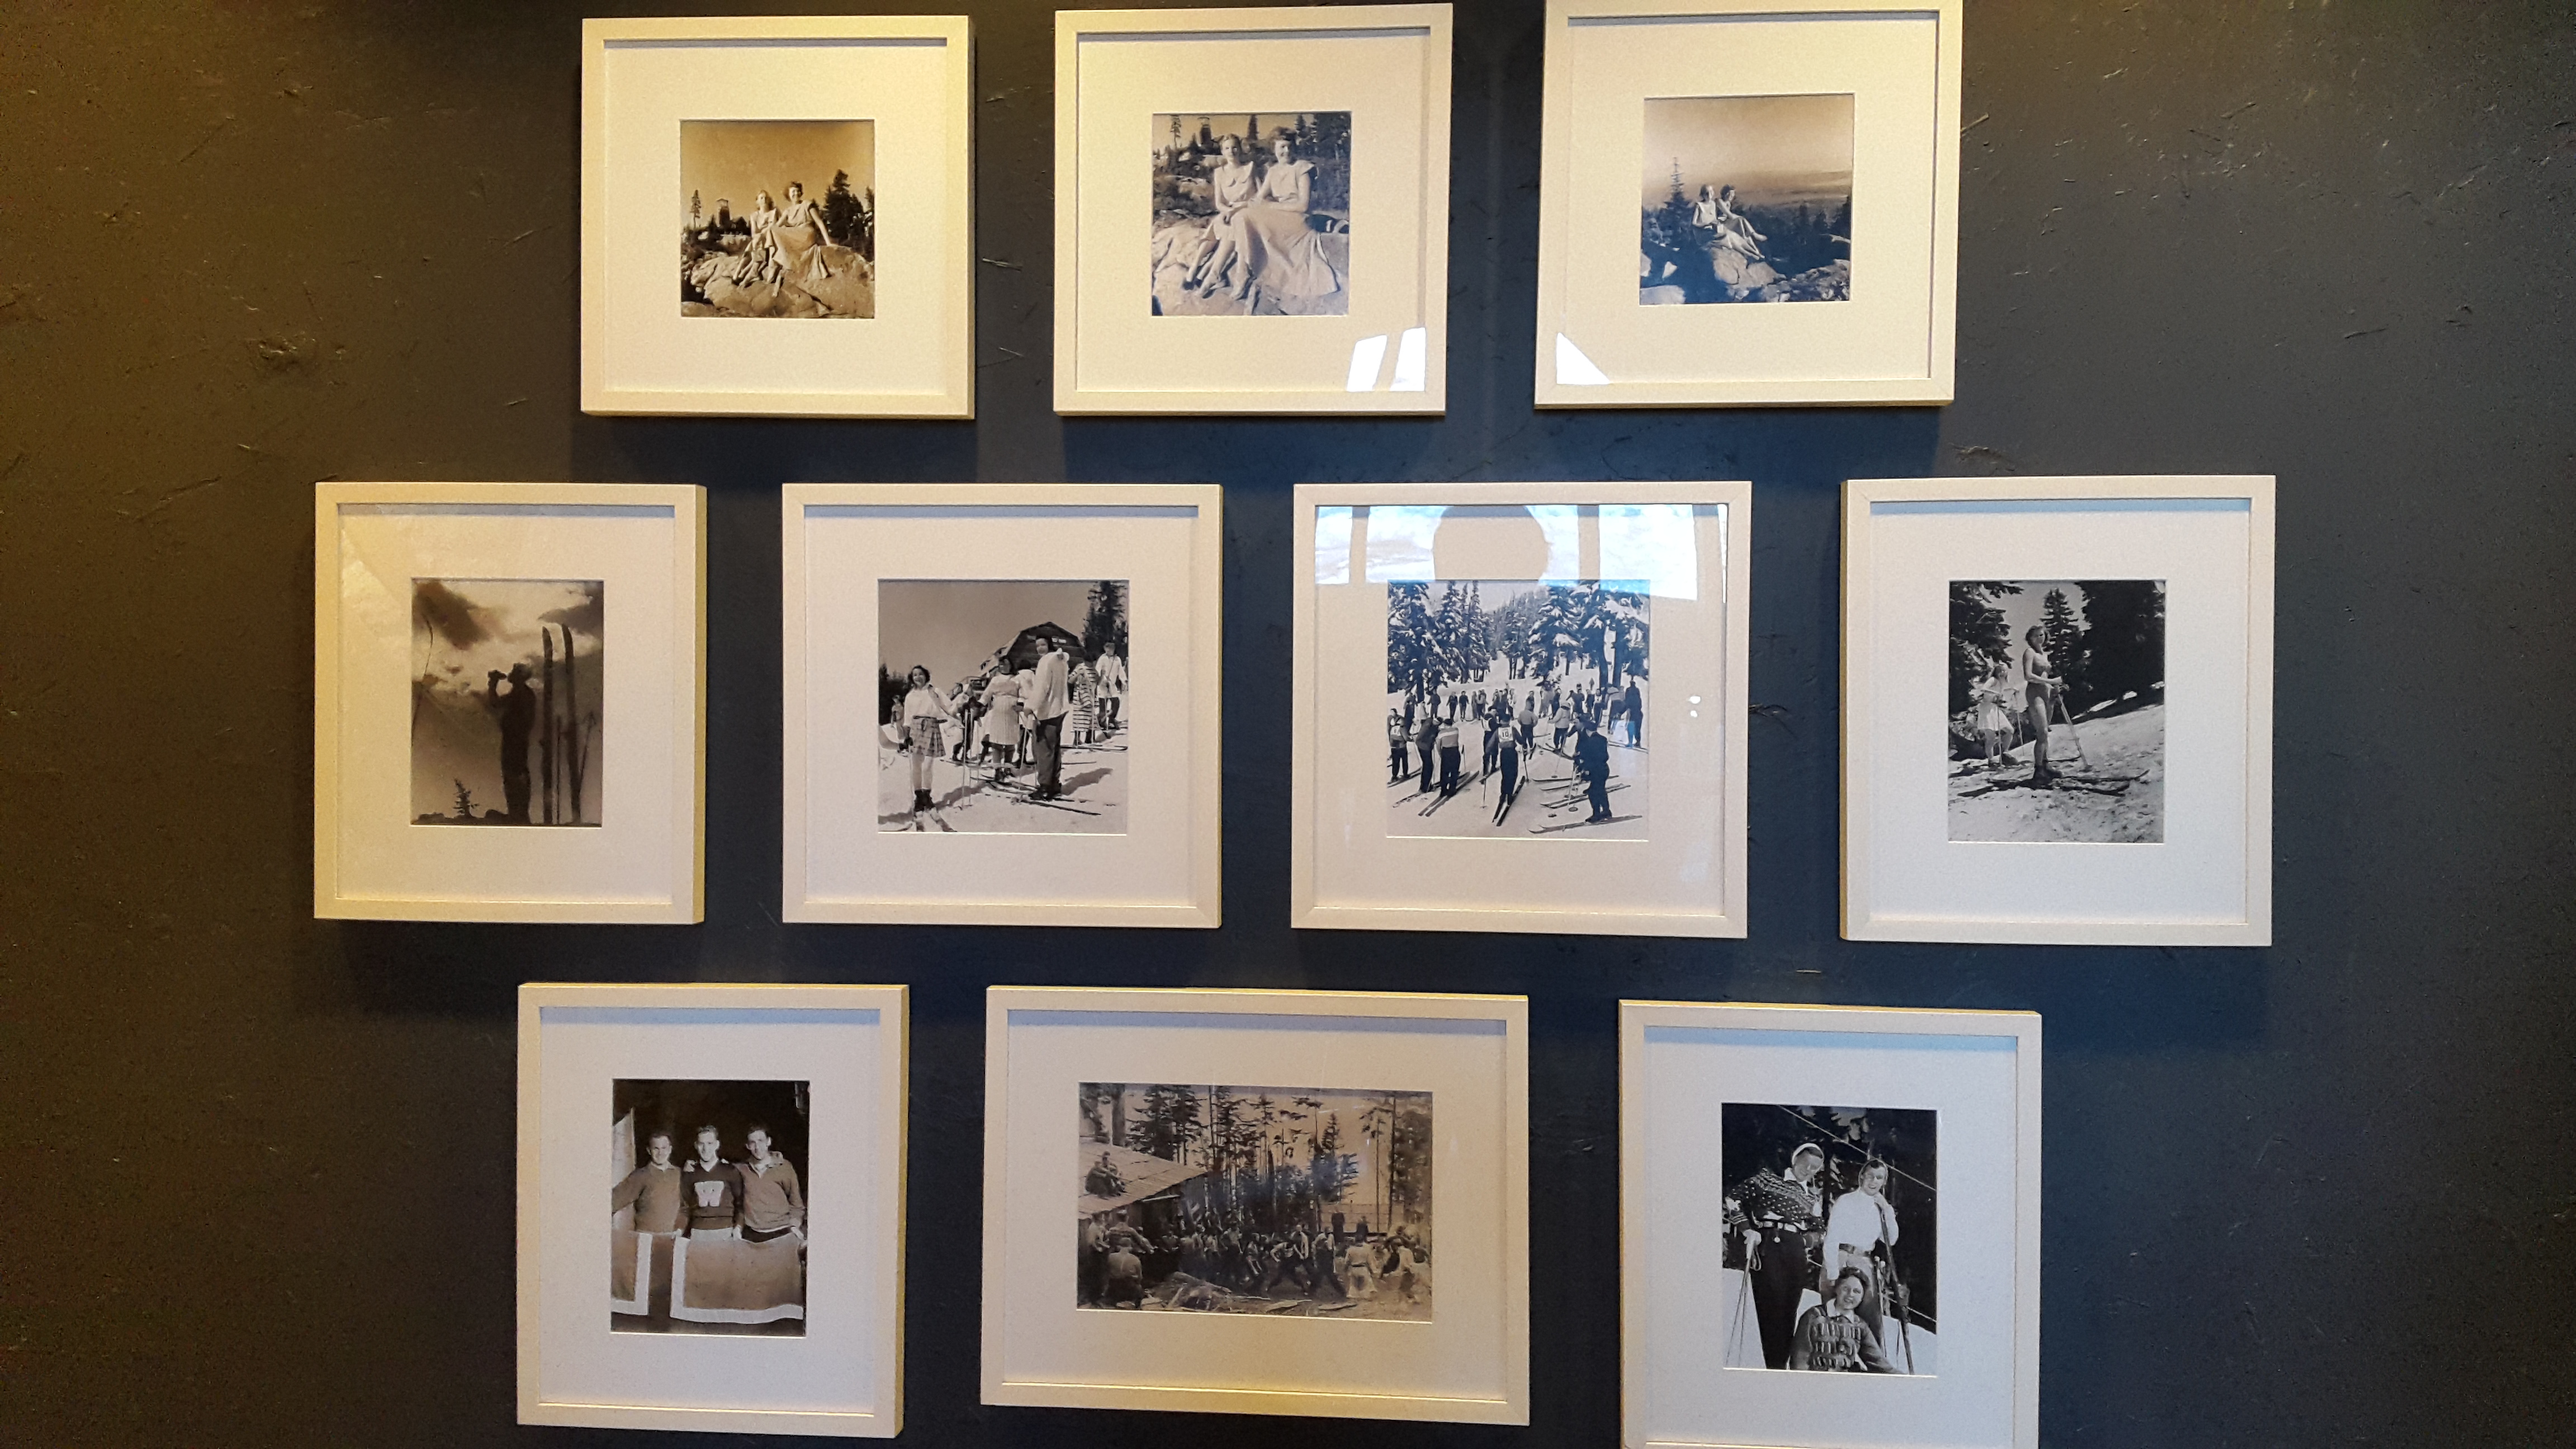
The people in these pictures are ski-legends?
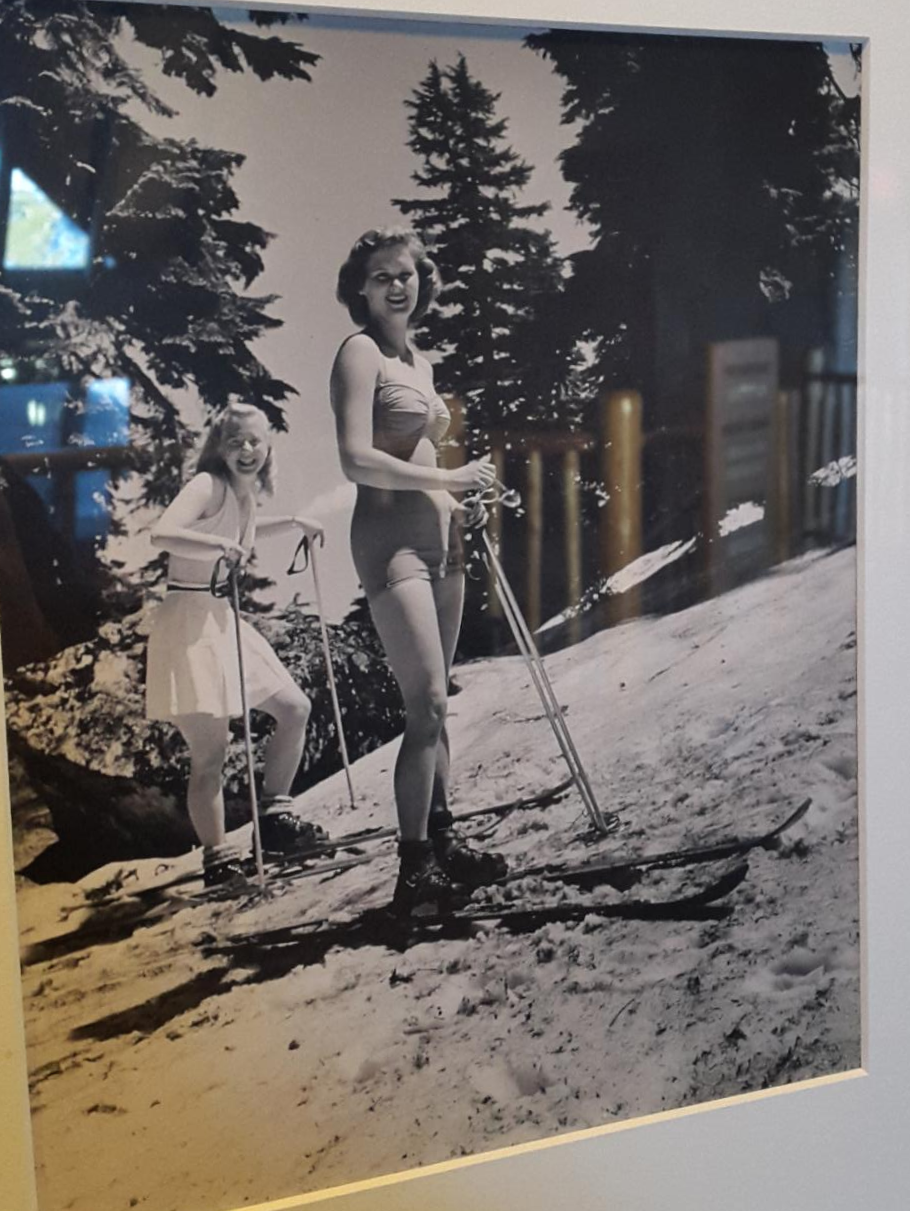
사진에 있는 사람은 감기 걸렸을 것 같습니다.
I think the person in the picture must had a cold. No doubt.

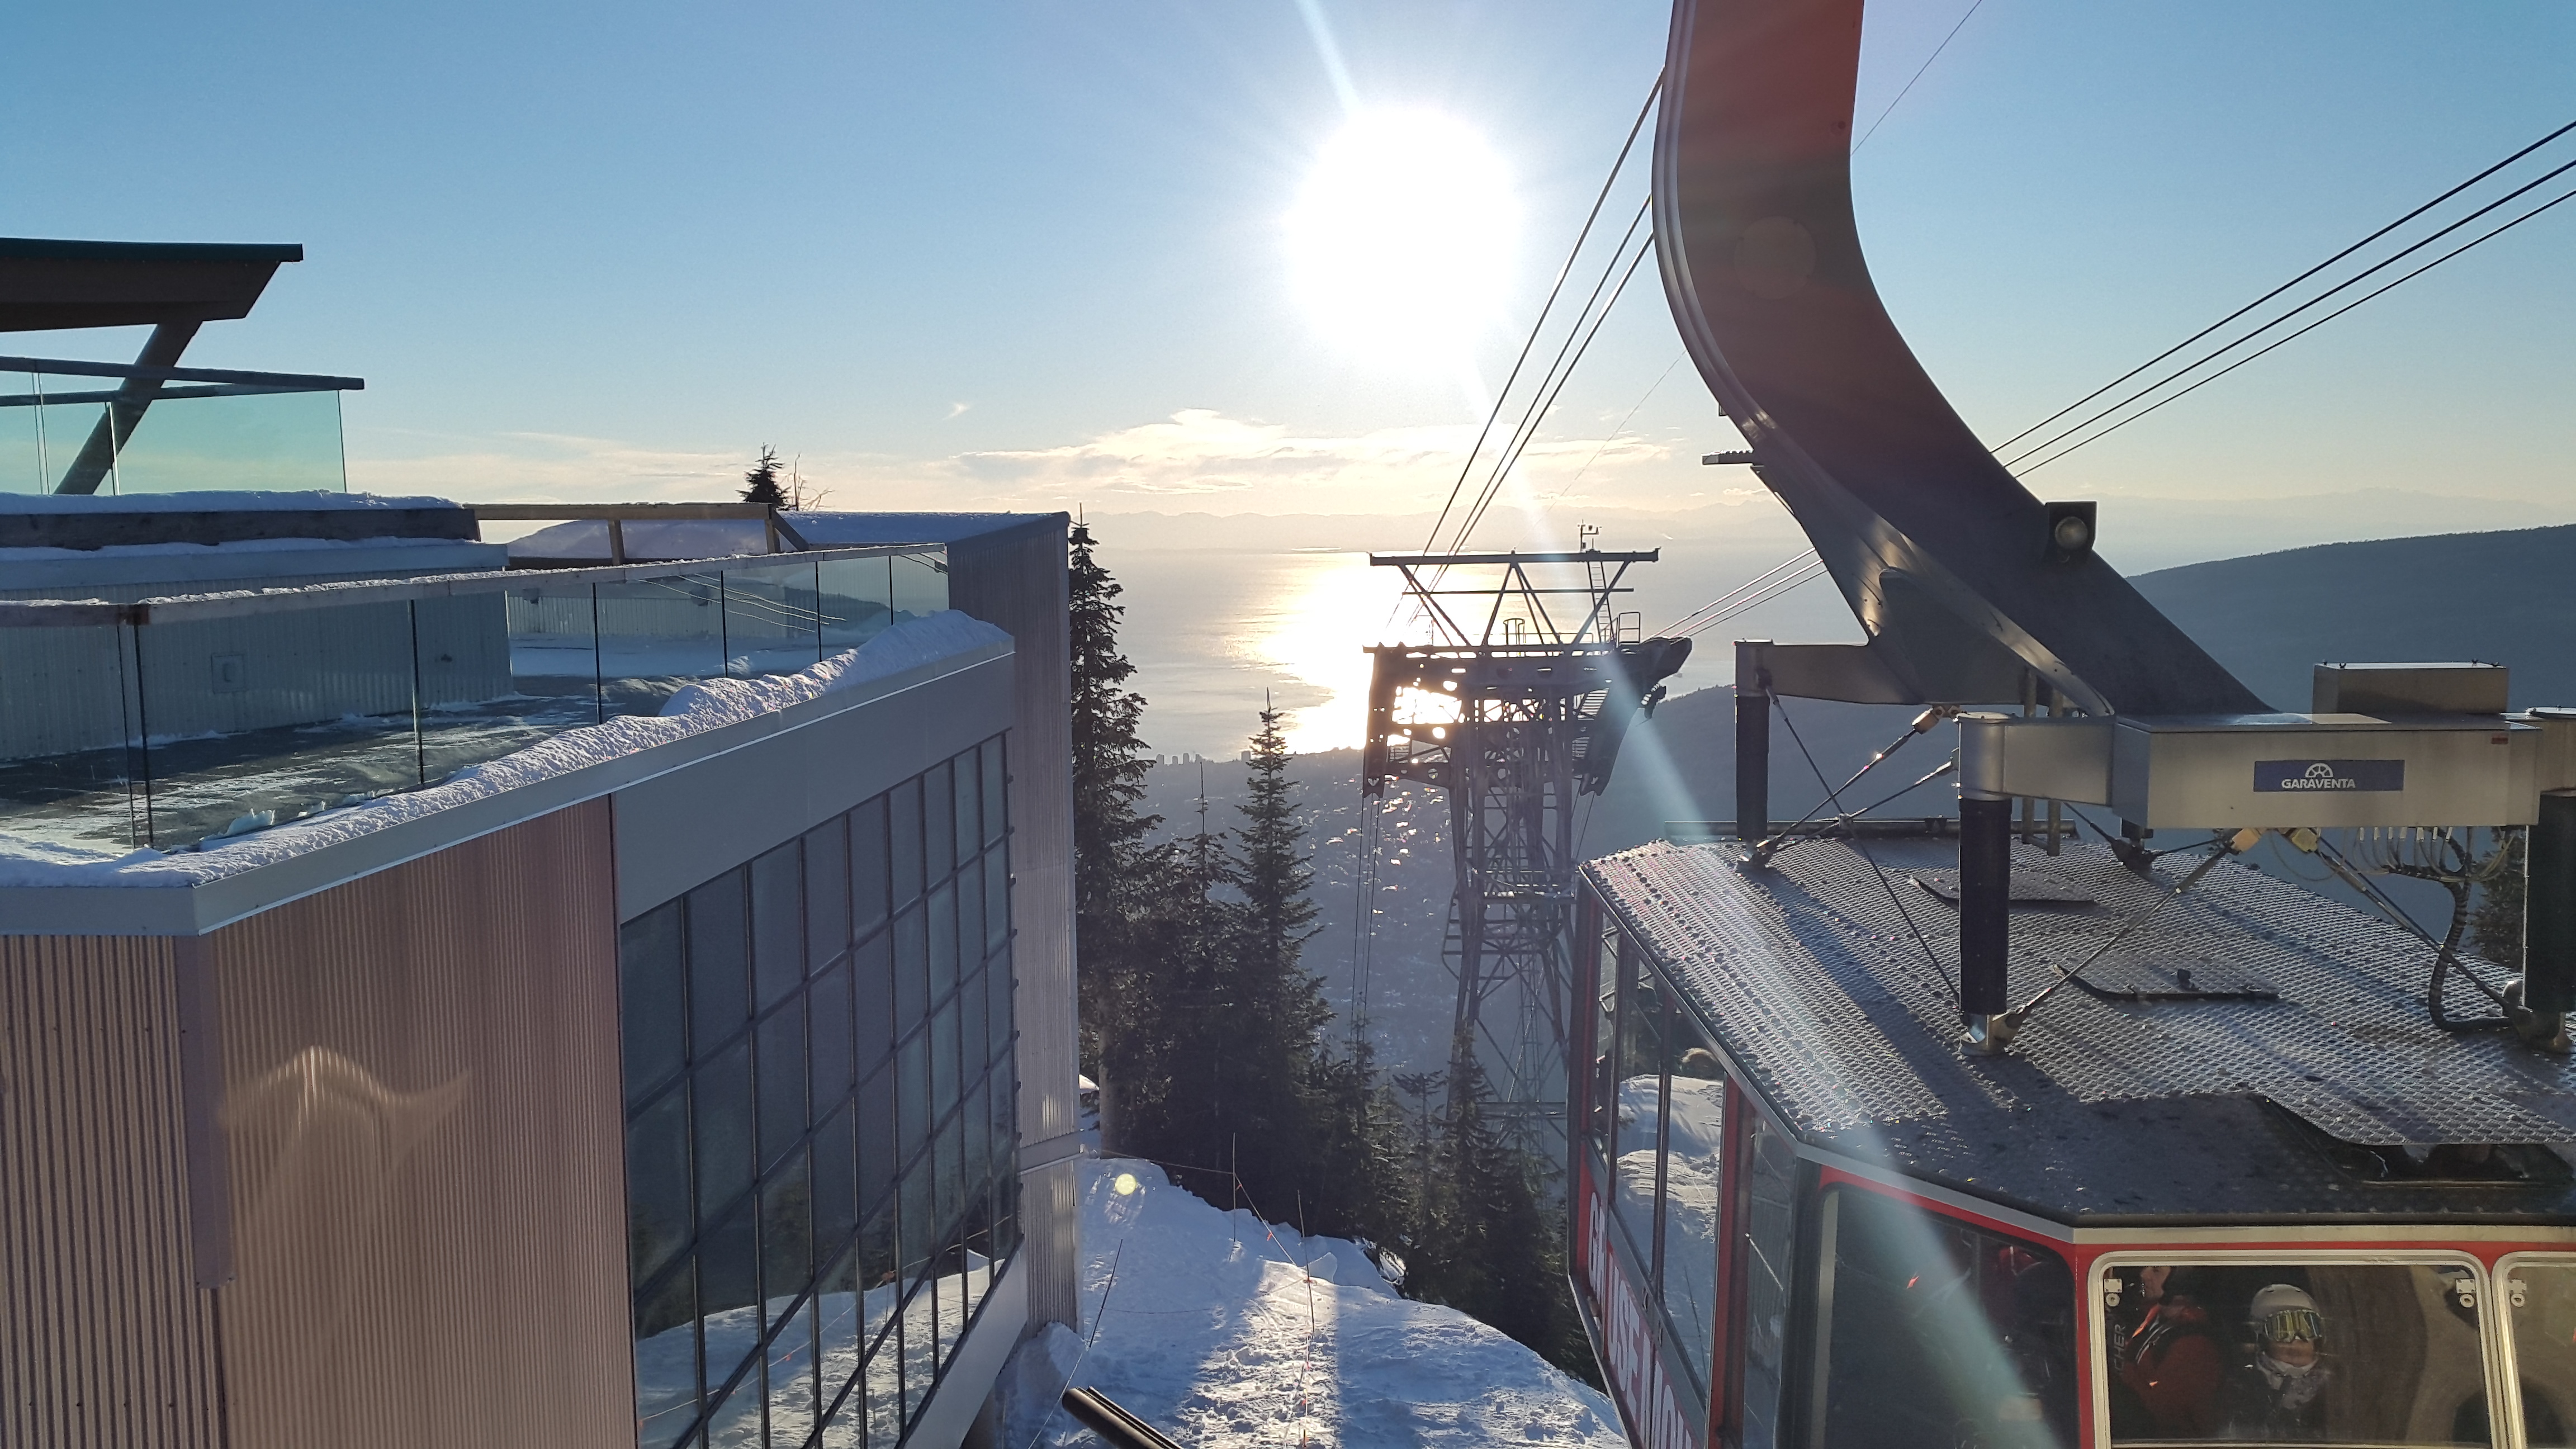
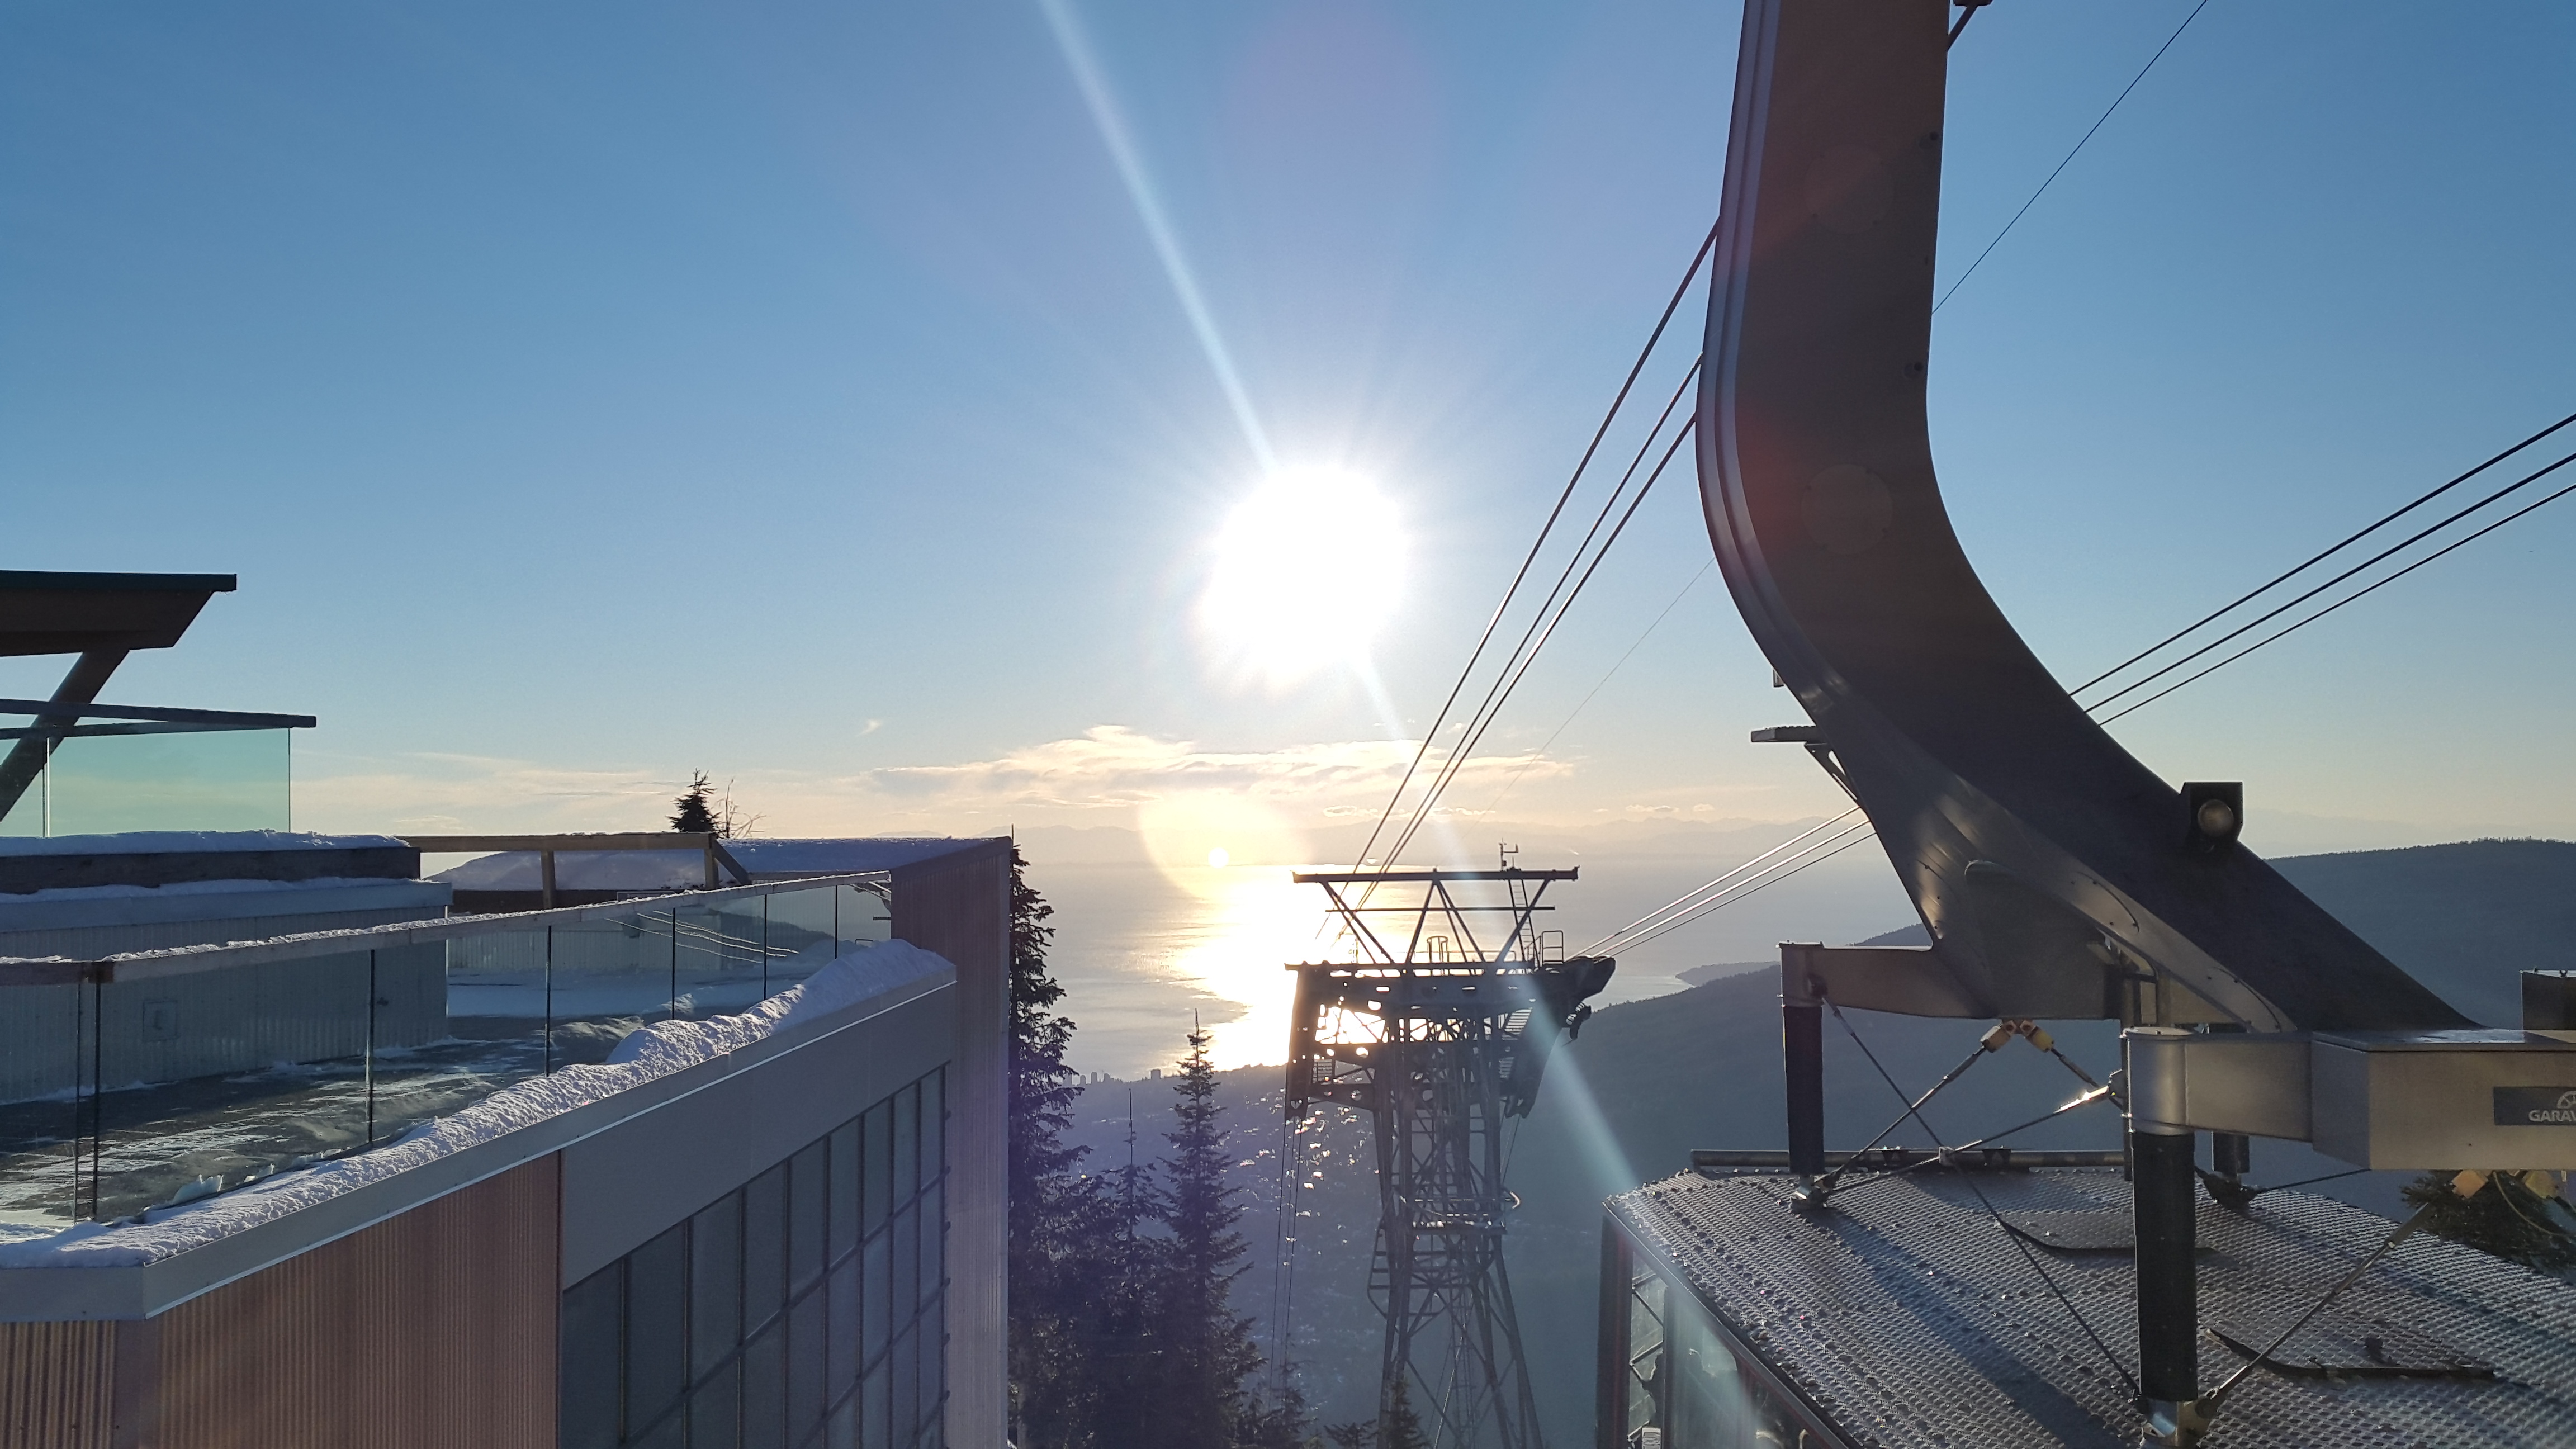
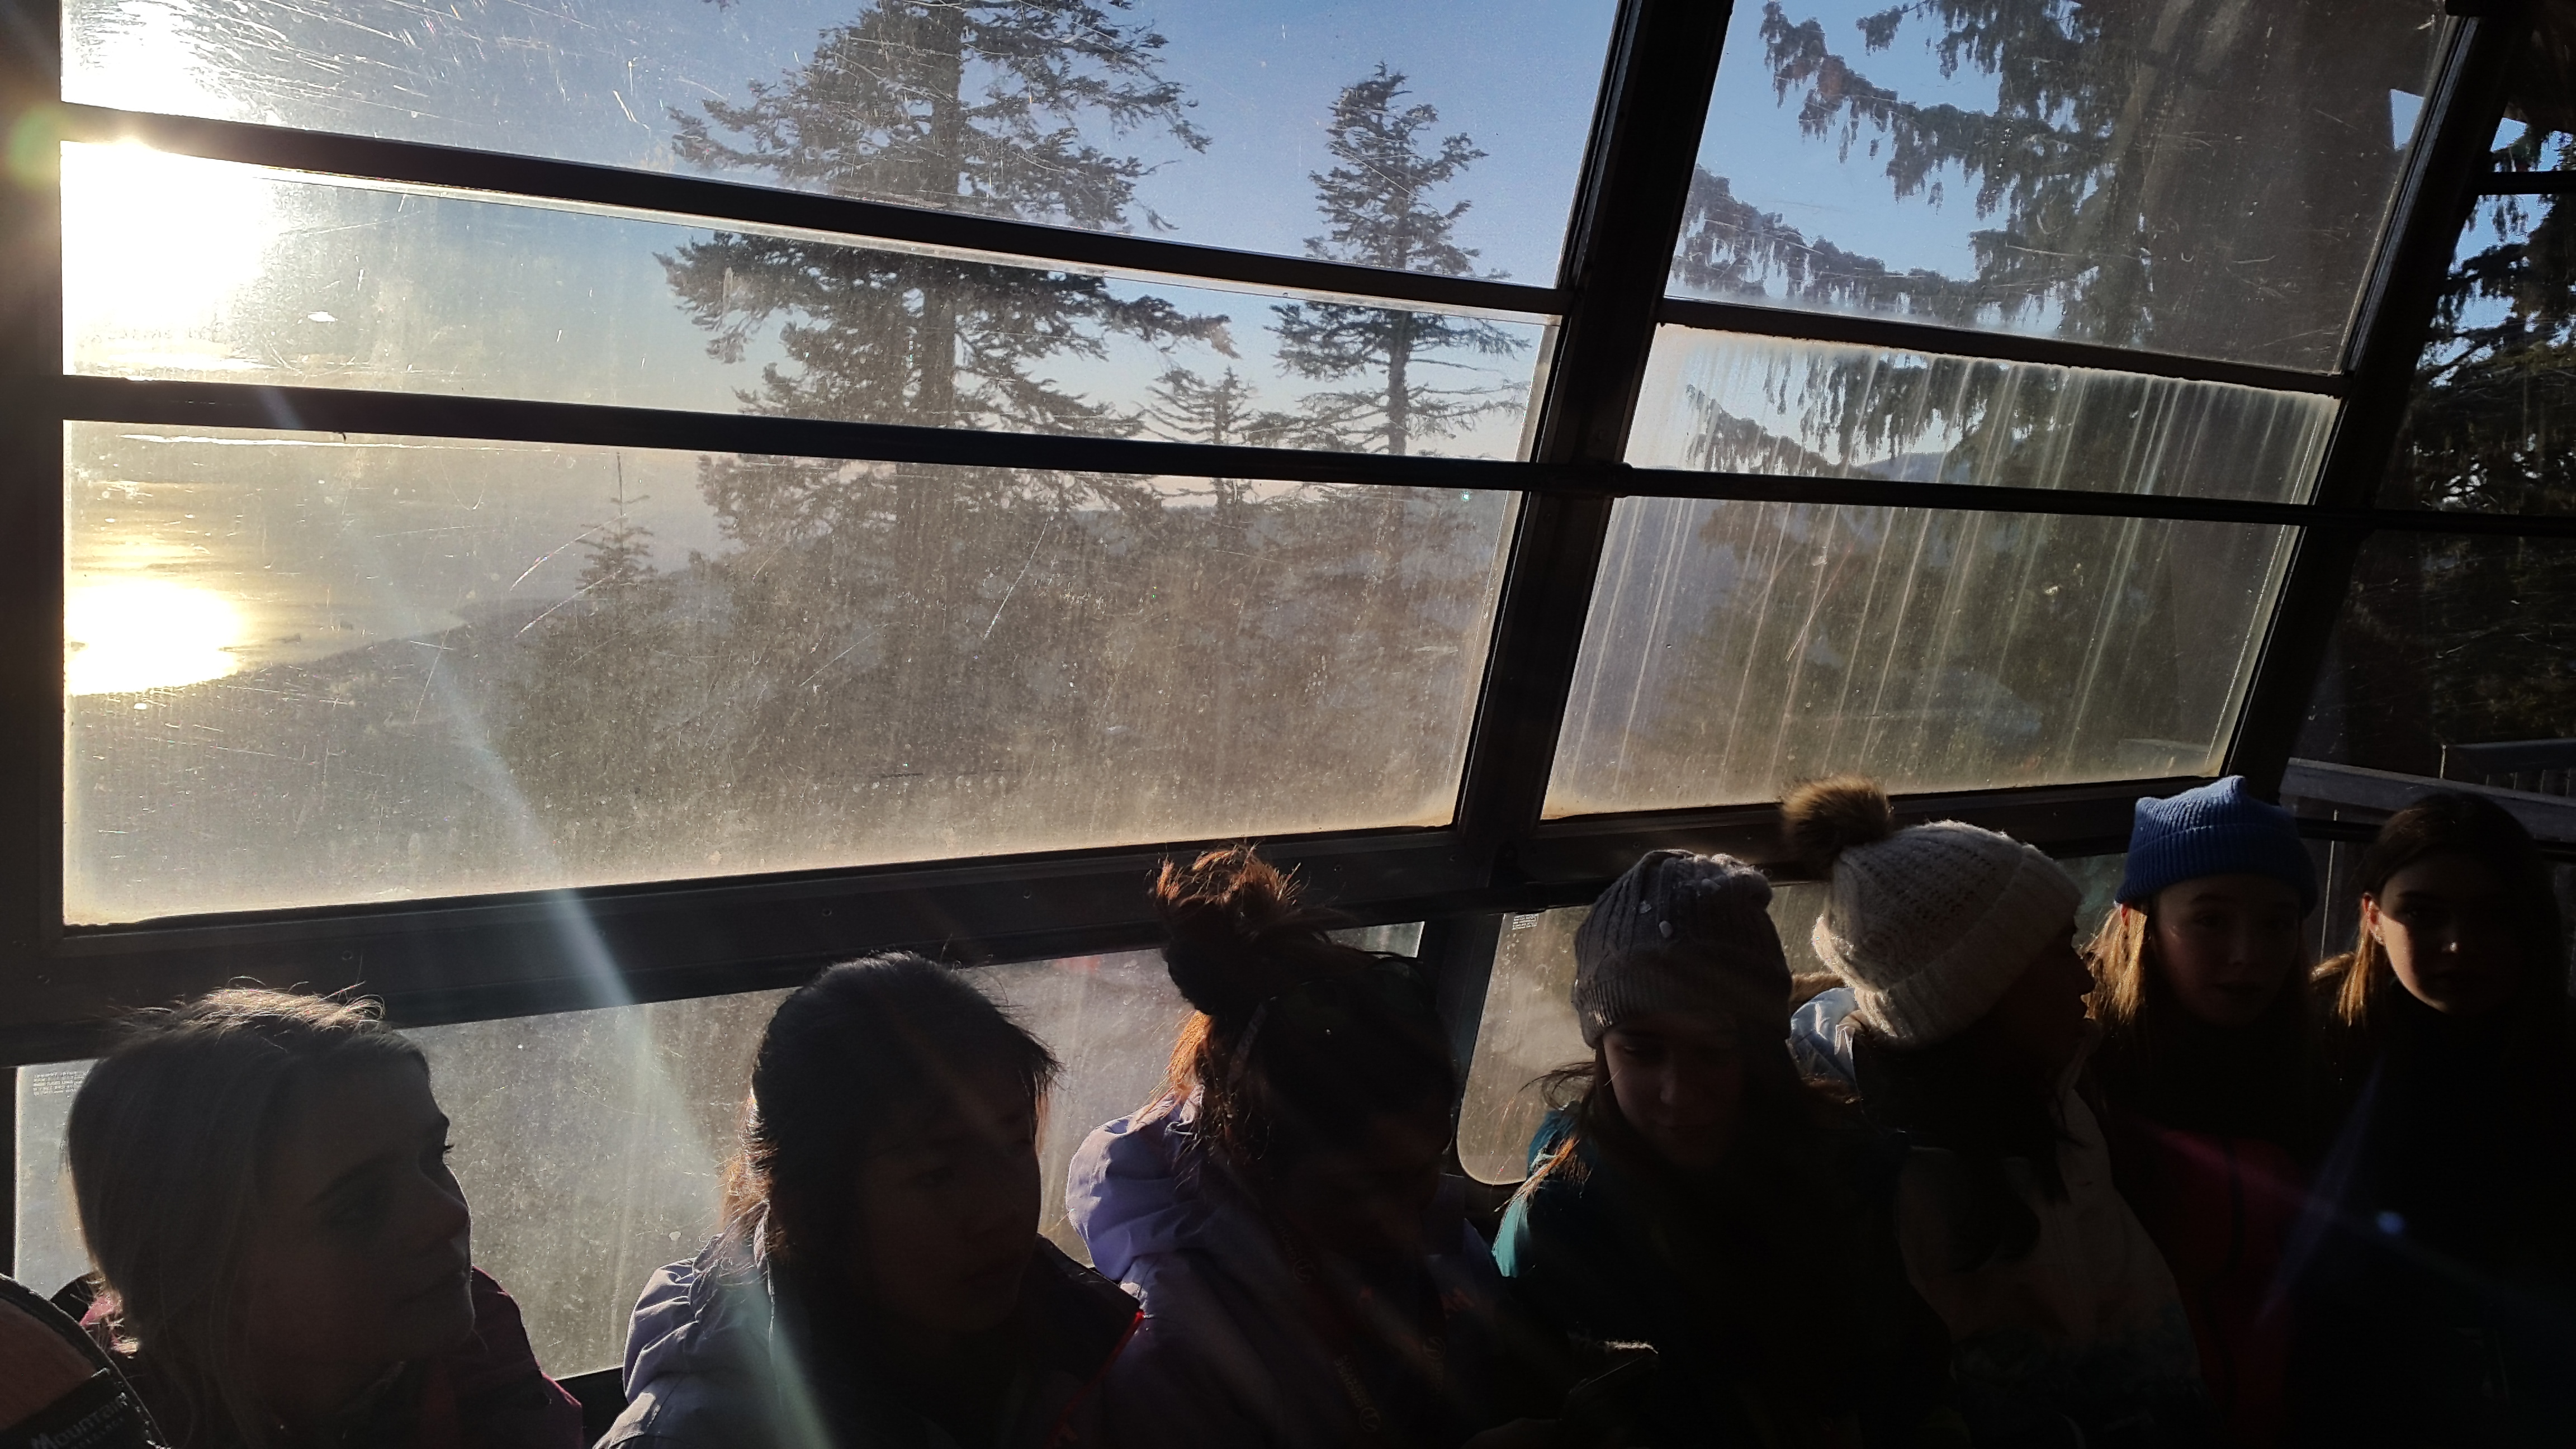
$15은 한화로 약 13,500원. 케이블 카 10분 가까이 타는데 13,500원. 정말 비쌉니다. 그런데 13,500원과 나의 목숨을 바꾸고 싶지는 않았기 때문에 무조건 케이블 카 탑승했습니다. 만약 한국에서 예매를 했으면 훨씬 저렴하게 표를 구매할 수 있는 것으로 알고 있습니다.
Fifteen dollars is about 13,500 won in Korea Won. I rode a cable car for almost 10 minutes. It's really expensive. But I did not want to change my life for 13,500 won, so I took a cable car. If you made a reservation before coming, you can buy tickets much cheaper.
결론(Conclusion):
1. 자연은 아름답다.
2. 그라우스 산(Grouse Mountain) 정상까지 등산하는 데에 3시간 정도 걸린다.
3. 케이블 카는 비싸지만 목숨보다는 저렴하다.
4. 스키 장비를 저렴한 곳에서 대여를 하면 된다.
5. 그라우스 마운틴 식당은 미친듯이 비싸다.
CONCLUSION:
1. Nature is beautiful.
2. It takes about three hours to climb to the top of Mt. Grouse.
3. Cable cars are expensive but cheaper than one's life.
4. You can rent ski equipment at a cheap place.
5. Grouse Mountain Restaurant is insanely expensive.
Day 1: Arrival at JFK International Airport
Day 2: Wandering in Manhattan, New York
Day 3: Harlem, Yankees Stadium, Brooklyn Bridge
Day 4: The High Line and Barclays Center
Day 5: Washington Square Park, NYU, Brooklyn
Day 6: The Last Day in New York. @JFK
Day 7: Arrival in LAX and Hermosa Beach
Day 8: Santa Monica(산타 모니카) And Beverly Hills(베벌리 힐스)
Day 9: Hollywood(할리우드) and Griffith Observatory(그리피스 천문대
Day 10: Little Tokyo(리틀 토쿄) and Culver City(커버 시티)
Day 11: In-N-Out and Megabus to San Francisco
Day 12: LA Union Station to San Francisco(샌프란시스코)
Day 13: Sausalito, San Francisco(소살리토)
Day 14: San Francisco City Hall and China Town(차이나타운)
Grace Cathedral, 샌프란시스코 그레이스 대성당
Day 15: Lombard Street(롬바드 스트리트) and 'Full House' Houses(풀 하우스)
Day 16: The Castro Street(카스트로 거리) and Twin Peaks(트윈 픽스)
Day 17: Golden Gate Bridge(금문교, 골든 게이트 브릿지), Fort Point(포트 포인트)
Day 18: Ghirardelli(기라델리) and Palace of Fine Arts(팰리스 오브 파인아트)
Day 19: Stanford University(스탠포드 대학교) 방문!
Day 20: Coit Tower(코이트 타워), 샌프란시스코 전망대
Day 21: Pier 39 (피어 39), Fisherman's Wharf (피션맨스워프)
Day 22: San Francisco(샌프란시스코) to Vancouver(밴쿠버)
What I Ate in Vancouver, Canada (캐나다 음식)
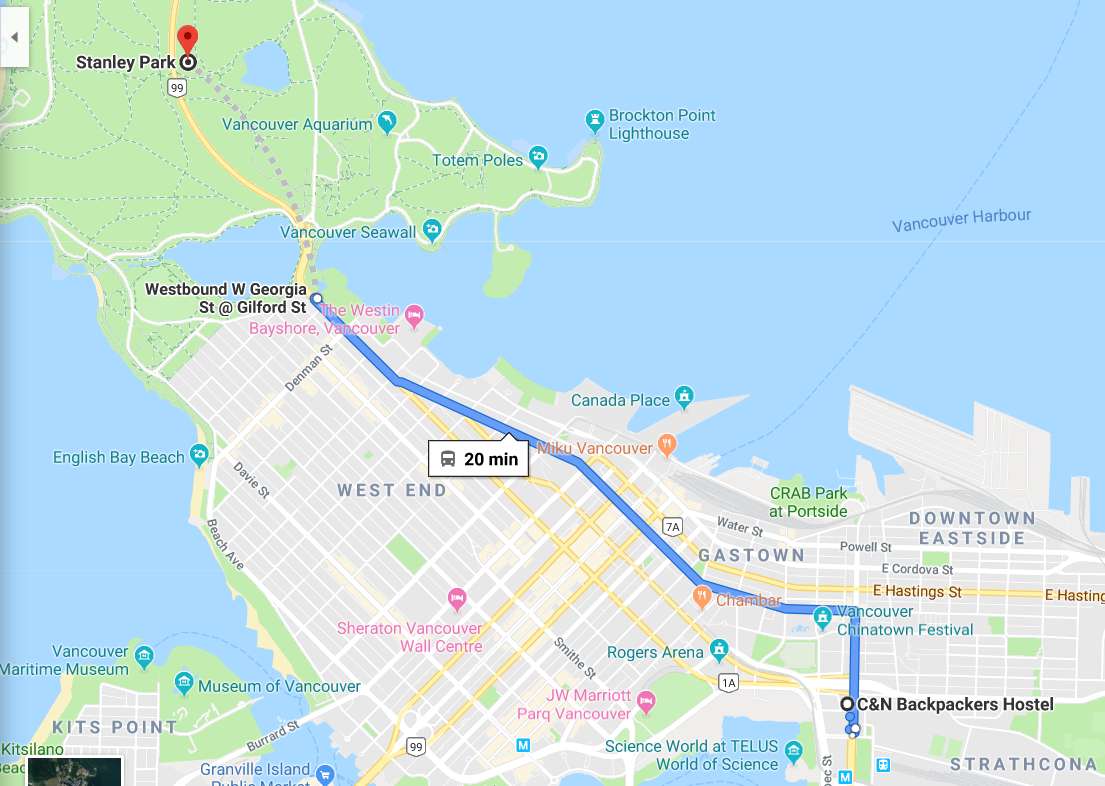
Day 23: Taking a walk in Stanley Park(스탠리 파크) 산책!
Day 24: English Bay, Vancouver, Canada (잉글리시 베이, 밴쿠버 여행)
Day 25: Eating and Walking around at Chinatown, Vancouver(밴쿠버 차이나타운)
Day 26: Deep Cove(딥 코브) and Granville Island(그랜빌 아일랜드)
Day 27: Capilano Suspension Bridge(카필라노 서스펜션 브릿지)!
Day 28: Vancouver Downtown(밴쿠버 다운타운) 둘러보기!
Skid Row(스키드 로우) in Vancouver, Canada(밴쿠버)?
Day 29: Lynn Canyon Park(린 캐니언 파크) 산책하기!
Day 30: Grouse Mountain(그라우스 마운틴) 등산하기!
'Trip 여행 > Canada' 카테고리의 다른 글
| Day 29: Lynn Canyon Park(린 캐니언 파크) 산책하기! (0) | 2019.07.04 |
|---|---|
| Skid Row(스키드 로우) in Vancouver, Canada(밴쿠버)? (0) | 2019.07.03 |
| Day 28: Vancouver Downtown(밴쿠버 다운타운) 둘러보기! (0) | 2019.07.03 |
| Day 27: Capilano Suspension Bridge(카필라노 서스펜션 브릿지)! (0) | 2019.07.03 |
| Day 26: Deep Cove(딥 코브) and Granville Island(그랜빌 아일랜드) (0) | 2019.07.03 |